
How to Use Fusion 360 for 3D Printing – Easy Ways to Follow
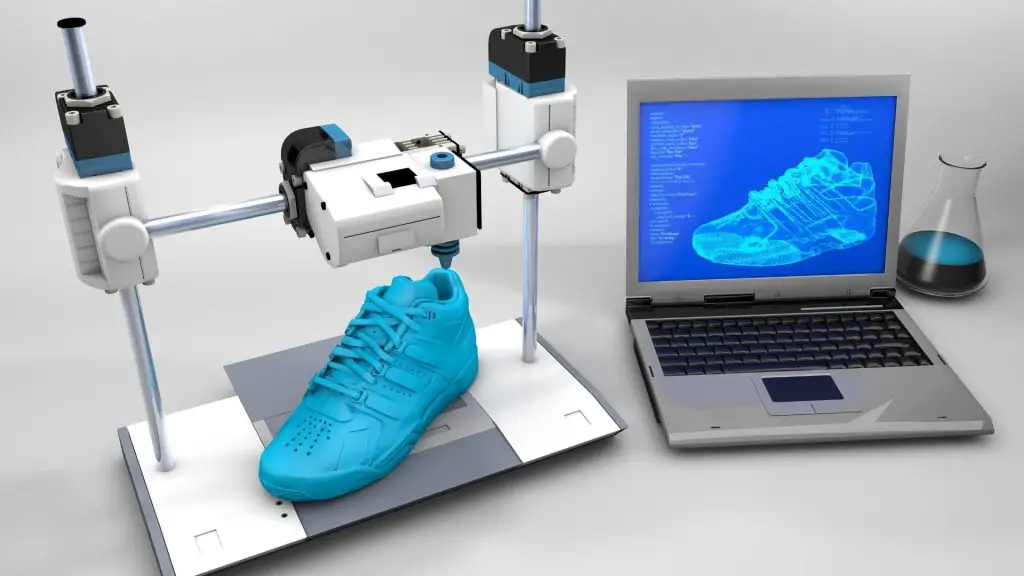
3D printing has revolutionized the way we prototype, manufacture, and create physical objects. With the increasing accessibility of 3D printers, the demand for user-friendly and powerful 3D modeling software has grown exponentially.
Fusion 360, developed by Autodesk, has emerged as a comprehensive solution for 3D design, simulation, and manufacturing, making it an ideal choice for 3D printing enthusiasts and professionals alike.
How to Use Fusion 360 for 3D Printing
Fusion 360 is a cloud-based, integrated platform that combines various tools for computer-aided design (CAD), computer-aided manufacturing (CAM), and computer-aided engineering (CAE).
It offers a seamless workflow, allowing users to create, analyze, and prepare their designs for various manufacturing processes, including 3D printing. One of the key advantages of Fusion 360 is its user-friendly interface, which is intuitive and easy to navigate, even for beginners.
The software provides a wide range of tools and features, making it suitable for both simple and complex projects. Additionally, Fusion 360 supports a variety of file formats, ensuring compatibility with different 3D printers and other software applications.
Setting up Fusion 360 for 3D Printing
Before you can start using Fusion 360 for 3D printing, you need to set up the software and configure it for your specific requirements. Here is how you can do it.
Step 1: Download and Install Fusion 360
Visit the Autodesk website and download the latest version of Fusion 360. Follow the installation instructions provided for your operating system (Windows, macOS, or Linux).
Step 2: Create an Autodesk Account
To use Fusion 360, you’ll need to create an Autodesk account or sign in with an existing one. This account will allow you to access the software and its cloud-based features.
Step 3: Choose the Appropriate License
Fusion 360 offers various licensing options, including a free license for hobbyists, startups, and educational institutions. Select the license that best suits your needs.
Step 4: Configure Preferences and Units
Once you’ve launched Fusion 360, go to the “Preferences” menu and configure the settings according to your requirements. You can set the default units (e.g., millimeters, inches), adjust the workspace layout, and customize other preferences.
Step 5: Set up 3D Printer Integration
Fusion 360 supports a wide range of 3D printers, both desktop and industrial. To ensure seamless integration, you’ll need to connect your 3D printer to the software. Follow the manufacturer’s instructions or consult the Fusion 360 documentation for specific steps.
Creating 3D Models in Fusion 360
With Fusion 360 set up and configured, you can start creating 3D models for your 3D printing projects. The software offers several design methods, each suited for different types of projects and user preferences.
Method 1: Parametric Modeling
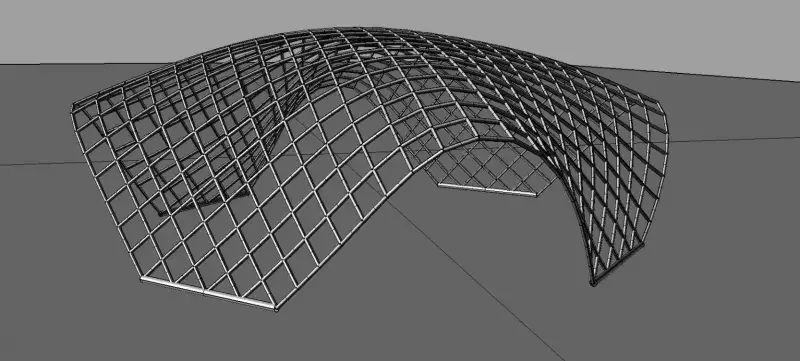
Parametric modeling is a powerful technique for creating precise and well-defined 3D models. In Fusion 360, you can use the “Sketch” and “Solid” tools to create parametric models. Here is how you can get started.
Step 1: Create a New Design
In the “Data Panel”, click on the “+” icon to create a new design file.
Step 2: Start with a Sketch
Use the “Sketch” tool to create 2D profiles or outlines that will serve as the basis for your 3D model.
Step 3: Extrude or Revolve
Once you’ve created your sketch, you can use the “Extrude” or “Revolve” tools to turn the 2D sketch into a 3D solid body.
Step 4: Add Features
Use various tools like “Fillet”, “Chamfer”, “Hole”, and “Pattern” to add additional features and details to your model.
Step 5: Assemble Components
If your design consists of multiple parts, you can use the “Assemble” workspace to put them together and create an assembly.
Related Article: How to Store 3D Printer Filament
Method 2: Freeform Modeling
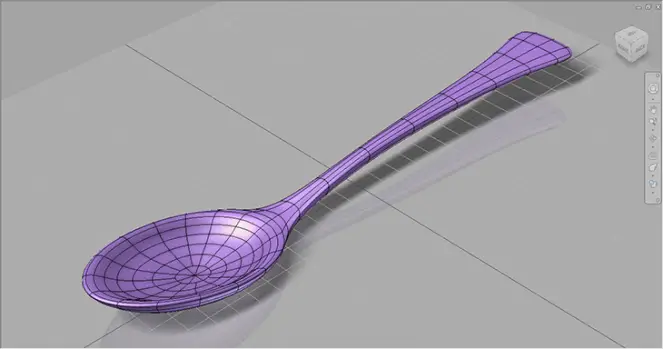
Freeform modeling, also known as sculpting, is a more organic approach to creating 3D models. It allows you to shape and manipulate virtual clay-like materials, making it ideal for artistic and organic designs.
Here is how you can use freeform modeling in Fusion 360.
Step 1: Create a New Sculpt Environment
In the “Data Panel”, click on the “+” icon and choose “Create Sculpt Environment”.
Step 2: Select a Base Shape
You can start with a basic shape like a sphere, cube, or cylinder, or import an existing mesh or model.
Step 3: Choose Sculpting Tools
Fusion 360 provides a variety of sculpting tools, including “Push”, “Pull”, “Smooth”, “Crease”, and “Stamp”.
Step 4: Sculpt Your Design
Use the sculpting tools to add details, create textures, and shape your model as desired.
Step 5: Convert to Mesh
Once you’ve finished sculpting, you can convert your design to a mesh for further refinement or preparation for 3D printing.
Method 3: Mesh Editing

If you already have an existing 3D model in a mesh format (e.g., STL, OBJ), you can import it into Fusion 360 and edit it using the mesh editing tools. This method is particularly useful when working with models created in other software or when dealing with complex organic shapes.
Here is how you can edit meshes in Fusion 360.
Step 1: Import the Mesh File
In the “Data Panel”, click on the “+” icon and choose “Import Mesh” to import your existing mesh file.
Step 2: Analyze and Repair Mesh
Use the “Mesh Workspace” to analyze your mesh for errors, holes, or other issues, and repair them if necessary.
Step 3: Edit Mesh
Fusion 360 provides various mesh editing tools, such as “Mesh Extrude”, “Mesh Crease”, “Mesh Smooth”, and “Mesh Remesh” to modify and refine your mesh.
Step 4: Subdivide or Decimate Mesh
Depending on your requirements, you can subdivide the mesh to add more detail or decimate it to reduce the polygon count.
Step 5: Export Mesh
Once you’ve finished editing your mesh, you can export it in a suitable format (e.g., STL, OBJ) for 3D printing.
Preparing Models for 3D Printing
After creating or editing your 3D model in Fusion 360, you’ll need to prepare it for 3D printing. This process involves optimizing the model, adding supports, and generating the necessary files for your 3D printer.
Step 1: Analyze and Repair Model
Before proceeding with the printing process, it’s essential to analyze your model for any errors, such as non-manifold geometry, self-intersections, or holes. Fusion 360 provides tools to detect and repair these issues.
Step 2: Optimize Model for 3D Printing
Depending on your 3D printer’s capabilities and the desired print quality, you may need to optimize your model. This can include adjusting the resolution, simplifying or decimating the mesh, or adding specific features like escape holes or draft angles.
Step 3: Add Supports
Many 3D models require support structures to prevent overhangs or unsupported areas from failing during the printing process. Fusion 360 offers built-in tools to automatically generate and add supports to your model.
Step 4: Set Print Orientation
The orientation of your model on the print bed can significantly impact the quality and efficiency of the print. Use the “Orient Components” tool in Fusion 360 to position your model in the optimal orientation for printing.
Step 5: Generate Print Files
Once your model is optimized and ready for printing, you can generate the necessary files for your 3D printer. Fusion 360 supports various file formats, including STL, OBJ, and 3MF, among others.
Step 6: Slicing and Print Preview
Before sending your model to the 3D printer, you can use Fusion 360’s slicer integration or external slicing software to preview the print layers, estimate print time, and make any final adjustments.
Step 7: Send to 3D Printer
Finally, connect your 3D printer to Fusion 360 (or use the appropriate software provided by the printer manufacturer) and send your print job to the printer.
Related Article: How to Tighten 3D Printer Belt
Advanced Features and Techniques
Fusion 360 offers a wide range of advanced features and techniques that can enhance your 3D printing workflow and enable more complex and sophisticated designs.
Simulation and Analysis
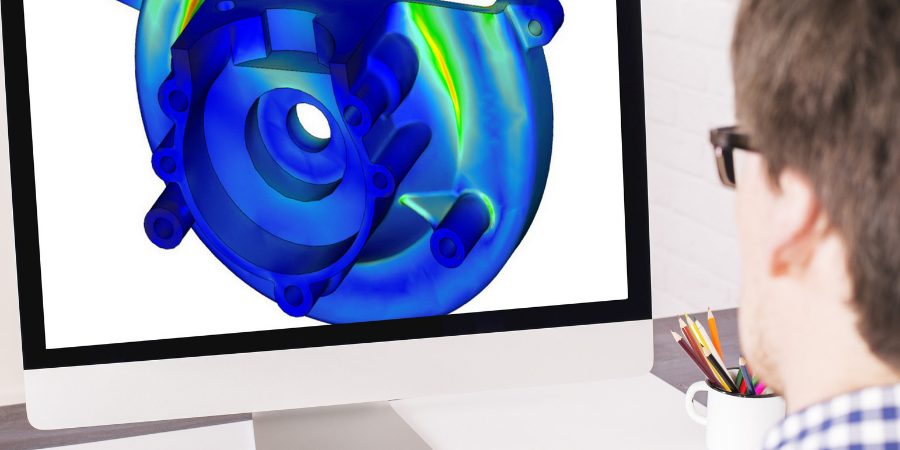
One of the powerful features of Fusion 360 is its simulation and analysis capabilities. These tools allow you to simulate and analyze the performance of your designs before actually printing them, saving time and material costs.
Finite Element Analysis (FEA)
Fusion 360’s FEA tools enable you to simulate and analyze the structural integrity, stress, strain, and deformation of your designs under various load conditions.
Computational Fluid Dynamics (CFD)
With CFD analysis, you can simulate and visualize the flow of fluids (liquids or gases) around your designs, which is particularly useful for projects involving aerodynamics or fluid mechanics.
Motion Analysis
Fusion 360 allows you to simulate and analyze the motion of assemblies, mechanisms, and kinematic systems, helping you identify potential issues and optimize your designs.
Rendering and Visualization
The software offers advanced rendering and visualization tools, enabling you to create photo-realistic images and animations of your designs, which can be useful for presentations, marketing, or simply evaluating the aesthetics of your models.
Parametric Modeling and Design Automation
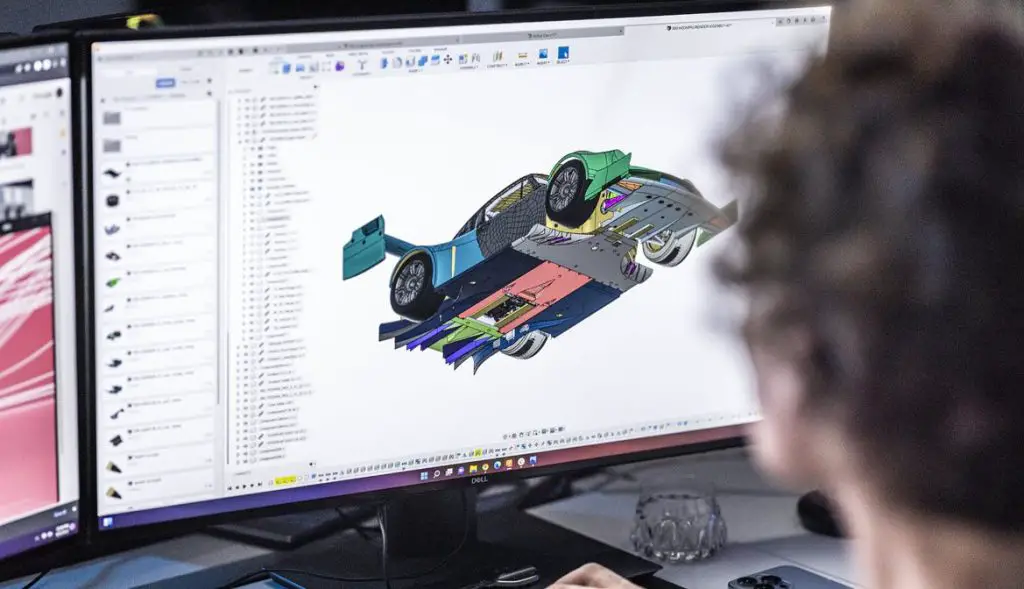
Fusion 360’s parametric modeling capabilities allow you to create flexible and scalable designs that can be easily modified and updated. Additionally, you can leverage design automation tools to streamline repetitive tasks and create custom workflows.
Parametric Modeling
By defining parameters and constraints in your designs, you can quickly generate variations or adjust dimensions, shapes, and configurations without starting from scratch.
Design Scripting
Fusion 360 supports scripting languages like Python and JavaScript, allowing you to automate design tasks, create custom tools, and integrate with other software or services.
Generative Design
This advanced feature enables you to explore and generate optimized designs based on your specified goals, constraints, and manufacturing requirements, leveraging cloud computing and artificial intelligence.
Additive Manufacturing Workspace
Fusion 360 offers a dedicated workspace for additive manufacturing (3D printing), providing tools for optimizing designs, generating support structures, and preparing models for various 3D printing processes.
Collaboration and Data Management

Fusion 360 is a cloud-based platform, which means you can access your projects from anywhere and collaborate with team members or stakeholders seamlessly.
Cloud Collaboration
Share your designs with others, enable real-time co-editing, and track revisions and changes using Fusion 360’s cloud collaboration features.
Data Management
Organize and manage your projects, files, and data using the built-in data management tools, ensuring version control and easy access to your work.
Integration with Other Autodesk Products
Fusion 360 integrates with other Autodesk products, such as Inventor and Revit, allowing you to work across different platforms and leverage the strengths of each software.
Third-Party Extensions and Apps
Fusion 360 supports a growing ecosystem of third-party extensions and apps, enabling you to extend its functionality and integrate with other tools and services.
Conclusion
Fusion 360 is a powerful and comprehensive solution for 3D printing enthusiasts and professionals alike. With its user-friendly interface, robust modeling tools, and advanced features, it streamlines the entire process from design to manufacturing.
Whether you’re a beginner or an experienced user, Fusion 360 offers a flexible and scalable platform that can grow with your skills and project requirements. By leveraging its parametric modeling, simulation, and collaboration capabilities, you can create intricate and optimized designs, analyze their performance, and collaborate with others seamlessly.
As the 3D printing industry continues to evolve, Fusion 360 remains at the forefront, empowering creators and makers to turn their ideas into tangible, real-world objects. With its constant updates and improvements, Fusion 360 is poised to remain a go-to solution for 3D printing and digital manufacturing.
Frequently Asked Questions (FAQs)
1. How to print a Fusion 360 model?
To print a Fusion 360 model, you’ll need to export it as an STL or OBJ file, which are commonly accepted file formats for 3D printing. In Fusion 360, go to the ‘Make’ workspace, select the model you want to print, and click on the ‘Send to 3D Print Utility’ button.
From there, you can choose the desired export format and settings, such as resolution and orientation. Once exported, transfer the file to your 3D printer’s software or send it to an online 3D printing service.
Ensure that your printer is properly calibrated and that you have the correct filament or resin material loaded before initiating the print job.
2. Is Fusion 360 better than Tinkercad?
Fusion 360 and Tinkercad are both popular 3D modeling software, but they cater to different user levels and needs. Fusion 360 is a professional-grade tool with advanced features for product design, engineering, and manufacturing.
It offers robust parametric modeling, simulation, and collaboration capabilities, making it suitable for complex projects. On the other hand, Tinkercad is a web-based, user-friendly platform designed for beginners and educational purposes.
Its simple interface and intuitive tools make it an excellent choice for introducing 3D modeling to students or hobbyists. While Fusion 360 provides more functionality and precision, Tinkercad’s accessibility and ease of use make it a great starting point for those new to 3D design.
3. Can you 3D Print directly from Fusion 360?
No, you cannot directly 3D print from Fusion 360. Fusion 360 is a powerful 3D modeling and design software, but it does not have built-in capabilities for directly controlling or communicating with 3D printers.
To print a model created in Fusion 360, you need to export it as a compatible file format, such as STL or OBJ, which can be read by 3D printing software or slicers. Once exported, you can transfer the file to your 3D printer’s dedicated software or an online 3D printing service.
These specialized programs handle the slicing, generating the toolpaths, and sending instructions to the printer. While Fusion 360 lacks direct printing functionality, its robust design tools and export options make it a valuable asset for creating high-quality 3D models ready for fabrication.
How to Clean Glue Off 3D Printer Bed – Easy Ways to Follow

How to Use Blender for 3D Printing – Easy Ways to Follow
How to Scan an Object for 3D Printing – Easy Ways to Follow
About Author
Mark Kelly
This is Mark, a printer expert from North Carolina, US. It has been 8 years since I started using and reviewing printers of all types. With that said, I decided to share my knowledge with you lovely people so you can make the perfect choice when it comes to choosing a printer.