
How to Set Up Fax on HP Printer Without Phone Line – Easy Guide
In an era dominated by digital communication, the humble fax machine might seem like a relic of the past. Yet, for many industries, faxing remains an indispensable tool for secure document transmission.
The traditional method, however, often necessitates a dedicated phone line—an increasingly obsolete and costly requirement. Enter the world of modern faxing solutions, where HP has ingeniously bridged the gap between conventional needs and contemporary technology.
This guide will navigate you through the process of setting up fax capabilities on your HP printer without the encumbrance of a traditional phone line. We’ll explore a spectrum of methods, from HP’s proprietary eFax service to third-party online fax platforms, each offering a unique approach to this quotidian task.
Whether you’re a small business owner streamlining operations, a remote worker needing occasional fax services, or simply someone looking to modernize their home office, you’ll find a solution tailored to your needs.
How to Set Up Fax on HP Printer Without Phone Line
Prepare to discover how your existing Internet connection can transform your HP printer into a versatile faxing powerhouse, combining the reliability of traditional faxing with the convenience of modern technology.
Method 1: Using HP eFax Service
HP eFax is a built-in service available on many newer HP printer models that allows users to send and receive faxes over the Internet.
This method is the most straightforward for compatible HP printers and doesn’t require any additional hardware or software installations.
Step 1: Check Printer Compatibility
Ensure your HP printer model supports the eFax service. This information can be found in your printer’s user manual or on HP’s official website.
Step 2: Connect Your Printer to the Internet
Make sure your HP printer is connected to a stable Internet connection. This can be done via Wi-Fi or Ethernet, depending on your printer’s capabilities.
Step 3: Enable eFax on Your Printer
Navigate to your printer’s control panel and look for the eFax or Digital Fax setup option. The exact location may vary depending on your printer model.
Step 4: Set Up an eFax Account
Follow the on-screen prompts to set up your eFax account. You’ll need to provide an email address and create a password.
Step 5: Choose a Fax Number
Select a fax number from the available options. This number will be used by others to send faxes to you.
Step 6: Configure Fax Settings
Adjust settings such as fax quality, header information, and confirmation options according to your preferences.
Note: Adjust your HP printer’s scan settings to optimize fax quality. Higher resolution scans will produce clearer faxes but may result in larger file sizes. Find the right balance between quality and transmission speed.
Step 7: Test the Service
Send a test fax to ensure everything is working correctly. You can typically do this through the printer’s control panel.
Related Article: How to Clean HP LaserJet Printer Rollers
Method 2: Using Online Fax Services
If your HP printer doesn’t support eFax or you prefer a different service, you can use third-party online fax services that integrate with your printer.
Step 1: Choose an Online Fax Service
Research and select a reputable online fax service that meets your needs and budget. Popular options include eFax, MyFax, and RingCentral Fax.
Step 2: Sign Up for an Account
Create an account with your chosen online fax service. You’ll typically need to provide personal information and select a plan.
Step 3: Obtain a Fax Number
Choose a fax number provided by the service. This will be the number others use to send faxes to you.
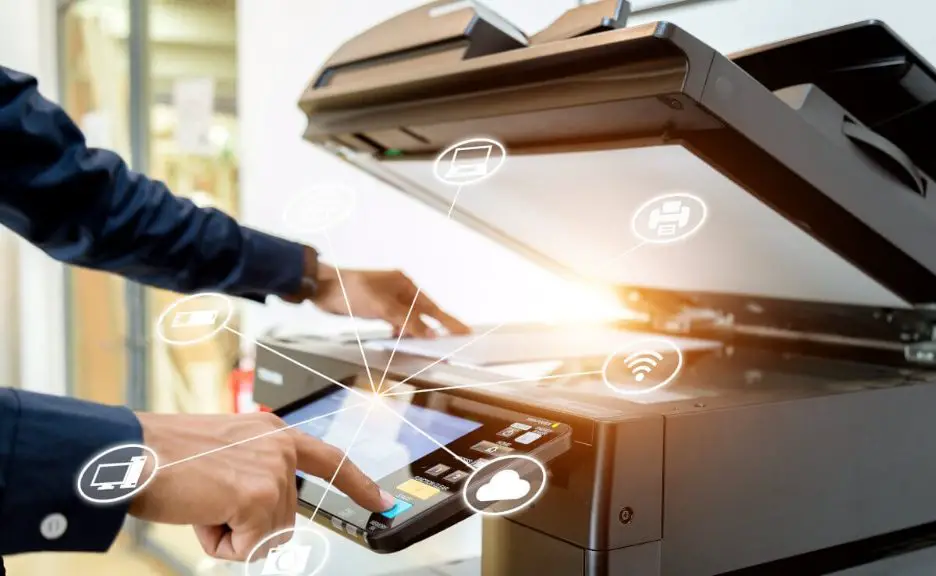
Step 4: Configure Your HP Printer
Set up your HP printer to work with the online fax service. This usually involves configuring the printer’s scan-to-email function.
Step 5: Install Any Necessary Software
Some online fax services may require you to install software on your computer. Follow the service’s instructions for installation.
Step 6: Link Your Printer to the Service
Connect your HP printer to the online fax service by following the service’s setup instructions. This may involve entering your printer’s email address into the service’s settings.
Step 7: Test the Connection
Send a test fax to ensure your HP printer is properly linked to the online fax service.
Method 3: Using Fax-to-Email Services
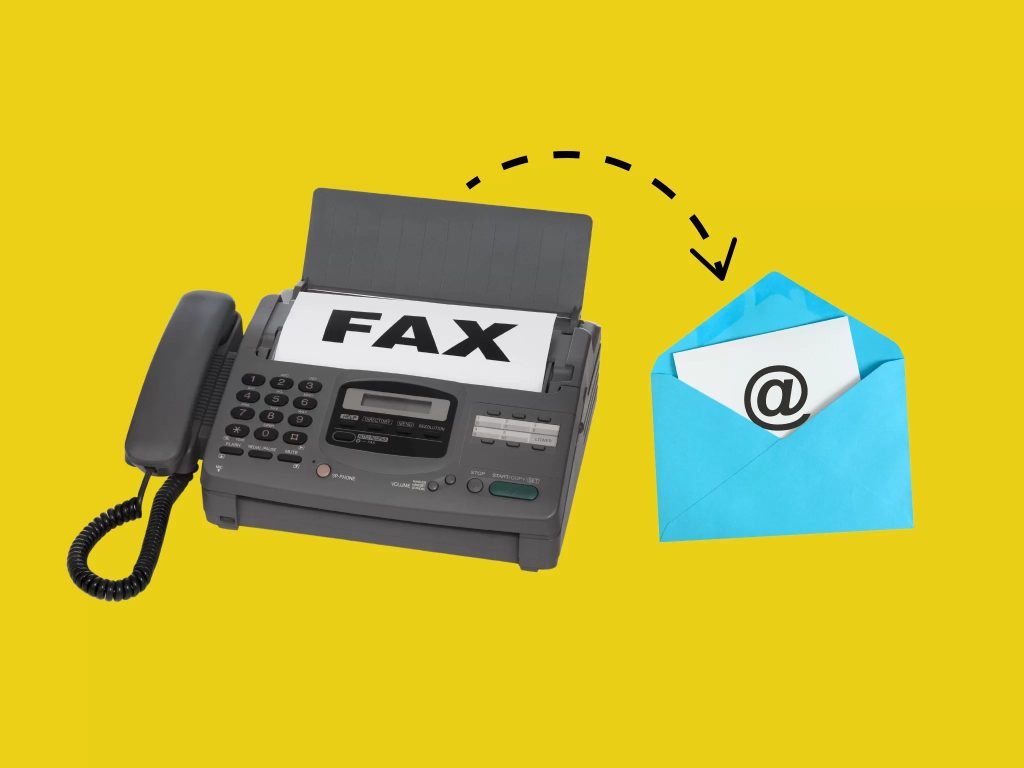
Fax-to-email services allow you to receive faxes as email attachments and send faxes by emailing documents to specific addresses.
Step 1: Choose a Fax-to-Email Service
Select a fax-to-email service that suits your needs. Some popular options include FaxZero, GotFreeFax, and FaxBetter.
Step 2: Sign Up for the Service
Create an account with your chosen fax-to-email service, providing the necessary information.
Step 3: Obtain a Fax Number
Get a dedicated fax number from the service. This number will be used to receive faxes, which will be forwarded to your email.
Step 4: Configure Your Email Client
Set up filters or rules in your email client to organize incoming faxes efficiently.
Step 5: Set Up Your HP Printer for Scanning
Ensure your HP printer is configured for scanning to email. This feature will be used to send faxes.
Step 6: Test Receiving Faxes
Have someone send a test fax to your new fax number to confirm that you receive it as an email attachment.
Step 7: Test Sending Faxes
Use your HP printer to scan a document and email it to the service’s designated sending address to test outgoing faxes.
Related Article: How to Format SD Card for 3D Printer
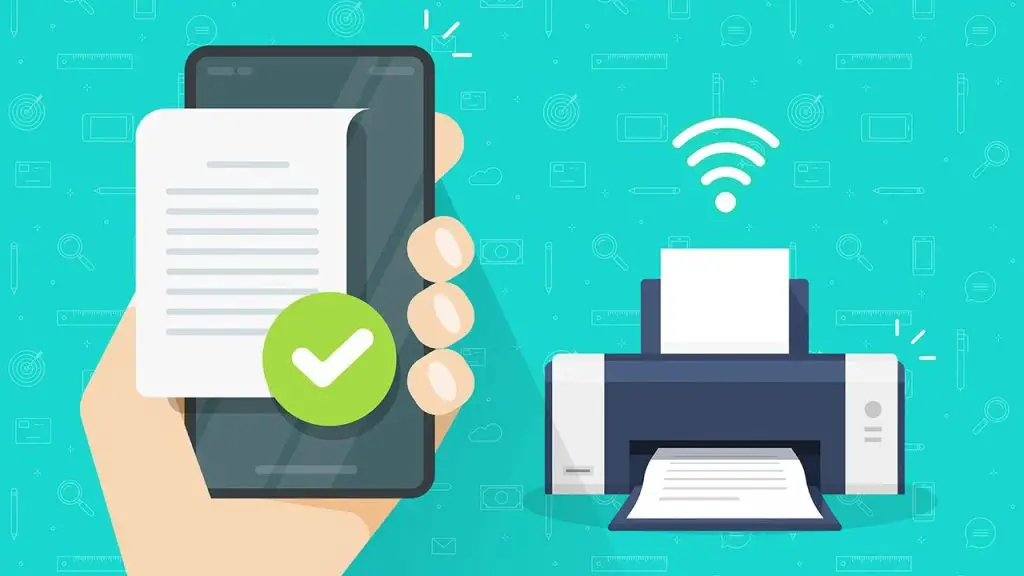
Method 4: Using Mobile Faxing Apps

Mobile faxing apps can work in conjunction with your HP printer to send and receive faxes without a phone line.
Step 1: Choose a Mobile Faxing App
Select a mobile faxing app from your device’s app store. Popular options include CamScanner, Genius Fax, and FaxBurner.
Important: If you need to send or receive international faxes, ensure your chosen service supports this feature. Be aware of potential additional costs for international faxing.
Step 2: Install and Set Up the App
Download and install the chosen app on your mobile device. Follow the app’s instructions to create an account and set up your faxing preferences.
Step 3: Link Your HP Printer
If your HP printer supports mobile printing, connect it to the same Wi-Fi network as your mobile device.
Step 4: Configure Scan-to-Mobile
Set up your HP printer’s scan-to-mobile function, if available. This allows you to scan documents directly to your mobile device.
Step 5: Send a Fax
To send a fax, either scan the document using your HP printer and send it to your mobile device, or take a photo of the document using the app. Then, use the app to send the fax.
Step 6: Receive Faxes
Incoming faxes will be received through the app and can be viewed on your mobile device.
Step 7: Print Received Faxes
Use your HP printer’s mobile printing feature to print received faxes directly from your mobile device.
Conclusion
Setting up fax capabilities on your HP printer without a phone line is not only possible but can also be more efficient and cost-effective than traditional faxing methods. By leveraging Internet-based solutions such as HP’s eFax service, online fax services, fax-to-email options, or mobile faxing apps, you can maintain the ability to send and receive faxes while eliminating the need for a dedicated phone line.
The methods outlined in this article provide flexibility to choose the solution that best fits your specific needs, whether you’re an individual user or managing faxing for a business. From the simplicity of HP’s built-in eFax service to the versatility of third-party online fax providers, there’s an option suitable for every situation.
As with any technology transition, you may encounter some challenges along the way. However, the troubleshooting tips provided should help you overcome common issues. Remember to prioritize security, especially when dealing with sensitive information, and take advantage of advanced features offered by various services to streamline your faxing workflow.
By embracing these modern faxing solutions, you’re not only adapting to the digital age but also potentially reducing costs and improving efficiency in your document transmission processes. As technology continues to evolve, staying informed about the latest faxing options will ensure that you can always choose the most appropriate solution for your needs.
Whether you’re sending a one-off fax or managing high-volume faxing for your organization, the methods described in this guide will help you set up and maintain a reliable faxing system using your HP printer, all without the constraints of a traditional phone line.
Frequently Asked Questions (FAQs)
1. How to fax wirelessly from HP printer?
To fax wirelessly from an HP printer, first ensure your printer supports wireless faxing and is connected to your Wi-Fi network. Open the HP Smart app on your computer or mobile device and select your printer.
Choose the “Fax” option and enter the recipient’s fax number. Scan or upload the document you want to fax, then preview and adjust if needed. Add a cover page if desired, and click “Send” to transmit the fax wirelessly.
Your HP printer will process the document and send it over the phone line, eliminating the need for a direct connection. Remember to keep your printer’s firmware updated for optimal performance.
2. Can you set up a fax without a phone line?
Yes, you can set up a fax without a traditional phone line using online fax services. These digital solutions allow you to send and receive faxes via email or web interfaces. To get started, choose a reputable online fax provider and sign up for an account.
They’ll assign you a virtual fax number. You can then send faxes by uploading documents to the service’s website or emailing them to a specific address. Incoming faxes are delivered to your email inbox as PDF attachments.
This method is often more cost-effective and flexible than maintaining a physical fax machine and dedicated phone line, especially for occasional fax users or remote workers.
How to Print in Color on HP Printer – 3 Easy Ways to Follow
How to Connect HP Envy 6455e to Wi-Fi – Easy Ways to Follow
How to Print All Files in a Folder – Easy Guide
About Author
Mark Kelly
This is Mark, a printer expert from North Carolina, US. It has been 8 years since I started using and reviewing printers of all types. With that said, I decided to share my knowledge with you lovely people so you can make the perfect choice when it comes to choosing a printer.