
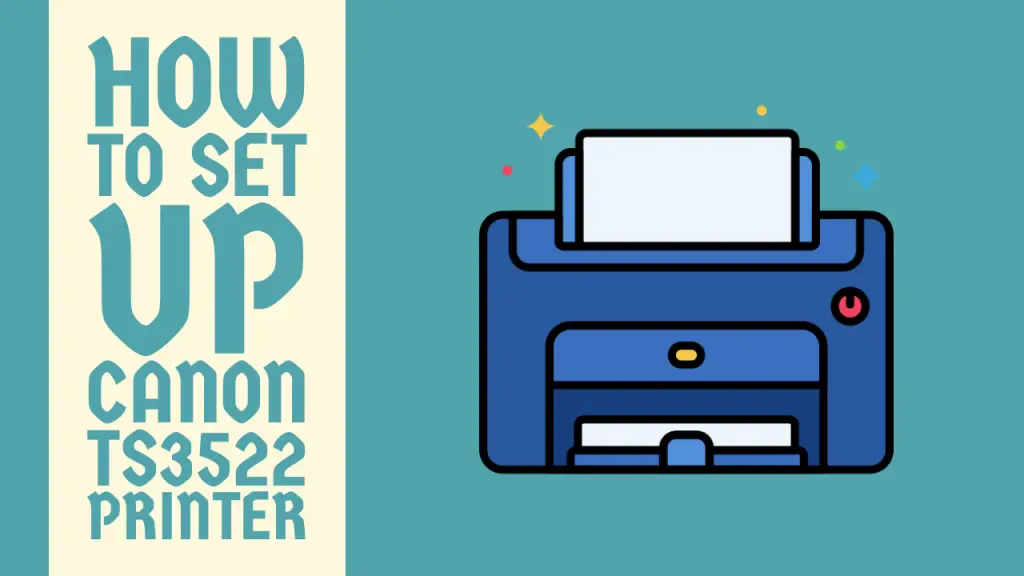
How to Set up Canon TS3522 Printer – Complete Guide
Wondering how to set up Canon TS3522 printer? In that case, there is no need to look any further because you are in the right place. This comprehensive guide presents an in-depth and streamlined method that will help you with the setup.
How to Set up Canon TS3522 Printer
The Canon TS3522 is a top-notch quality printer, scanner, and copier designed for efficiency and convenience, catering to a wide range of printing needs.
However, like any other printing device, a proper setup is a necessity to get things underway and start printing in full flow.
When new users get their hands on the brand-new Canon TS3522 box, they don’t know where to begin. If you are also stuck in a similar situation then you don’t need to worry because we have you covered.
From setting it up for the first time to installing the cartridges, from loading the papers to connecting the printer to the internet, this guide has got it all sorted.
This extensive article sheds light on a thorough method that covers all aspects of the setup required for Canon TS3522. So, without wasting any further time, let’s jump into it.
Method for Setting Up Canon TS3522 Printer
This guide covers every single detail that you need to know to set up your Canon TS3522 printer from scratch. The complete setup process is given below.
Unboxing and Assembling the Printer

Initially, you have to start with the unboxing of the printer. Follow the steps below.
Step 1: Unbox the Printer
Firstly, carefully open the package and remove the printer from the box. Make sure you keep all the accessories and the user manual of the printer that comes with it in the box.
These will be required later for the setup process.
Step 2: Remove Protective Materials
Canon printers are packed securely with tapes and protective materials. So, gently remove all these items from the printer.
These also include any plastic sheets on the printer’s scanner lid and the ink cartridge holder.
Step 3: Connect to Power
Find the main power cable in the accessories. Connect one of its ends to the printer and the other to a power outlet.
Power on the printer by pressing the Power button. The control panel will light up indicating that the printer is on.
Installing Ink Cartridges
When you are done assembling the printer, it is time to install the ink cartridges and make the printer functional. For installation, follow the instructions below.
Step 1: Open the Ink Cartridge Cover
Ensure the printer is turned on and access the ink cartridge holder. Open the ink cartridge cover and the holder will move to a new position making it easy to access.
Step 2: Install the Ink Cartridges
Now, to install the cartridges, you have to unpack the ink cartridges that came with your printer and insert each one into its corresponding slot.
The correspondence can be ensured from the color and pattern matches. If the cartridges are installed correctly, you will hear a clicking sound after the insertion.
Note: It is not compulsory to use the cartridges in the box. You can use any cartridges of your preference given that they are compatible with the Canon TS3522 printer.
Step 3: Close the Cover
Finally, once all the cartridges are in place, close the ink cartridge cover. When the cartridges are detected by the printer, it will begin an initialization process.
You need to until it is completed before proceeding.
Loading the Documents
After the installation of the cartridges, the next thing on the to-do list is loading the paper. For that, follow the guidelines listed below.
Step 1: Open the Paper Tray
First of all, you have to pull out the paper tray located at the bottom of the printer. Adjust the sliders according to the paper size you are using for your prints.
Step 2: Load the Documents
Take a stack of the paper you are using and place it in the tray. Keep in mind to align it with the right side of the tray.
Follow that by adjusting the sliders on the paper tray in such a manner that they gently touch the edges of the paper.
Establishing a Connection With the Printer
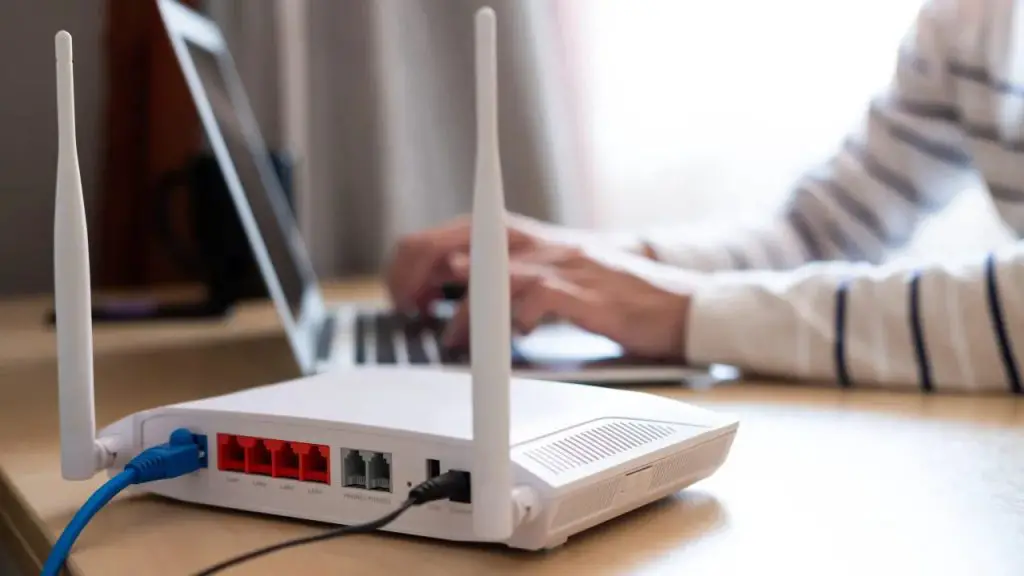
The Canon TS3522 offers numerous connectivity options. You can connect it to your computer with both wired and wireless connectivity options.
But the wireless connection will always edge it over wired connections. Follow the steps under to make a wireless connection.
Step 1: Initiate Wireless Setup
Access the control panel of the printer and open the main settings by clicking on the Menu button. In the settings, open the Network Settings.
Navigate to the Wireless Setup Wizard option and launch the setup. This option can be found in the network settings tab.
Step 2: Connect to Your Network
In the setup wizard, a list will be displayed which includes all the networks available for connection. Select your Wi-Fi network from the list.
You will be prompted to enter the password and the printer will then connect to the network.
Related Article: How to Copy on Canon TS3522 Printer
Installing the Printer on Your Device
When the wireless connection is established, you need to add your printer to your computer.
For Windows Users
Open the Control Panel and choose Devices and Printers. Click on the Add a Printer option and choose your Canon TS3522 printer from the list.
After that, follow the on-screen instructions to complete the installation.
For Mac Users
Go to System Preferences menu and select Printers and Scanners tab. Then, click on the + button to add a printer. Lastly, select your Canon TS3522 from the list and follow the prompts to install.
And congratulations! You have successfully set up your Canon TS3522 printer. Now, you are all good to start making flawless prints.
Conclusion
That brings our guide to an end on how to set up Canon TS3522 printer. This article elaborated on a detailed solution to ensure the complete setup of your printer from box condition.
We hope that setting up your printer is no longer a headache for you and that this piece was extremely helpful for you in your endeavor.
Frequently Asked Questions (FAQs)
1. How do I connect my Canon TS3522 printer?
You can connect your Canon TS3522 printer in a couple of different ways. The less complex option is to use the USB cable that comes with the printer. Take the cable and plug one of its ends in the printer’s port. Plug the other end into the computer’s port.
Alternatively, you can use the Wi-Fi option. For this, connect your printer to the same internet network as your device. Then, go to the settings of your device and add the printer. In the case of a computer, navigate to the Control Panel.
2. How do I scan on a Canon ts3522?
Scanning on a Canon TS3522 is a cakewalk and can be done in a multitude of ways. However, the most efficient way is to use the Canon IJ Scan Utility software. Install the application on your device and connect to the printer for complete access.
You can also check out our inclusive guide on how to scan using Canon TS3522 for detailed guidelines.
3. What kind of ink does a Canon TS3522 take?
The Canon TS3522 takes Canon PG-275 and CL-276 as the preferred ink cartridges. These cartridges are also compatible with similar models including TS3520 and TR4720.
How to Fix Brother Printer Printing Blank Pages – 2 Easy Ways
How to Scan Using Canon TS3522 – Easy Steps to Follow
How to Connect HP OfficeJet Pro 8025e to WiFi – A Comprehensive Guide
About Author
Mark Kelly
This is Mark, a printer expert from North Carolina, US. It has been 8 years since I started using and reviewing printers of all types. With that said, I decided to share my knowledge with you lovely people so you can make the perfect choice when it comes to choosing a printer.