
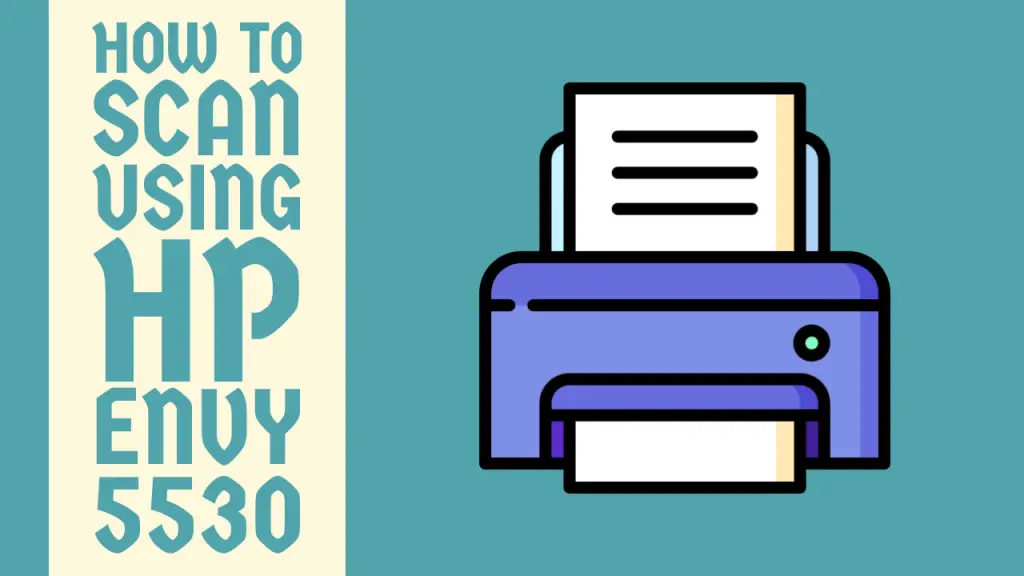
How to Scan Using HP Envy 5530 – Easy Steps
Contemplating how to scan using HP Envy 5530? In that case, you have found your perfect match because this article will walk you through two comprehensive methods that you can use to get over this problem.
How to Scan Using HP Envy 5530
The HP Envy 5530 is an all-in-one wireless inkjet photo printer and it is packed with numerous features that make scanning ridiculously easy.
Whether you need to digitize documents for archiving or convert your favorite photos to share online, the Envy 5530 has you covered.
The scanner built into the Envy 5530 provides both basic and advanced controls to customize your scans. For example, borderless scanning up to letter or A4 size and single-pass duplex scanning for two-sided documents.
So, if you are finding it tough to start scanning on an HP Envy 5530 printer then there is no need to worry because you are in the right place.
This inclusive guide discusses two in-depth methods that you can follow to solve the problem and start making top-grade scans. Without wasting any time, let’s get straight into it.
Methods for Scanning Using HP Envy 5530
Scanning with the Envy 5530 is very straightforward and can be done in two different ways. They are discussed in detail below.
Method 1: Scanning Through the Control Panel
The simplest way to scan on HP Envy 5530 is to use the control panel. The step-by-step instructions to help you get over the line are given below.
Step 1: Firstly, take the document you wish to scan and place it on the scanner glass of the printer. Make sure the side to be scanned is facing the downside and the document is aligned perfectly.
Step 2: Secondly, from the home screen on the printer control panel, you have to select and open the Scan menu.
Step 3: Now, you have to choose a destination for your document. To scan to a computer, select Computer and then choose which Folder you want to send the file to.
Note: In order to scan the document to a USB drive, connect it to your computer and select Computer> USB Drive. But make sure the USB drive is detected by the computer and it has ample space for the document to be saved.
Step 4: After that, select the Settings option in the scan menu to customize different settings like resolution, paper size, format, and other options.
You can also select common digital formats like JPEG, PNG, BMP, TIFF, or PDF to determine how your file is saved.
Step 5: Lastly, save the settings and file destination. Press the Start button to begin the scanning process.
Related Article: How to Scan on HP Envy 6000
Method 2: Scanning Through HP Scan Software
If you want more advanced adjustments and options then scanning via the HP Scan application will prove to be a far better method for you.
Below are the steps that you need to follow to get the job done.
Step 1: First of all, load the document and navigate to the browser of your preference on your computer, and search for the HP Scan application.
Step 2: Select the suitable page from the results and download the HP Scan setup on your computer. Make sure you choose the right System Type for your computer i.e. 32-bit and 64-bit.
Step 3: On the completion of the download, launch the setup and initiate the installation process. Follow the on-screen prompts to complete the installation.
Step 4: Now, you have to launch the software and in the HP Scan program, select a shortcut like Save as Editable Text (OCR). Follow it up by choosing your preferences.
Note: Alternatively, you can also choose the Custom Scan option and then modify different settings like brightness, color tone, document size, and more prior to scanning.
Step 5: After that, you have to select the file destination regardless of what scan shortcut you used. So, select the location and click on the Save button.
Step 6: Finally, click on Scan to initiate the scan.
The HP Scan is official HP software and it provides robust image editing options once the scan finishes, allowing you to crop, rotate, adjust color, and export with optimal parameters for any use.
If you are still encountering any issues, you can try contacting the HP official support team via their website for further help on the topic.
Conclusion
This was pretty much it for the guide on how to scan using HP Envy 5530. This guide covered two detailed methods that can help you big time.
We hope that this article was of great assistance to you and that the problem is now resolved.
Frequently Asked Questions (FAQs)
1. How do I scan from my HP Envy 5530 printer to my computer?
As mentioned in the guide above, there are two ways in which you can scan from your HP Envy 5530 printer to your computer.
The first and very simple way is to use the Scan function of the printer through the control panel. Another way is to make use of the HP Scan software by installing it on your computer and scanning from there directly.
2. Can HP ENVY 5530 scan multiple pages?
Yes, the HP Envy 5530 can scan multiple pages but you will need the HP Scan application for this. Therefore, first download and install it on your printer.
Then launch the HP Scan app and go to Launch a New Scan> Follow the Steps> Add Pages. After adding as many pages as you want, click the Save button to complete the scan job.
3. How do I reset my HP Envy 5530 printer?
Resetting your HP Envy 5530 printer is a straightforward process and can be done in a few simple steps. In the first place, disconnect the power cable from the printer and also remove any other cables connected to the printer.
Then, press and hold the power button of the printer for 15 seconds. Reconnect the power cable and the printer will turn on directly and the reset will be done.
How to Set up Canon TS3522 Printer – Complete Guide
How to Print Screen on Logitech Keyboard K780 – Easy Guide
How to Change Print Speed on Ender 3 – Easy Steps to Follow
About Author
Mark Kelly
This is Mark, a printer expert from North Carolina, US. It has been 8 years since I started using and reviewing printers of all types. With that said, I decided to share my knowledge with you lovely people so you can make the perfect choice when it comes to choosing a printer.