
How to Scan Using Canon TS3522 – Easy Steps to Follow
Are you looking forward to solutions on how to scan using Canon TS3522? Well, you don’t need to worry anymore because we are here for your aid. This guide discusses two methods that you can follow to start making pristine scans.
How to Scan Using Canon TS3522
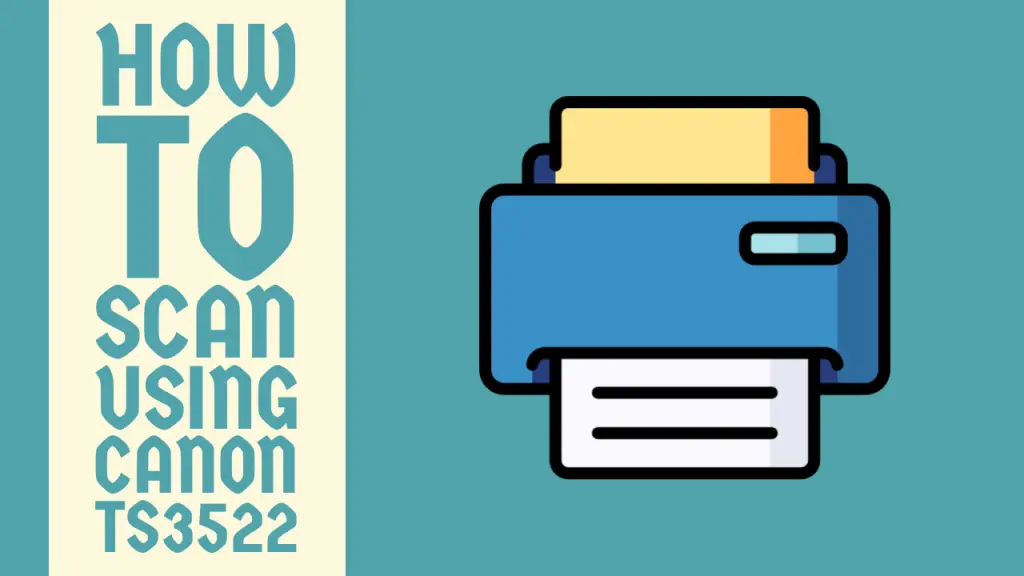
The Canon TS3522 is a versatile all-in-one printer that can print, scan, and copy documents and photos exceptionally well.
Whether you need to digitize important paperwork, preserve old photographs, or share physical documents electronically, having a reliable scanner is crucial. And the Canon TS3522 printer is exactly that.
But even with the crème de la crème printers, you can come across numerous problems as a user. Talking of problems, for Canon TS3522 users, scanning documents is an extremely difficult problem. It is primarily because they are not aware of the exact solutions.
If you are also facing this issue on your Canon TS3522 printer then there is no need to worry because we have got your back. Whether you want to scan directly from your computer or through the control panel, we have it all covered.
This comprehensive guide will take you through two detailed methods with step-by-step instructions that you can follow to start making scans on your printer. Without losing any time, let’s get into it.
Methods for Scanning Using Canon TS3522
Before you begin scanning, it is important to prepare your documents properly. Remove any staples, paperclips, or any other attachments from the document.
Also, smooth out any wrinkles in the document to prevent shadows in the scanned document. Doing this will ensure that your scans are high quality. You can then follow any of the two methods given below.
Method 1: Scanning Using the Control Panel
The Canon TS3522 offers a highly user-friendly control panel that allows us to scan directly from the printer. The control panel is located on the top left side of the printer.
Follow the instructions given below to start producing immaculate scans using the control panel.
Step 1: To start things off, you need to load the document that needs to be scanned. Lift the scanner lid and place the document facing down on the main scanner glass. Make sure that it is aligned well with the present marks.
Step 2: Now, close the scanner lid gently to avoid moving the document and potentially affecting the results in a negative manner.
Step 3: After that, you have to locate the Scan button on the control panel and press it.
Step 4: The scan settings will be displayed on the screen and you need to configure them using the arrow buttons on the control panel. These include scan quality, file format, resolution, etc.
Step 5: The last part of the settings is choosing the File Destination. If your printer is connected to a computer then you will see it in the available options.
Step 6: Last but not least, press the OK button to confirm your selections and your TS3522 printer will start scanning your document.
And that’s it! Once the scan is finished, the scanned document will be saved to the specified destination and you will be able to access it.
Related Article: How to Copy on Canon TS3522 Printer
Method 2: Scanning Using Canon IJ Scan Utility
The IJ Scan Utility is an official Canon application that provides us with one one-click solution to all our scanning needs. With this application, we can produce hassle-free scans from scanners and printers to our computers.
Therefore, you can also use the Canon IJ Scan Utility for scanning on your Canon TS3522 printer. This can be done separately for both Windows and Mac devices. Here are the steps that you need to follow.
Step 1: In the first place, you have to ensure that your Canon TS3522 printer is connected properly to your computer regardless of whether it is via USB cable or wirelessly.
Step 2: Launch the Canon IJ Scan Utility application on your computer. If you have not downloaded it already on your computer then you can download and install it through the official Canon website.
Note: In the case of Mac users, you will need to use the IJ Scan Utility Lite software alternatively. It is a different version of the application dedicated to Mac users.
Step 3: On launching, make sure the connection has been detected by the app. Click on the Settings button to adjust the scan settings. These include resolution, color mode, and file format.
Step 4: After that, you need to save the file destination for your document. This can be any folder on the computer of your preference.
Step 5: Now, place your document face-down on the scanner glass, aligning it with the top-left corner, and close the scanner lid gently.
Step 6: For a brief preview of your scan, click on the Preview button. Adjust the scan area and make other changes if required.
Step 7: Finally, you have to click on the Scan button to initiate the scanning.
And that is it! Once the scan is complete, the scanned image will be displayed in the Canon IJ Scan Utility window.
If you face any difficulties in the process, you can get in touch with the official Canon support team for further assistance on the issue.
Related Article: How to Reset HP Envy 6400 Printer
Conclusion
This was all for the guide on how to scan using Canon TS3522. By following the tips provided, you can ensure that your scans are of the highest quality, making it easier to store, share, and manage your digital documents.
We hope that you found this guide highly helpful and that scanning on Canon TS3522 is a problem-free job for you now.
Frequently Asked Questions (FAQs)

1. How do I connect my Canon TS3522 to my computer?
You can connect your Canon TS3522 to your computer in a couple of different ways. The first one is the old-school way of using the USB cable to establish a connection between the printer and your computer.
Secondly, you can utilize the Wi-Fi feature of your Canon TS3522 printer to start a connection with your computer. A wireless connection is always considered a better option than a USB connection because of its ease of use and time-saving.
2. Can a Canon TS3522 scan to computer?
Yes, the Canon PIXMA TS3522 is an all-around printer that offers all the essential features we need in a modern-day printer including.
With this printer, you can scan to your computer, android phones, and other devices, and all iOS devices provided that the device and printer are connected to the same internet connection.
3. What kind of ink does a Canon TS3522 take?
When it comes to printing and scanning, the type of ink a printer uses can be pivotal. In that case, the Canon TS3522 is compatible with different types of inks.
The common ink options are PG-275 Pigment Black Inks and CL-276 Dye Color Inks.
How to Connect HP OfficeJet Pro 8025e to WiFi – A Comprehensive Guide
How to Connect Canon MG3600 Printer to Computer – Easy Guide

How to Connect Dell E515dw Printer to Wi-Fi – Easy Guide
About Author
Mark Kelly
This is Mark, a printer expert from North Carolina, US. It has been 8 years since I started using and reviewing printers of all types. With that said, I decided to share my knowledge with you lovely people so you can make the perfect choice when it comes to choosing a printer.