How to Resize an Image for Printing on Android – Easy Guide

In the world of digital photography and printing, resizing images is a crucial skill to master. Whether you’re preparing photos for a physical album, creating artwork for your home, or sending pictures to be printed professionally, understanding how to resize an image on your Android device is essential.
With the rise of smartphones and their ever-improving camera capabilities, more and more people are using their Android devices as their primary photography tool. However, not all images captured on your phone are suitable for printing in their original size.
In this article, we will explore the importance of resizing images for printing and provide you with step-by-step methods to achieve the perfect print size using your Android device.
Why Resizing Images for Printing Matters
Before we dive into the methods of resizing images, let’s discuss why it’s crucial to resize your photos before printing. When you capture an image using your Android device, the photo is usually saved at a high resolution, often with dimensions that exceed the typical print sizes.
Printing an image at its original size can lead to several issues.
1. Pixelation: If you try to print a small image at a larger size, the pixels will become visible, resulting in a blurry or pixelated appearance.
2. Cropping: When you send an image with different aspect ratios to be printed at a specific size, parts of the image may be cropped off to fit the print dimensions.
3. File Size: High-resolution images can have large file sizes, which may cause issues when uploading or sending the files for printing.
By resizing your images to the desired print size, you can ensure that your photos look sharp, maintain their original composition, and have a manageable file size for easy sharing and printing.
Method 1: Using the Google Photos App

Google Photos is a popular app that comes pre-installed on most Android devices. In addition to being a great photo organizer and backup tool, it also offers basic editing features, including the ability to resize images.
Here is how to resize an image using Google Photos:
Step 1: Open the Google Photos app on your Android device.
Step 2: Find and select the image you want to resize.
Step 3: Tap on the “Edit” icon (three horizontal lines with sliders) at the bottom of the screen.
Step 4: Select the “Crop” option (square icon with arrows) from the bottom menu.
Step 5: Tap on the “Aspect Ratio” button located at the top of the screen.
Step 6: Choose the desired aspect ratio for your print size (e.g., 4:3, 5:7, 8:10) or select “Custom” to enter specific dimensions.
Step 7: Adjust the cropping frame to select the area of the image you want to keep.
Step 8: Tap on the “Done” button to apply the changes.
Step 9: Save the resized image by tapping on the “Save” button.
Related Article: How to Connect Canon MG2522 Printer to Android Phone
Method 2: Using Third-Party Apps

In addition to Google Photos, there are numerous third-party apps available on the Google Play Store that offer more advanced resizing options. Two popular choices are Photo Resizer and Image Size – Photo Resizer.
Here is how to use these apps to resize your images:
Using Photo Resizer

Step 1: Download and install the Photo Resizer app from the Google Play Store.
Step 2: Open the app and tap on the “Select Photos” button.
Step 3: Choose the image you want to resize from your device’s gallery.
Step 4: Select the “Resize” option from the bottom menu.
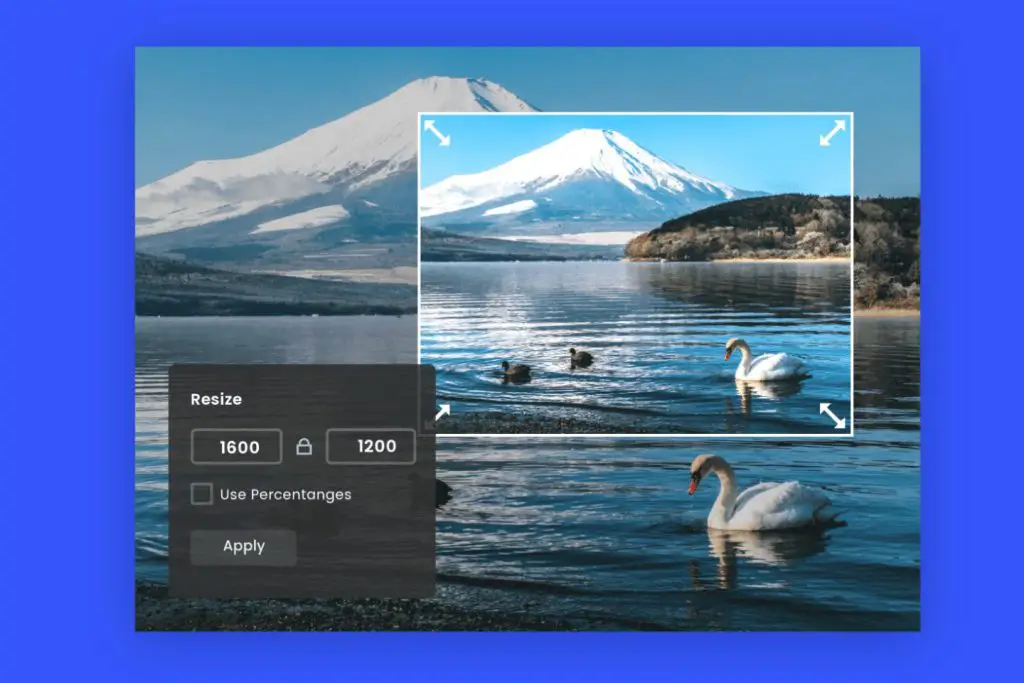
Step 5: Enter the desired width and height for your print size in pixels or select a preset size.
Step 6: Tap on the “Resize” button to apply the changes.
Step 7: Save the resized image to your device by tapping on the “Save” button.
Using Image Size – Photo Resizer

Step 1: Download and install the Image Size – Photo Resizer app from the Google Play Store.
Step 2: Open the app and tap on the “+” button to select the image you want to resize.
Step 3: Choose the image from your device’s gallery.
Step 4: Select the “Resize” option from the bottom menu.
Step 5: Enter the desired width and height for your print size in pixels, or select a preset size from the “Choose Size” menu.
Step 6: Tap on the “Resize” button to apply the changes.
Step 7: Save the resized image to your device by tapping on the “Save” button.
Related Article: How to Connect HP Envy Photo 7855 to Wi-Fi
Tips for Resizing Images
When resizing images for printing, keep the following tips in mind to ensure the best results:
1. Maintain Aspect Ratio: Always try to maintain the original aspect ratio of your image to avoid distortion or cropping. Choose a print size that matches the aspect ratio of your photo.
2. Consider Resolution: For high-quality prints, aim for a resolution of at least 300 DPI (dots per inch). When resizing your image, make sure the resulting file has sufficient resolution for your desired print size.
3. Crop Carefully: If you need to crop your image during the resizing process, be mindful of the composition. Avoid cropping out important elements or disrupting the balance of the photo.
4. Save in the Appropriate Format: When saving your resized image, choose a file format that preserves image quality. JPEG is a common choice for photographs, while PNG is better suited for images with text or graphics.
5. Preview Before Printing: Always preview your resized image before sending it for printing. Check for any pixelation, distortion, or unwanted cropping.
Conclusion
Resizing images for printing on your Android device is a simple yet essential process that can greatly enhance the quality of your printed photos.
By understanding the importance of resizing and following the step-by-step methods outlined in this article, you can ensure that your images are optimized for printing at any size.
Whether you use the built-in Google Photos app or opt for a third-party resizing tool, taking the time to resize your images properly will result in beautiful, sharp prints that you can cherish for years to come.
So, the next time you want to print a photo captured on your Android device, remember to resize it first and unlock the full potential of your digital memories in the physical world.
Frequently Asked Questions (FAQs)

1. How do I print an image to a specific size?
To print an image to a specific size, resize the image using editing software or built-in tools on your device. Adjust the dimensions or select a preset size that matches your desired print size.
Maintain the aspect ratio to avoid distortion and ensure the resolution is at least 300 DPI for quality prints. Save the resized image and send it for printing.
2. How do I change the print size on my phone?
To change the print size of an image on your Android phone, use the built-in Google Photos app or download a third-party resizing app from the Google Play Store.
Open the image, select the edit or resize option, and enter your desired dimensions or choose a preset size. Adjust the cropping if needed, maintain the aspect ratio, and save the resized image for printing.
3. How do I resize an image in gallery?
To resize an image in your Android gallery, open the image and look for an edit or resize option within the gallery app. If unavailable, use the Google Photos app or install a third-party resizing app.
Select the image, choose to resize, and enter custom dimensions or select a preset size. Crop if necessary, preserve the aspect ratio, and save the resized image.


