
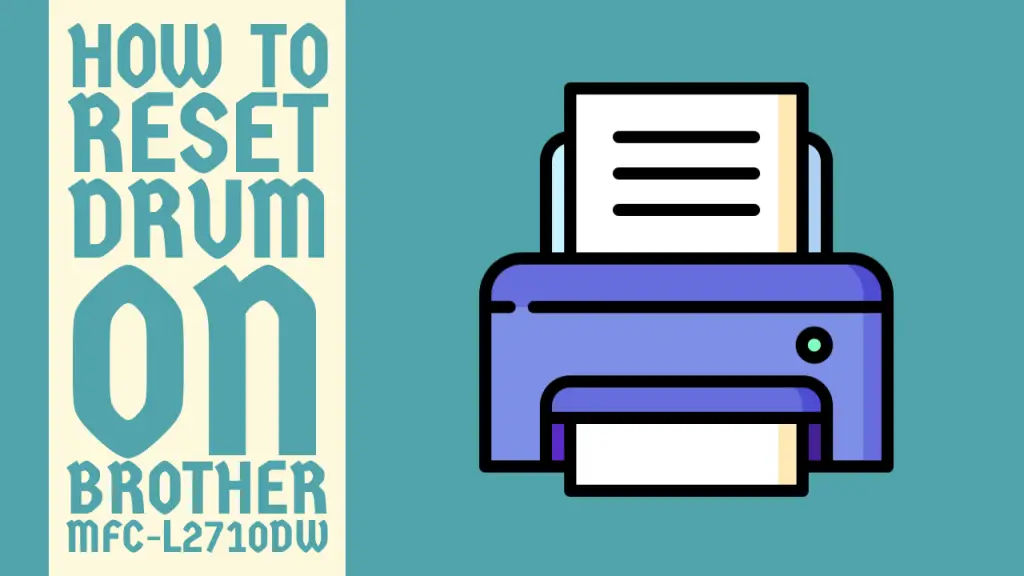
How to Reset Drum on Brother MFC-L2710DW – Easy Steps to Follow
Finding it difficult to get answers on how to reset drum on Brother MFC-L2710DW? Well, this inclusive guide outlines numerous ways with easy-to-understand instructions to help you reset the drum.
How to Reset Drum on Brother MFC-L2710DW
The Brother MFC-L2710DW is a reliable and efficient all-in-one laser printer that is perfect for home and small office use. It offers high-quality printing, scanning, copying, and faxing capabilities, making it a versatile machine for various needs.
However, like any other printer, it requires regular maintenance to ensure optimal performance and longevity. One of the most common maintenance tasks is resetting the drum unit when it reaches the end of its life. Sometimes, resetting the drum is a necessity in case of a message from the printer. For example, the Replace Drum or Drum End Soon message.
The drum unit is a pivotal component of a printer that transfers the toner onto the paper during the printing process. Over time, the drum unit can become worn out, resulting in poor print quality, streaks, or blank pages.
When this happens, it is essential to replace the drum unit to get the printer back to performing ways. However, before replacing the drum unit, we are required to reset the drum counter on the printer and that is where beginners come across problems.
So, if you are also having issues with resetting the drum on your Brother MFC-L2710DW then you are at the right place because this guide has it all covered for you.
In this article, we will walk you through a multitude of methods with step-by-step instructions depending on your printer’s firmware version and the type of drum unit you are using. Without losing any further time, let’s delve into it.
Method 1: Resetting the Drum Counter from the Printer’s Control Panel
The simplest way to reset the drum on your Brother MFC-L2710DW printer is through the printer’s control panel. This method works for most firmware versions and is suitable for both genuine Brother drum units and compatible third-party drum units.
Here is exactly how you can perform this method.
Step 1: Prepare the Printer
Before resetting the drum counter, make sure that your printer is turned on and in the Idle state. If the printer is in sleep mode, you have to wake it up by pressing any button.
Step 2: Access the Printer’s Menu
The second thing you need to do is open the printer’s main menu. You can do it by pressing the Menu button.
Step 3: Navigate to the Reset Menu
Now, a number of menus will be shown on your printer screen but you need to open the Reset menu. Using the arrow keys, navigate to the Reset Menu option and press OK to select it.
Step 4: Select the Drum Reset Option
In the Reset Menu, use the arrow keys to select the Drum Reset option and press OK to confirm.
Step 5: Confirm the Drum Reset
The printer will display a message asking you to confirm the drum reset. In order to confirm the reset, you have to press 1 key. In order to cancel the operation, you have to press 2 keys.
Step 6: Wait for the Printer to Reset the Drum
After confirming the drum reset, the printer will take a few seconds to reset the drum counter. Once the process is complete, the printer will return to the ready state, and the Replace Drum or Drum End Soon message will disappear from the display.
Related Guide: How to Set up Canon TS3522 Printer
Method 2: Resetting the Drum Counter Using the Printer Driver (Windows)
If you are using a Windows computer, you can also reset the drum counter using the Brother printer driver.
This method is useful if you cannot access the printer’s control panel or if you prefer to manage your printer settings from your computer. Follow the steps given below to reset the drum using the printer driver:
Step 1: Open the Printer Properties
First of all, go to the Control Panel of your device and move to the Devices and Printers tab. Under the Printers option, you will see your Brother MFC-L2710DW.
You need to right click on your printer and select the Printer Properties option from the context menu.
Step 2: Access the Device Settings
A completely new window will pop up on your screen with the properties of your printer. From the present options, choose the Device Settings option.
Step 3: Locate the Drum Reset Option
Scroll down the list of available settings until you find the Drum Reset option. It may be located under the Maintenance or Advanced section, depending on your printer driver version.
Note: The navigation tabs and options vary from driver version to driver version so the pathway to the Drum Reset option can be different for you.
In this case, you can either check all the available options or refer to the user manual of your printer with the latest drivers installed.
Step 4: Reset the Drum Counter
Now, click on the Drum Reset option and follow it up by clicking on the Apply button to initiate the drum counter reset.
Step 5: Close the Printer Properties Window
After resetting the drum counter, click on the OK button to close the printer properties window. Your printer is now ready to use with the new drum unit.
Related Guide: How to Connect Canon MG3600 Printer to Computer
Method 3: Resetting the Drum Counter Using the Printer Driver (Mac)

If you are using a Mac computer, you can reset the drum counter using the Brother printer driver as well.
The process is similar to the Windows method, with a few minor differences. The instructions you need to follow are given as under.
Step 1: Open the System Preferences
In the first place, you have to open the Apple menu on your Mac computer and select the System Preferences tab from the dropdown menu.
Step 2: Access the Printers & Scanners Settings
After that, you need to locate the Printers and Scanners icon in this menu. As soon as you do that, click it.
Step 3: Open the Printer Options
Select your Brother MFC-L2710DW printer from the list of available printers and click on the Options & Supplies button.
In the printer options window, you have to click on the Utility tab.
Step 4: Open the Brother Printer Utility
In the Utility tab, numerous options concerning your Brother MFC-L2710DW printer will be displayed on the control panel screen.
From the list, click on the Open Printer Utility button to launch the Brother Printer Utility application.
Step 5: Reset the Drum Counter
In the application, you are required to click on the Reset button. This button will be located right next to the Drum option.
Then, confirm the action by clicking on the Reset button in the pop-up prompt window.After resetting the drum counter, close the Brother Printer Utility window and the printer options window. Your printer is now ready to use with the new drum unit.
And that is it! You have completed the drum reset on your Brother MFC-L2710DW printer. If there are any setbacks whatsoever during the process, feel free to get in touch with the official support team of Brother via their website for further aid.
Conclusion
That wraps up our article on how to reset drum on Brother MFC-L2710DW. By performing the instructions listed, you can ensure that your printer continues to deliver high-quality prints and reliable performance.
We hope that this article has provided you with the information and guidance you needed and that resetting the drum on your Brother MFC-L2710DW is like a walk in the park for you now.
Frequently Asked Questions (FAQs)

1. How do I reset the drum counter on my brother mfc l2710dw?
You can reset the drum counter on your Brother MFC L2710DW in a number of ways. Firstly, you can go with the control panel option which you can never go wrong with.
Other than that, the printer driver method is always there to our rescue. The methods are different for Mac and Windows computers.
2. How to replace mfc l2710dw drum?
To replace the drum unit on your Brother MFC-L2710DW printer, first open the front cover and remove the drum unit and toner cartridge assembly. Next, press the green lock lever to separate the toner cartridge from the drum unit.
Remove the new drum unit from its packaging and place the toner cartridge into the new drum unit until it locks into place. Finally, slide the new drum unit and toner cartridge assembly back into the printer and close the front cover.
3. How to solve drum error in Brother printer?
To resolve the drum error on a Brother printer, first ensure the drum unit is installed correctly. If the error persists, clean the corona wire and remove any debris from the drum’s surface.
If the drum unit is near the end of its lifespan, typically around 15000 pages, consider replacing it.
How to Clean HP LaserJet Printer Rollers – Easy Ways to Follow

How to Check Ink Levels on Epson ET-2760 – Easy Ways
How to Resize an Image for Printing on Android – Easy Guide
About Author
Mark Kelly
This is Mark, a printer expert from North Carolina, US. It has been 8 years since I started using and reviewing printers of all types. With that said, I decided to share my knowledge with you lovely people so you can make the perfect choice when it comes to choosing a printer.