
How to Print White on Black Paper – 5 Easy Methods
In the world of printing, we often stick to the familiar: black ink on white paper. But what if we flip the script? Printing white on black paper can create a striking visual impact that captivates the eye and elevates your projects to new heights of sophistication.
This guide will walk you through various methods to achieve crisp, clean white text and graphics on black paper. We’ll explore both digital and traditional printing techniques, discussing the equipment and materials needed, and providing step-by-step instructions to help you achieve professional-looking results.
Printing white on black isn’t without its challenges. Unlike traditional printing, where black ink naturally contrasts with white paper, achieving vibrant white output on a dark background requires specific techniques and sometimes specialized equipment.
The key lies in either using opaque white ink or creating the illusion of white through clever use of negative space. Whether you’re a graphic designer, small business owner, or DIY enthusiast, get ready to unlock the potential of this elegant printing technique.
How to Print White on Black Paper
So, let’s embark on this journey to unlock the potential of white-on-black printing and add a touch of elegance and drama to your printed materials.
Method 1: Using a White Toner Printer
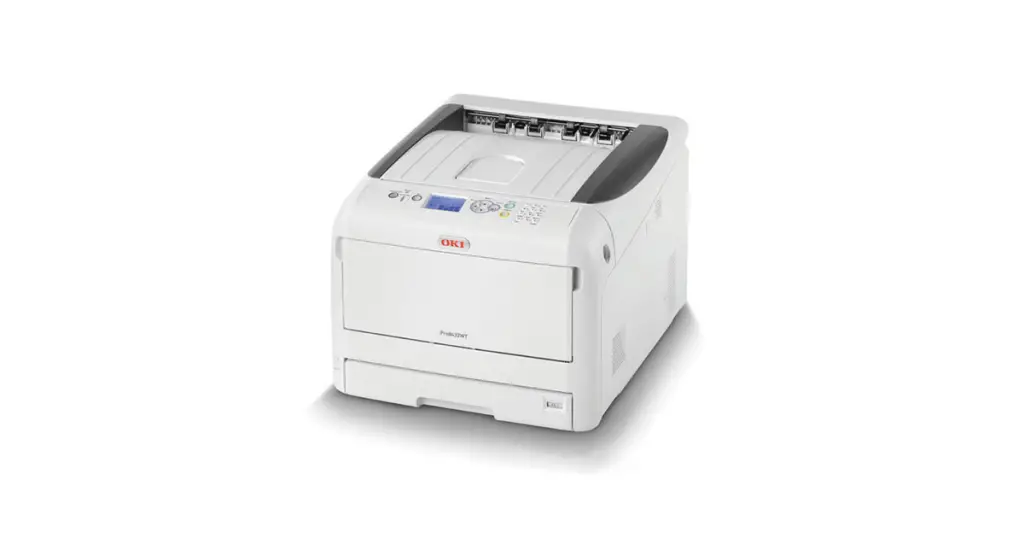
One of the most straightforward ways to print white on black paper is by using a printer specifically designed for this purpose.
White toner printers are specialized devices that use white toner instead of, or in addition to, the standard CMYK (Cyan, Magenta, Yellow, and Key/Black) color model.
Step 1: Choose the Right Printer
Select a printer that supports white toner printing. Some popular options include:
- OKI C941dn
- Ricoh Pro C7200x Series
- Xerox Iridesse Production Press
These printers are typically high-end and may be more suitable for professional print shops or businesses with frequent white-on-black printing needs.
Step 2: Load Black Paper
Ensure your chosen black paper is compatible with your printer. Look for paper specifically designed for digital printing to avoid issues with feeding or toner adhesion.
Step 3: Configure Printer Settings
Access your printer’s settings through its control panel or connected software. Look for options related to specialty media or white toner printing. You may need to specify the paper type and adjust settings for optimal white toner coverage.
Step 4: Prepare Your Design
Create your design using graphic design software. Remember that the areas you want to appear white should be colored white in your digital file, while the background should be transparent or black.
Step 5: Print a Test Page
Before committing to a full print run, always print a test page. This allows you to check the quality of the white print and make any necessary adjustments to your design or printer settings.
Step 6: Execute the Full Print Job
Once you’re satisfied with the test print, proceed with your full print job. Monitor the process to ensure consistent quality throughout the run.
Step 7: Allow Proper Drying Time
White toner may require more drying time than standard toner. Allow your prints to dry completely before handling to prevent smudging or transfer.
Note: Use high-quality black paper designed for your chosen printing method to ensure the best color contrast and ink adhesion.
Method 2: Screen Printing
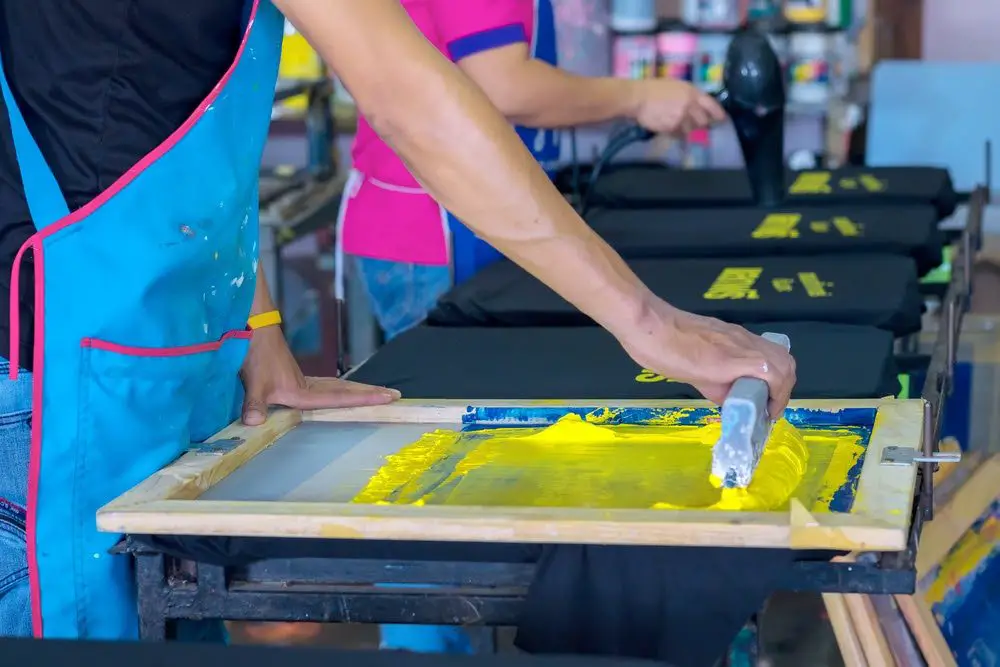
Screen printing is a versatile technique that can produce excellent results when printing white on black paper. While it requires more setup than digital printing, it offers the advantage of producing vibrant, opaque white prints.
Step 1: Prepare Your Design
Create your design using vector graphics software. Ensure that the elements you want to print in white are solid shapes without gradients or fine details.
Step 2: Create a Screen
Burn your design onto a silk screen using photo emulsion. The areas where you want the white ink to appear should be clear on the screen.
Step 3: Set Up Your Printing Area
Secure your black paper to a flat surface. Position the screen above the paper, leaving a small gap for the ink to pass through.
Step 4: Apply White Ink
Use a squeegee to spread white ink across the screen, forcing it through the open areas onto the black paper below.
Step 5: Remove the Screen
Carefully lift the screen away from the paper to reveal your white print.
Step 6: Allow the Ink to Dry
Let the white ink dry completely. This may take several hours, depending on the ink type and thickness of the application.
Step 7: Heat Set the Ink (Optional)
For added durability, you may want to heat set the ink using a heat press or an iron. Follow the ink manufacturer’s instructions for best results.
Related Article: How to Print on Sublimation Paper
Method 3: Using White Ink Pens or Paint Markers
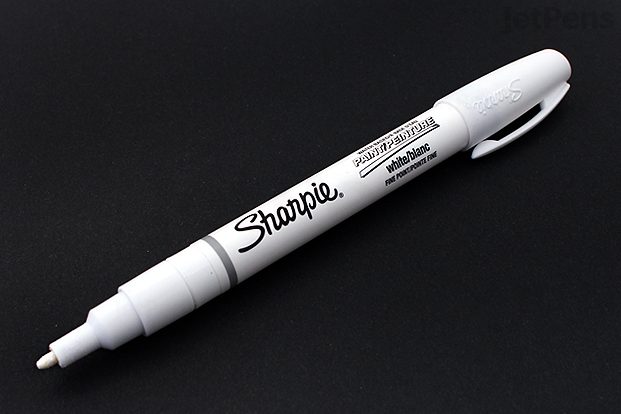
For smaller projects or hand-lettered designs, white ink pens or paint markers can be an excellent choice. This method is particularly suitable for customizing individual items or creating unique, artisanal pieces.
Step 1: Choose Your Writing Instrument
Select a high-quality white ink pen or paint marker. Look for options specifically designed for use on dark papers, such as:
- Sakura Gelly Roll White Ink Pen
- Posca PC-5M White Paint Marker
- Sharpie Water-Based Paint Marker in White
Note: Be mindful of the opacity of your white medium. Multiple layers may be necessary to achieve a bright, solid white.
Step 2: Prepare Your Black Paper
Ensure your black paper is clean and free from oils or debris that might interfere with ink adhesion.
Step 3: Test the Pen or Marker
On a scrap piece of black paper, test your chosen writing instrument to get a feel for its flow and opacity.
Step 4: Create Your Design
Carefully write or draw your design on the black paper. For best results, use slow, deliberate strokes to ensure even ink distribution.
Step 5: Allow the Ink to Dry
Give the ink ample time to dry to prevent smudging. This typically takes only a few minutes but can vary depending on the specific product used.
Step 6: Apply Multiple Layers (If Necessary)
For increased opacity, you may need to apply multiple layers of ink. Wait for each layer to dry completely before adding the next.
Step 7: Protect Your Work
Consider applying a clear fixative spray to protect your design from smudging or fading, especially if the item will be handled frequently.
Method 4: Reverse Printing on Transfer Paper
This method involves printing your design in reverse on special transfer paper, then applying it to black paper. While more complex, it can produce crisp results and is particularly useful for intricate designs.
Step 1: Choose Appropriate Transfer Paper
Select light transfer paper designed for use with your printer type (inkjet or laser).
Step 2: Create Your Design
Using graphic design software, create your design and mirror it horizontally. This ensures it will appear correctly when transferred.
Step 3: Print on Transfer Paper
Print your mirrored design onto the transfer paper using standard black ink. Ensure your printer settings are adjusted for the type of transfer paper you’re using.
Step 4: Cut Out Your Design
Carefully cut around your printed design, leaving a small border if desired.
Step 5: Prepare for Transfer
Place your black paper on a hard, heat-resistant surface. Position your cut-out design face-down on the black paper.
Step 6: Apply Heat
Using an iron set to the appropriate temperature for your transfer paper, press firmly and evenly over the back of the transfer paper. Follow the transfer paper manufacturer’s instructions for heating time and technique.
Step 7: Cool and Peel
Allow the paper to cool completely before carefully peeling away the transfer paper to reveal your white design on the black paper.
Note: In case you want to print in white on black cardstock then you can also check out our complete guide on how to print on black cardstock.
Method 5: Using a Laser Engraver
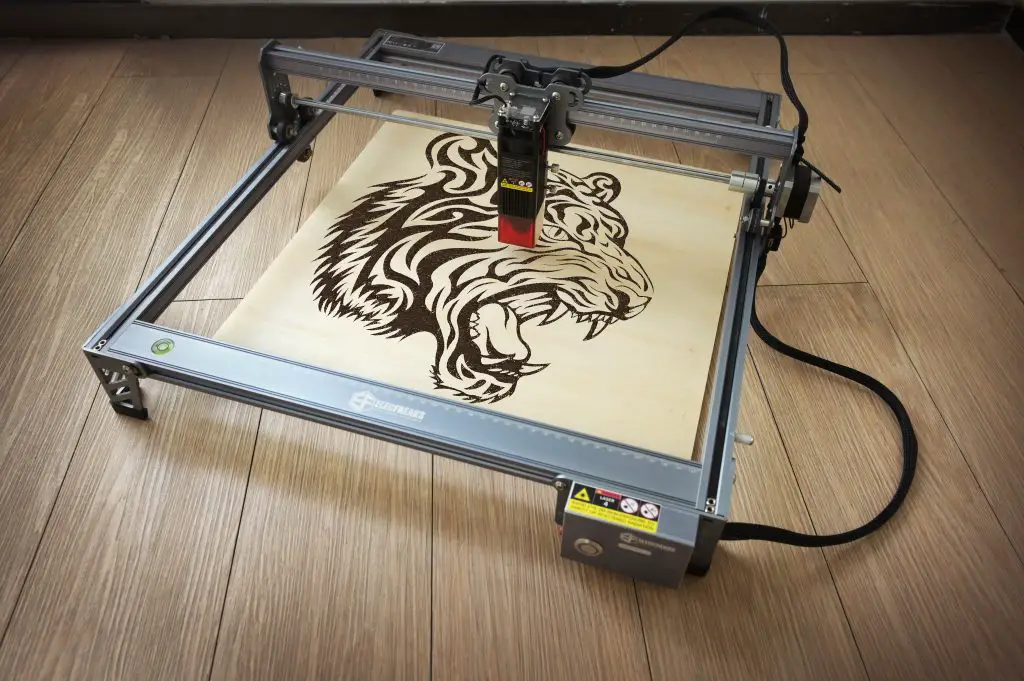
For those with access to a laser engraver, this method can produce stunning results by etching away the top layer of black paper to reveal a white or light-colored core.
Step 1: Select Appropriate Paper
Choose black paper with a white or light-colored core. Some papers are specifically designed for laser engraving.
Tip: Consider the texture of your black paper. Smoother papers often yield crisper results, especially for fine details.
Step 2: Prepare Your Design
Create your design in vector format using software compatible with your laser engraver.
Step 3: Set Up the Laser Engraver
Place your black paper in the laser engraver and ensure it’s properly secured and aligned.
Step 4: Adjust Laser Settings
Configure your laser engraver’s power and speed settings. You’ll want to remove just enough of the black surface to reveal the white core without cutting through the paper.
Step 5: Perform a Test Run
Engrave a small test area to ensure your settings achieve the desired effect.
Step 6: Execute the Full Engraving
Once you’re satisfied with the test results, proceed to engrave your entire design.
Step 7: Clean the Engraved Area
Gently brush away any paper debris from the engraved areas to reveal clean, white lines or shapes.
Conclusion
Printing white on black paper opens up a world of creative possibilities, allowing you to produce striking and sophisticated designs that stand out from traditional black-on-white printing.
Whether you’re using a specialized white toner printer, employing screen printing techniques, leveraging the precision of a laser engraver, or opting for a more hands-on approach with paint markers, each method offers unique advantages and can be tailored to suit your specific project needs.
Remember that mastering these techniques may require some practice and experimentation. Don’t be discouraged if your first attempts don’t yield perfect results. With patience and persistence, you’ll soon be creating stunning white-on-black prints that captivate and impress.
As you explore these methods, consider the scale of your project, the level of detail required, and the resources at your disposal. For large-scale or commercial projects, investing in specialized equipment or outsourcing to a professional print shop might be the most efficient solution. For smaller, more personal projects, hand-drawn or DIY methods can provide a charming, artisanal touch.
Ultimately, the key to success lies in understanding the unique challenges of printing white on black and adapting your approach accordingly. By carefully selecting your materials, fine-tuning your techniques, and paying attention to the finer details of your design, you can achieve professional-quality results that transform your ideas into eye-catching realities.
So go ahead, embrace the elegance of white on black, and watch as your prints take on a new dimension of visual impact. With the knowledge and techniques outlined in this guide, you’re well-equipped to tackle this innovative printing challenge and add a touch of sophisticated contrast to your creative projects.
Frequently Asked Questions (FAQs)
1. How to print white ink on colored paper?
Printing white ink on colored paper can be tricky, but it’s definitely doable. The key is using the right tools and techniques. One popular method is to use a printer that supports white toner or ink, like some specialized laser printers.
Another option is screen printing, which works well for larger projects. For smaller tasks, you might try white paint markers or pens designed for dark papers.
Digital printing with transfer paper is also an option – you print a reverse image and then apply it to the colored paper. Whatever method you choose, always test first and be patient – it might take a few tries to get it just right!
2. Can you print white on a black card?
Absolutely! Printing white on a black card is not only possible but can create stunning results. There are several ways to tackle this eye-catching technique. One option is using a printer specifically designed for white ink or toner, which can produce crisp white text and images on dark backgrounds.
For a more hands-on approach, you might try screen printing or using white paint markers. If you’re feeling crafty, you could even experiment with heat transfer methods or embossing techniques.
The key is to choose high-quality black cardstock and test your chosen method before diving into your final project. With a little patience and practice, you’ll be creating elegant white-on-black designs in no time!
3. How do I print white on black Label?
Printing white on black labels can give your products a sleek, professional look. There are a few ways to tackle this task. One option is using a printer that supports white toner or ink, like some specialized laser printers.
These can print directly onto black label paper. Alternatively, you could try thermal transfer printing, which uses heat to transfer white ink onto dark labels. For smaller batches, white paint markers or pens designed for dark surfaces can work well.
If you’re feeling adventurous, you might even explore vinyl cutting and application for a crisp, durable result. Whatever method you choose, always test on a few labels first to ensure you get the look you want before printing your entire batch.

How to Make Matte Paper Glossy – A Comprehensive Guide
How to Change Paper Size on HP Printer Using iPhone – Easy Steps
How to Print Multiple Business Cards on One Sheet – Easy Guide
About Author
Mark Kelly
This is Mark, a printer expert from North Carolina, US. It has been 8 years since I started using and reviewing printers of all types. With that said, I decided to share my knowledge with you lovely people so you can make the perfect choice when it comes to choosing a printer.