How to Print STL Files – Complete Step by Step Guide
In the rapidly evolving world of 3D printing, STL (STereoLithography) files have become the universal standard for transferring digital 3D models between design software and 3D printers.
These compact files represent three-dimensional objects as a collection of triangular meshes, serving as the digital blueprint for transforming virtual designs into tangible, physical objects. Understanding how to effectively print STL files is crucial for makers, designers, engineers, and hobbyists alike.
The journey from a digital STL file to a physical 3D printed object involves multiple intricate steps, requiring precision, technical knowledge, and careful preparation.
How to Print STL Files
Whether you’re a novice exploring the fascinating realm of 3D printing or an experienced creator looking to refine your printing techniques, this comprehensive guide will walk you through the essential processes of successfully printing STL files.
Method 1: Printing STL Files Using FDM 3D Printers
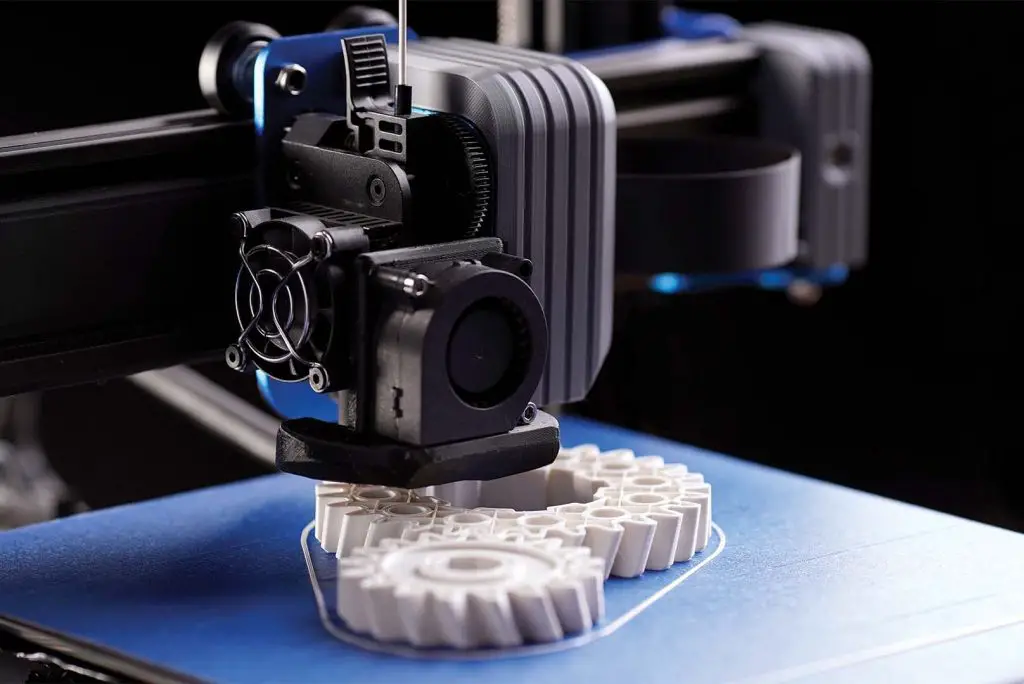
Fused Deposition Modeling (FDM) is the most common and accessible 3D printing technology for hobbyists and makers.
This method involves melting thermoplastic filament and precisely depositing it layer by layer to create three-dimensional objects with excellent structural integrity.
Step 1: File Preparation
Preparing your STL file is the foundational step in the 3D printing process. Begin by thoroughly examining the digital model for any potential structural issues. Check for manifold geometry, which means ensuring the 3D model has a completely enclosed surface without any gaps or intersecting triangles that could compromise print quality.
Step 2: Slicing the STL File
Slicing transforms your STL file into a series of thin layers that your 3D printer can understand and recreate. Utilize specialized slicing software like Cura, PrusaSlicer, or Simplify3D to convert the STL file into precise G-code instructions. During this process, you’ll configure critical printing parameters such as layer height, print speed, infill density, and support structures.
Step 3: Filament Selection
Choose a filament that matches your project’s requirements. Popular options include PLA for beginners, ABS for durability, PETG for mechanical parts, and specialized filaments like TPU for flexible objects.
Note: Consider the material’s properties, such as melting point, strength, and flexibility, when selecting your filament.
Step 4: Printer Calibration
Accurate printer calibration is paramount for successful 3D printing. This involves leveling the print bed, ensuring proper nozzle height, and configuring temperature settings. A well-calibrated printer minimizes print defects and guarantees dimensional accuracy of your final object.
Step 5: Printing Process
Load your prepared G-code into the 3D printer and initiate the printing process. Monitor the initial layers carefully, as they establish the foundation for the entire print. Be prepared to pause or adjust settings if you notice any immediate issues with adhesion or layer formation.
Related Guide: How to Edit 3D Print Files
Method 2: Printing STL Files Using Resin (SLA/DLP) Printers

Stereolithography (SLA) and Digital Light Processing (DLP) represent a more precise 3D printing technology that uses liquid resin cured by ultraviolet light.
These methods excel in creating highly detailed models with smooth surfaces, making them ideal for intricate designs, jewelry, dental applications, and miniature figurines.
Step 1: Resin File Preparation
Resin printing requires slightly different preparation compared to FDM printing. Examine your STL file and potentially use software to add support structures, which are critical for preventing deformation during the printing process.
Step 2: Resin Selection
Choose a resin that matches your specific requirements. Options range from standard clear resins to specialized engineering resins with specific mechanical properties. Consider factors like curing time, flexibility, and post-processing needs when selecting your resin.
Step 3: Printer Preparation
Clean the resin vat thoroughly and ensure the build platform is immaculately prepared. Pour the appropriate amount of resin, taking care to avoid contamination. Level the build platform with extreme precision, as resin printing demands exceptional accuracy.
Step 4: Printing Parameters
Configure your printer’s settings, including layer height, exposure time, and lift speed. These parameters dramatically influence print quality and overall success. Smaller layer heights produce more detailed prints but increase total print time.
Step 5: Post-Processing
After printing, carefully remove the printed object from the build platform. Wash the print in isopropyl alcohol to remove uncured resin, then perform UV curing to achieve maximum strength and stability.
Conclusion
Printing STL files is a blend of technical skill, creativity, and patience. Each print is a learning opportunity, offering insights into material behavior, printer capabilities, and design optimization. Embrace the iterative nature of 3D printing, continuously refining your techniques and expanding your knowledge.
Remember that mastery comes through consistent practice, careful observation, and a willingness to experiment. Whether you’re creating functional prototypes, artistic sculptures, or practical household items, the ability to transform digital STL files into physical objects is a powerful skill in today’s technological landscape.
Frequently Asked Questions (FAQs)

1. How do I make STL files printable?
To make STL files printable, first ensure the 3D model is manifold, meaning it has no holes or intersecting surfaces. Use 3D modeling software like Fusion 360 or Blender to check and repair any geometric issues. Optimize the model’s wall thickness and add support structures if needed.
Convert the file to the correct scale and orientation for your specific 3D printer. Use slicing software like Cura or PrusaSlicer to generate G-code, which translates the STL into printer-specific instructions. Finally, verify the model’s dimensions and complexity match your printer’s capabilities before starting the print.
2. How do I export STL files for 3D printing?
To export STL files for 3D printing, follow these steps,
Open your 3D modeling software like Fusion 360, Blender, or SketchUp. Ensure your 3D model is complete and watertight without any geometric errors. Select the entire model or the specific components you want to export.
Navigate to the “File” menu and choose the export option. Select “STL” as the file format, which is the standard for 3D printing. Choose your export settings: binary or ASCII format (binary is typically recommended), and set the resolution to maintain model details.
Verify the file size and scale before saving. Check the exported STL file in a 3D printing slicer to confirm it looks correct and is ready for printing.
3. Can Ender 3 print STL?
Yes, the Ender 3 can print STL files easily. Simply import your STL into a slicing software like Cura, adjust print settings such as layer height and support structures, and generate G-code specific to your printer. Transfer the file to the Ender 3 via SD card, ensure the print bed is level, and start printing.
The Ender 3 is renowned for being user-friendly and compatible with most STL files from various design sources.

