
How to Print on Sublimation Paper – 2 Easy Methods to Follow
Sublimation printing has revolutionized the world of custom product creation, offering a myriad of possibilities for vibrant, long-lasting designs on various materials. At the heart of this innovative process lies the crucial step of printing on sublimation paper.
This guide will walk you through the intricacies of sublimation printing, demystifying the process and equipping you with the knowledge to achieve professional-quality results.
The sublimation process involves transferring dye onto materials using heat and pressure. It begins with printing a design onto special sublimation paper using sublimation inks.
When heat is applied, the dye undergoes a phase transition, turning into a gas that permeates the fibers or coating of the target material. This results in a permanent, full-color image that’s resistant to fading and wear.
From custom apparel to personalized mugs and phone cases, sublimation printing has become ubiquitous in the realm of bespoke products. The key to mastering this technique lies in understanding the nuances of sublimation paper and the printing process.
How to Print on Sublimation Paper
Let’s delve into the methods and steps required to harness the full potential of this versatile printing method.
Method 1: Direct Printing on Sublimation Paper
This is the most common method for sublimation printing and is suitable for most applications.
Step 1: Prepare Your Design
Create your design using graphics software such as Adobe Photoshop, Illustrator, or CorelDRAW. Ensure your design is in RGB color mode and at the correct size and resolution for your intended application.
Step 2: Configure Printer Settings
Open your printer settings and select the appropriate paper type. Usually, this will be a setting like “sublimation paper” or “transfer paper”. Adjust the print quality to the highest setting for best results.
Step 3: Mirror Your Image
Before printing, mirror (or flip) your image horizontally. This step is crucial because the design will be transferred in reverse when heat-pressed onto the final product.
Step 4: Load Sublimation Paper
Load the sublimation paper into your printer. Pay attention to which side of the paper is the printable side – it’s usually the whiter or more coated side. Load the paper so that it will print on the correct side.
Important: Plan your prints to use as much of the sublimation paper as possible. Group multiple smaller designs together to minimize paper waste.
Step 5: Print Your Design
Send your mirrored design to the printer. The sublimation ink will be printed onto the special coating of the sublimation paper.
Step 6: Allow the Print to Dry
After printing, allow the ink on the sublimation paper to dry completely. This usually takes only a few minutes but can vary depending on the ink and paper used. Avoid touching the printed area to prevent smudging.
Related Guide: How to Print 13×19 on Epson 8550
Method 2: Transfer Paper Method
This method involves printing on a transfer paper first, then transferring the design to sublimation paper. It can be useful when working with certain types of printers or for achieving specific effects.
Step 1: Print on Transfer Paper
Follow steps 1-3 from the direct printing method, but use transfer paper instead of sublimation paper.
Step 2: Prepare Sublimation Paper
Cut a piece of sublimation paper to match the size of your transfer paper print.
Step 3: Heat Press Transfer to Sublimation Paper
Place the transfer paper face-down on the sublimation paper. Use a heat press to transfer the design from the transfer paper to the sublimation paper. Follow the manufacturer’s instructions for temperature and time settings.
Step 4: Cool and Peel
Allow the papers to cool completely, then carefully peel the transfer paper away from the sublimation paper. Your design should now be on the sublimation paper, ready for the final transfer to your product.
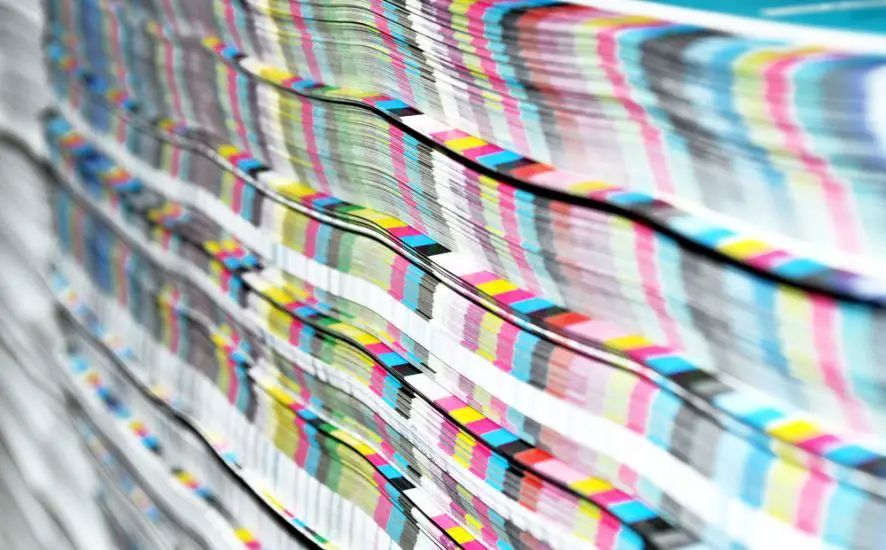
Note: If your printed colors don’t match your digital design, you may need to calibrate your printer or adjust your color profile. Use color management software to create a custom ICC profile for your specific printer, ink, and paper combination.
Conclusion
Mastering the art of printing on sublimation paper is a journey that combines technical knowledge with creative skill. By understanding the principles behind sublimation, choosing the right equipment, and following the steps outlined in this guide, you’ll be well on your way to producing vibrant, high-quality sublimation prints.
Remember that practice and experimentation are key to refining your technique. Each combination of printer, ink, paper, and substrate may require slight adjustments to achieve optimal results. Keep detailed records of your processes and outcomes to help you replicate successes and avoid pitfalls.
As you continue to develop your skills, stay informed about new developments in sublimation technology. The field is constantly evolving, with new inks, papers, and techniques emerging regularly. Engaging with the sublimation community through forums, trade shows, and workshops can provide valuable insights and inspiration.
Whether you’re creating custom apparel, personalized gifts, or unique promotional items, sublimation printing offers endless possibilities for bringing your designs to life. With patience, attention to detail, and a willingness to learn, you’ll be able to harness the full potential of this versatile printing method.
Frequently Asked Questions (FAQs)
1. Can I print sublimation paper on a regular printer?
While it’s technically possible to feed sublimation paper through a regular printer, it’s not recommended for achieving proper sublimation results. Standard printers use dye or pigment-based inks that aren’t designed for the sublimation process.
These inks won’t transfer correctly when heat is applied, resulting in faded, inaccurate colors or no transfer at all. For successful sublimation printing, you need a printer specifically designed for or converted to use sublimation inks.
These specialized inks are formulated to turn into a gas when heated, allowing them to bond with polyester or polymer-coated surfaces. Attempting sublimation with a regular printer will likely lead to disappointing results and potential damage to your printer.
2. Which way do you print on sublimation paper?
When printing on sublimation paper, it’s crucial to print on the correct side for optimal results. Most sublimation paper has a coated side, which is typically whiter and slightly shinier than the uncoated side. This coated side is where you should print your design.
To determine which side is coated, you can gently scratch a corner of the paper – the coated side will feel smoother and may show a slight mark from your fingernail.
Always refer to the manufacturer’s instructions, as some papers may have specific markings or guidelines. Remember to load the paper into your printer so that it prints on this coated side, ensuring the best ink absorption and transfer quality for your sublimation projects.
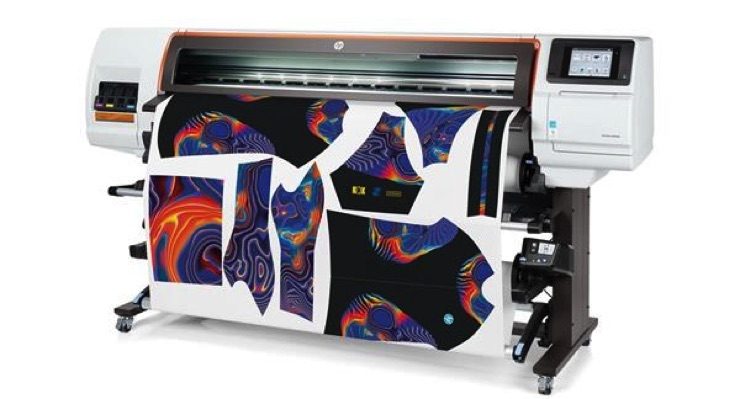
3. What printers can be used for sublimation?
Several types of printers can be used for sublimation printing, but not all are created equal. Dedicated sublimation printers, like those from Sawgrass, are specifically designed for this purpose and offer optimal results.
Some Epson EcoTank models can be converted for sublimation use by filling them with sublimation ink instead of standard ink. Certain Ricoh printers are also popular choices for sublimation. When selecting a printer, consider factors like print size, speed, and color accuracy.
It’s crucial to use printers that can handle sublimation ink without damaging the print heads. Always check the manufacturer’s specifications and user experiences before converting a printer to ensure compatibility with sublimation processes.

How to Print on 4×6 Cardstock – 3 Easy Ways to Follow

How to Make Matte Paper Glossy – A Comprehensive Guide
How to Print White on Black Paper – 5 Easy Methods
About Author
Mark Kelly
This is Mark, a printer expert from North Carolina, US. It has been 8 years since I started using and reviewing printers of all types. With that said, I decided to share my knowledge with you lovely people so you can make the perfect choice when it comes to choosing a printer.