How to Print on Cardstock at Home – 2 Easy Methods
Crafting professional-looking cards, invitations, and prints at home becomes a gratifying endeavor when you master the art of printing on cardstock. This versatile medium, distinguished by its substantial weight and durability, offers a sophisticated touch to your DIY projects.
Whether you’re designing wedding invitations, business cards, or holiday greetings, understanding the nuances of cardstock printing can transform your home office into a mini print studio.
Before diving into your first cardstock project, it’s essential to familiarize yourself with the fundamentals. The process requires more than just loading paper into your printer—it demands attention to paper weight specifications, printer capabilities, and proper settings calibration.
While the terminology and technical aspects might seem daunting at first, the learning curve is surprisingly manageable.
How to Print on Cardstock at Home

This guide will walk you through everything you need to know about printing on cardstock at home, from selecting the right materials to achieving impeccable results.
With the right approach and a few key insights, you’ll be well-equipped to create professional-quality prints that rival commercial alternatives.
Printing Methods for Cardstock
Printing on cardstock requires strategic approaches tailored to your specific printer and project needs. The following methods offer versatile solutions for home printing, each with unique advantages and considerations.
By understanding these techniques, you can select the most appropriate method for your particular printing requirements.
Method 1: Manual Feed Printing

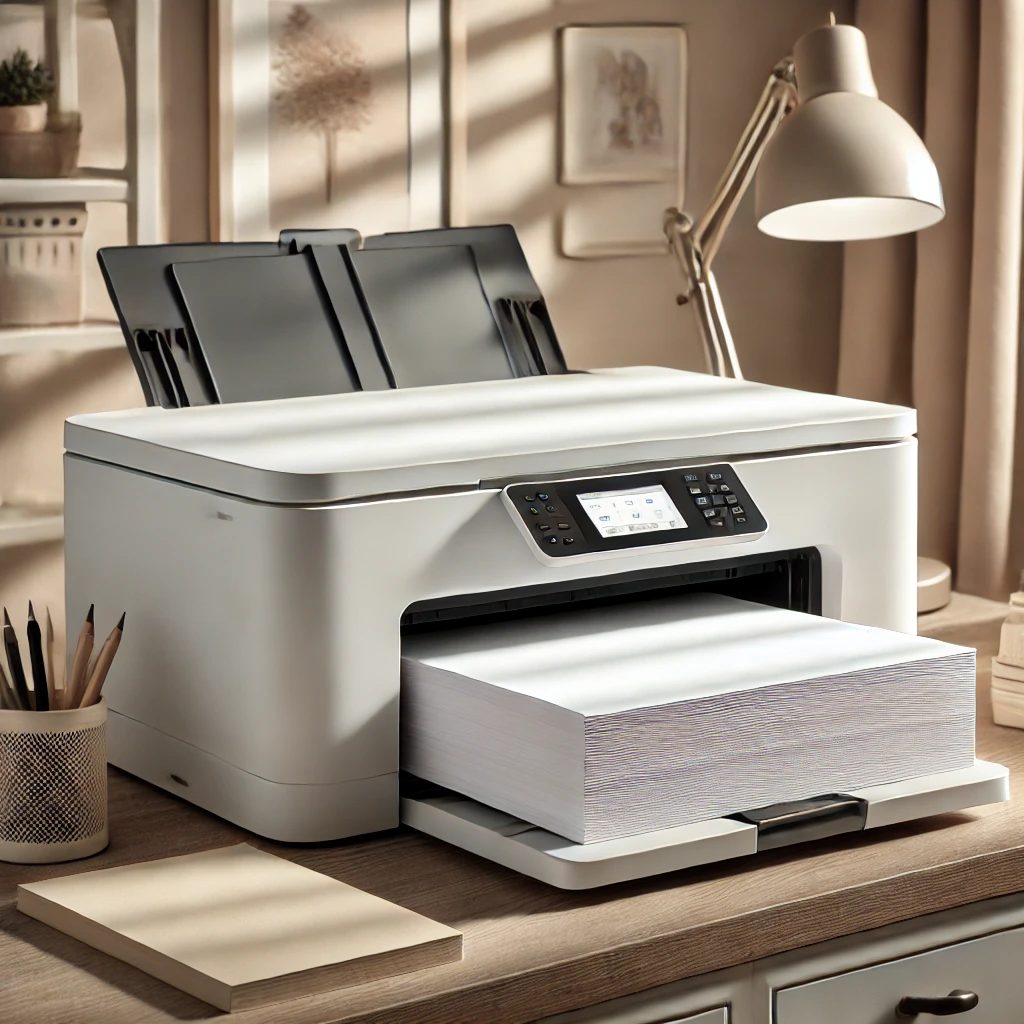
Manual feed printing represents the most precise and controlled method for printing on cardstock. This technique is ideal for users seeking maximum print accuracy, especially when working with delicate or limited quantities of high-quality cardstock.
By providing direct, single-sheet feeding, manual feed printing minimizes the risk of paper jams and ensures optimal alignment for professional-looking results.
Step 1: Manual Feed Preparation
Manual feed printing provides the most controlled approach to printing on cardstock. Locate your printer’s manual feed tray, typically found on the rear or side of the printer. This specialized tray allows for single-sheet feeding, reducing the likelihood of paper jams and ensuring precise paper alignment.
Pro Tip: Before loading the cardstock, carefully fan the sheets to prevent them from sticking together. This simple technique helps ensure smooth paper feeding and reduces the risk of multiple sheets being pulled simultaneously through the printer.
Step 2: Paper Alignment
Align the cardstock precisely in the manual feed tray, ensuring the print side faces the correct direction as specified in your printer’s manual. Most printers have directional indicators or symbols to guide proper paper orientation. Take care to center the cardstock and avoid skewed positioning, which can result in misaligned prints.
Related Guide: How to Print on Black Cardstock
Method 2: Standard Tray Printing

Standard tray printing offers a convenient and efficient alternative for users who need to print multiple cardstock sheets or prefer a more automated approach.
This method leverages your printer’s primary paper tray, making it suitable for larger print jobs and users who want a more streamlined printing process. While it requires careful preparation and attention to printer settings, standard tray printing can provide consistent results with the right technique.
Step 1: Tray Preparation
For printers with more robust paper handling capabilities, standard tray printing can be an efficient alternative. Begin by emptying the primary paper tray and removing any standard paper. Clean the tray surface to eliminate dust or debris that might interfere with cardstock feeding.
Adjust the paper guide rails to accommodate the width of your cardstock, ensuring a snug but not overly tight fit. Loose paper guides can cause misalignment, while overly tight guides might cause paper jamming or uneven printing.
Step 2: Batch Loading
When printing multiple cardstock sheets, load them in small batches to minimize printing complications. Avoid overfilling the tray, as this increases the likelihood of paper feed issues. For most home printers, limiting the batch to 10-15 sheets provides the most reliable printing experience.
Conclusion
Printing on cardstock at home is an achievable task that requires patience, precision, and understanding of your printer’s unique capabilities. By following the methods and techniques outlined in this guide, you can produce professional-quality prints from the comfort of your home office or creative workspace.
Remember that practice and experimentation are key to mastering cardstock printing. Each printer model has unique characteristics, so what works perfectly for one might require slight adjustments for another. Approach the process methodically, and don’t be discouraged by initial challenges.
With the right preparation, settings, and techniques, you’ll be creating stunning cardstock prints that rival professional printing services in no time.
Frequently Asked Questions (FAQs)

1. Can I print cardstock on a regular printer?
Yes, you can print cardstock on most regular printers, but there are a few important considerations. First, check your printer’s specifications for the maximum paper weight it can handle – typically between 65-80 lb (176-216 gsm) for home printers.
Use the manual feed or specialty paper tray if your printer has one, as this provides the straightest path through the printer. Adjust your printer settings to “cardstock” or “heavy paper” to prevent jams and ensure proper ink coverage.
For best results, choose cardstock within your printer’s recommended weight range and print a test page first.
2. How do I print something on cardstock?
To print on cardstock, start by checking your printer’s manual for the maximum supported paper weight, typically 65-80 lb for home printers. Adjust your printer settings by selecting “Heavy Paper” or “Cardstock” as the paper type and setting print quality to “Best”.
Load the cardstock carefully, using the manual feed tray if available, and ensure paper guides fit snugly. Fan the sheets to prevent sticking and load only a few at a time. Always print a test page first and allow each sheet to dry completely to avoid smudging.
3. How to set a printer to print on cardstock?
Open your printer settings by clicking “Print” and selecting “Printer Properties” or “Preferences”. Look for the “Paper Type” or “Media Type” option and select “Cardstock” or “Heavy Paper” from the dropdown menu. If available, choose “High Quality” or “Best” for print quality.
Next, adjust the paper thickness settings. Some printers have a physical lever or switch to adjust for thicker paper – check your manual for this. Set the paper source to the manual feed tray or rear tray if your printer has one, as these provide a straighter paper path.
Finally, make sure your page size matches your cardstock dimensions and consider reducing print speed if your printer allows it. These settings help prevent paper jams and ensure proper ink application.


