How to Print on 5×7 Envelopes – Easy Methods to Perform

Printing on 5×7 envelopes might seem like a simple task, but it can quickly become a perplexing endeavor for many. Whether you’re sending out wedding invitations, business correspondence, or holiday cards, mastering this skill can add a touch of professionalism to your mailings.
In this comprehensive guide, we’ll demystify the process of printing on these slightly unconventional-sized envelopes, exploring various methods to suit different needs and printer types.
From navigating software options to troubleshooting common pitfalls, we’ll equip you with the knowledge to achieve crisp, perfectly positioned text and graphics on your envelopes. Don’t let the fear of misaligned addresses or paper jams deter you – with our step-by-step instructions, you’ll be printing like a pro in no time.
So, whether you’re a small business owner, an event planner, or simply someone who appreciates the art of personalized correspondence, this guide will help you elevate your envelope game and leave a lasting impression on your recipients.
How to Print on 5×7 Envelopes
We’ll delve into multiple approaches, catering to both tech-savvy users and those who prefer more straightforward methods.
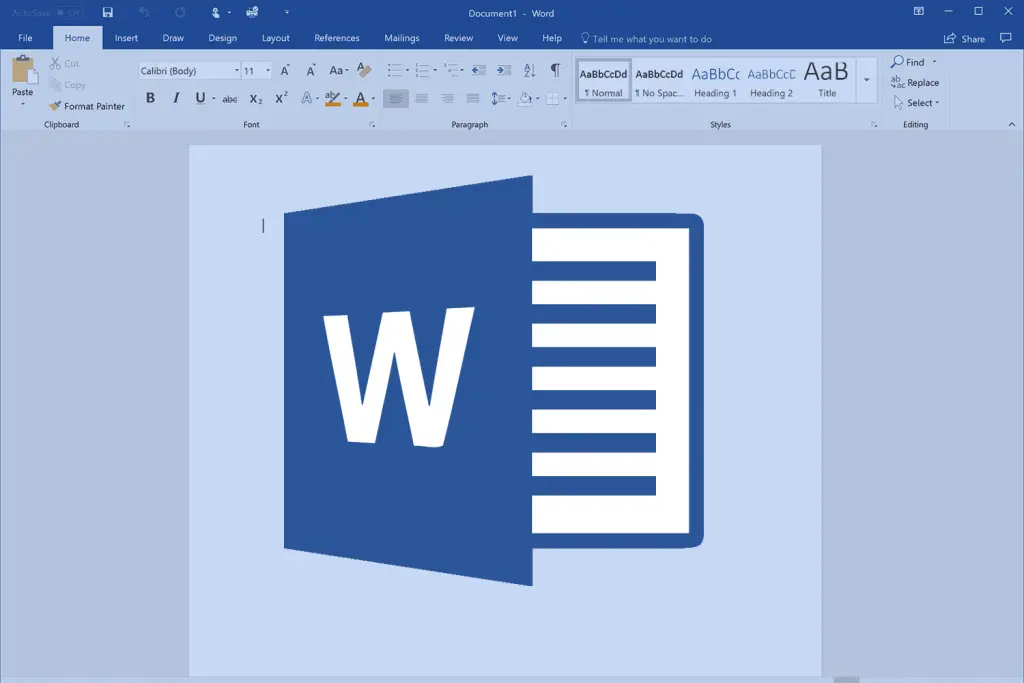
Method 1: Printing Using Microsoft Word

Microsoft Word is a versatile word processing software that offers built-in envelope printing capabilities. Follow these steps to print on 5×7 envelopes using Microsoft Word.
Step 1: Open Microsoft Word and Create a New Document
Launch Microsoft Word and open a new, blank document. This will serve as the starting point for your envelope design.
Step 2: Access the Envelopes Feature
Navigate to the “Mailings” tab in the top menu. Look for the “Envelopes” button in the “Create” group and click on it. This will open the Envelopes and Labels dialog box.
Note: Ensure your printer is capable of handling 5×7 envelopes. Some printers may have limitations on envelope sizes or types.
Step 3: Enter Envelope Information
In the Envelopes and Labels dialog box, you’ll see two main sections: “Delivery address” and “Return address”. Enter the recipient’s address in the Delivery address field and your return address in the Return address field. If you don’t want to include a return address, leave that field blank.
Step 4: Specify Envelope Size
Click on the “Options” button in the Envelopes and Labels dialog box. In the Envelope Options tab, locate the “Envelope size” dropdown menu and select “5×7 (A7)” or a custom size that matches your envelope dimensions.
Step 5: Adjust Printing Options
In the same Envelope Options dialog box, you can specify the feed method and print position. Choose the appropriate feed method based on your printer’s capabilities (face up or face down, flap on left, right, top, or bottom). Use the “From left” and “From top” settings to fine-tune the print position if necessary.
Step 6: Preview and Print
Click “OK” to return to the Envelopes and Labels dialog box. Click “Add to Document” to see how your envelope will look.
If you’re satisfied with the preview, load a 5×7 envelope into your printer according to the feed method you specified. Click “Print” to send the job to your printer.
Step 7: Test and Adjust
Print a test envelope on plain paper first to ensure proper alignment. If adjustments are needed, return to the Envelope Options dialog and modify the print position settings. Repeat this process until you achieve the desired results.
Related Article: In case you also need to print on cardstock, you can give a thorough read to our comprehensive guide on how to print on 5×7 cardstock.
Method 2: Using Specialized Envelope Printing Software

For those who frequently print envelopes or require more advanced design options, specialized envelope printing software can be a valuable tool. Here’s how to use such software to print on 5×7 envelopes.
Step 1: Choose and Install Envelope Printing Software
Research and select an envelope printing software that suits your needs. Popular options include Envelope Printer, EnvelopeDesigner Plus, and PrintEnvelopes. Download and install the chosen software on your computer.
Step 2: Launch the Software and Create a New Project
Open the envelope printing software and start a new project. Look for options to create a custom envelope or select a pre-defined 5×7 (A7) envelope template.
Step 3: Set Up Your Envelope Design
Use the software’s design tools to add text, graphics, and any other elements you want on your envelope. Most specialized software will provide features like address import, barcode generation, and customizable layouts.
Step 4: Configure Printer Settings
Access the printer settings within the software. Specify your printer model, paper source (typically manual feed for envelopes), and orientation (landscape or portrait, depending on your design and printer capabilities).
Step 5: Adjust Print Quality and Color Settings
Configure print quality settings based on your needs. For text-only envelopes, a draft or normal quality setting may suffice. For envelopes with graphics or logos, choose a higher quality setting. Adjust color settings if you’re printing in color.
Step 6: Preview Your Design
Use the software’s preview function to ensure your design looks correct and is properly positioned on the envelope. Make any necessary adjustments to the layout or print settings.
Step 7: Print a Test Envelope
Load a plain sheet of paper cut to the size of your envelope into the printer. Print a test copy to check alignment and overall appearance. Make adjustments as needed.
Note: Fan out the envelopes before loading them into the printer to prevent static buildup and reduce the risk of jams.
Step 8: Print Your 5×7 Envelopes
Once you’re satisfied with the test print, load your 5×7 envelopes into the printer according to the manufacturer’s recommendations. Print your envelopes in batches, monitoring the first few to ensure consistent quality and alignment.
Method 3: Using Your Printer’s Built-in Envelope Printing Feature

Many modern printers come with built-in envelope printing capabilities. This method can be particularly useful for those who prefer to work directly with their printer’s software. Here’s how to use this feature.
Step 1: Check Your Printer’s Capabilities
Consult your printer’s manual or manufacturer’s website to confirm that it has a built-in envelope printing feature and supports 5×7 envelopes.
Step 2: Open Your Printer’s Software
Locate and open your printer’s proprietary software on your computer. This is often installed automatically when you set up your printer, but you may need to download it from the manufacturer’s website.
Step 3: Select Envelope Printing Mode
Look for an option within the printer software to switch to envelope printing mode. This may be found under print settings, paper type, or a dedicated envelope printing section.
Step 4: Specify Envelope Size and Type
Choose the 5×7 (A7) envelope size from the available options. If your printer software allows, specify the envelope type (e.g., standard, heavy, glossy) to ensure optimal print quality.
Step 5: Enter Address Information
Use the software’s interface to enter the recipient’s address and, if desired, the return address. Some printer software may allow you to import addresses from your contacts or a database.
Step 6: Adjust Layout and Design
If the software provides design tools, use them to adjust the layout, font, and any additional elements you want to include on the envelope.
Step 7: Configure Print Settings
Set the print quality, color options, and any other relevant settings within the printer software. For most envelope printing, a normal or high-quality setting is recommended.
Step 8: Preview and Test Print
Use the software’s preview function to check your envelope design. Print a test copy on plain paper to verify alignment and appearance.
Step 9: Load and Print Envelopes
Once you’re satisfied with the test print, load your 5×7 envelopes into the printer as directed by the printer’s manual. Print your envelopes, monitoring the output to ensure consistent quality.
Related Article: How to Make Thermal Printer Print Darker
Conclusion
By following these methods, tips, and troubleshooting suggestions, you should be well-equipped to print professional-looking 5×7 envelopes using various techniques and printer types.
Remember that achieving perfect results may require some experimentation and fine-tuning, but with practice, you’ll be able to consistently produce high-quality printed envelopes for all your correspondence needs.
Frequently Asked Questions (FAQs)
1. How to print on a 5×7 envelope in Word?
To print on a 5×7 envelope in Word, start by opening a new document and selecting “Envelopes” under the “Mailings” tab. Choose “Envelope Options” and set the envelope size to 5×7. Enter the delivery and return addresses in the appropriate fields, then click “OK” to create the envelope.
Next, load the envelope into your printer according to its specifications. Select “Print” and choose the correct paper tray for envelopes. You may need to adjust printer settings for envelope thickness. Preview the layout to ensure correct positioning and print a test on regular paper first to check alignment.
Once you’re satisfied with the test print, go ahead and print on the actual envelope. This process ensures your 5×7 envelope is printed correctly and professionally.
2. How do you load a 5×7 envelope into a printer?
Loading a 5×7 envelope into a printer varies depending on your printer model, but here are general steps:
First, check your printer’s manual for specific instructions. Most printers require envelopes to be loaded vertically in the paper tray or through a dedicated envelope feeder. Ensure the flap is closed and facing up or down as specified by your printer.
Adjust the paper guides to fit the envelope snugly without bending it. If your printer has multiple trays, select the correct one for envelopes. Some printers may require you to change settings to “envelope” mode.
Before printing, do a test run with a plain sheet of paper cut to envelope size to check alignment. This helps avoid wasting envelopes and ensures proper printing.
3. How do I print 5×7 without borders?
To print 5×7 photos without borders, start by ensuring your printer supports borderless printing. In your printing software, look for a “borderless” or “full bleed” option. Set your paper size to 5×7 and select the highest quality print settings.
Adjust your image in photo editing software to fit the 5×7 dimensions, leaving a small bleed area around the edges. This prevents white borders from appearing due to slight misalignments.
When printing, use photo paper specifically designed for borderless printing. Load it correctly according to your printer’s instructions. Before printing your final image, do a test print on regular paper to check alignment and margins.
Remember, some printers may slightly enlarge the image to ensure full coverage, potentially cropping the edges slightly.


