
How to Print on 4×6 Cardstock – 3 Easy Ways to Follow
Are you wondering how to print on 4×6 cardstock? Well, we have got you covered as this guide will explain the complete process in a clear and a step-by-step manner.
How to Print on 4×6 Cardstock
Printing on 4×6 cardstock can be a bit of a conundrum, especially if you’re new to the realm of paper crafting. However, with a few simple steps and a pinch of perseverance, you can create stunning miniature masterpieces that will leave your friends and family in awe.
Whether you are crafting personalized invitations, tiny photo frames, or whimsical greeting cards, the ability to print on this diminutive yet versatile medium opens up a world of possibilities.
Imagine the delight on your loved ones’ faces as they receive a heartfelt message adorned with intricate designs or cherished memories captured in vivid hues.
Embark on this creative journey, and you will soon discover that the art of printing on 4×6 cardstock is a fun and rewarding endeavor.
Methods for Printing on 4×6 Cardstock
There are numerous ways that you can follow as a user to solve this problem. These include printing directly from a computer, mobile and a photo printer itself.
The complete description of every method is given below.
Method 1: Printing from a Desktop Computer
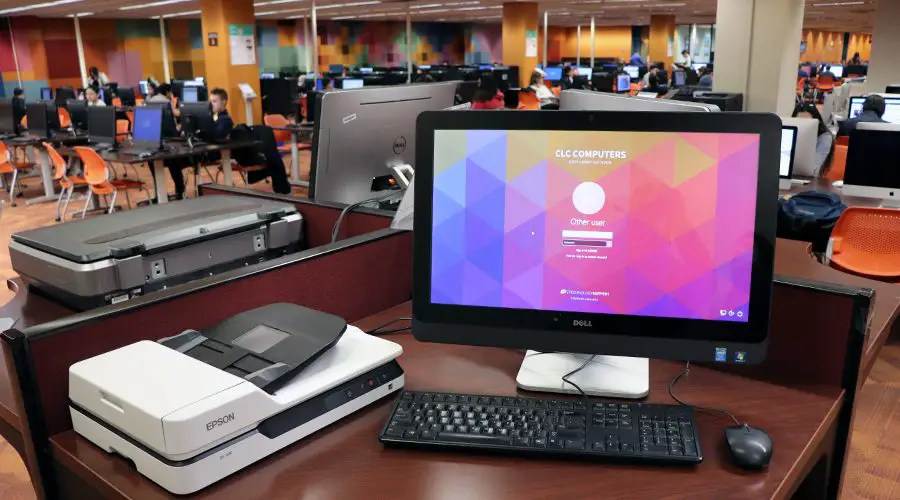
The good old desktop computer is a tried-and-true method for printing on 4×6 cardstock. Here’s how you can get it done.
Step 1: Prepare your Design
Fire up your trusty desktop and open the file you want to print. Whether it’s a Word doc, a graphic masterpiece, or a snazzy photo, get it ready to roll.
Step 2: Size it Up
In your software’s print settings, find the “Page Setup” or “Layout” option and adjust the page size to 4×6 inches or the equivalent in your preferred unit of measurement.
Step 3: Configure Like a Pro
Head over to your printer’s settings and make some adjustments:
- Paper type: Look for a setting like “Cardstock”, “Thick Paper”, or the specific cardstock weight you’re using.
- Print quality: Crank that bad boy up to the highest quality setting for crisp, vibrant prints.
- Paper source: Choose the paper tray or manual feed option, depending on your printer’s setup.
Step 4: Load Them up
If you’re using the manual feed, carefully load those 4×6 cardstock sheets into your printer’s manual feed tray, following the manufacturer’s instructions. If you’re using the paper tray, make sure it’s properly stocked with cardstock.
Step 5: Print it Like you Mean it
With everything set up, click that “Print” button and let your printer work its magic. Depending on your model, you might need to grab the printed cardstock from the output tray or manually remove it from the manual feed tray.
Important: Another very popular cardstock size among printer enthusiasts is 5×7. So, if you are looking forward to print on it, here it our detailed guide on how to print on 5×7 cardstock.
Method 2: Printing from a Mobile Device
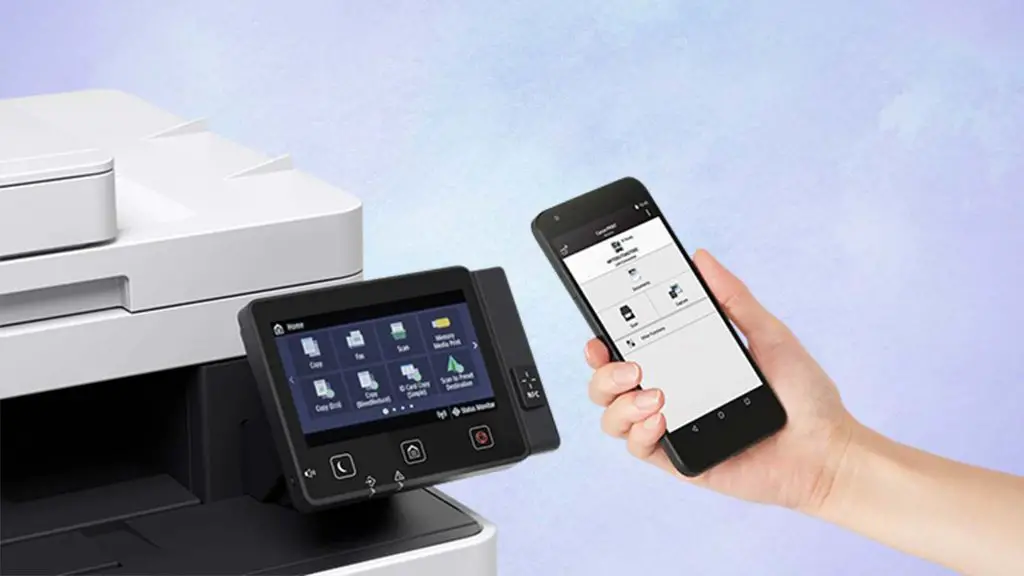
In this day and age, being able to print directly from your trusty smartphone or tablet is a game-changer. Here’s how to do it.
Step 1: Connect Like a Boss
Make sure your mobile device and printer are connected to the same Wi-Fi network. Or, if your printer supports it, you can use a direct wireless connection, USB, or even Bluetooth.
Step 2: App it Up
Most modern printers come with a dedicated mobile app that lets you print directly from your smartphone or tablet. Head to your device’s app store and download the app for your printer model.
Step 3: Open Sesame
Launch the file you want to print on your mobile device. Could be a photo from your gallery, a document, or any other compatible file.
Step 4: Configure like a Pro (Again)
Within the printer app, select the appropriate print settings:
- Paper size: Look for the 4×6 inch or equivalent size option.
- Paper type: Choose the cardstock setting that matches your chosen cardstock.
- Print quality: Set it to the highest quality available for crisp, vibrant prints.
Step 5: Load ’em Up (Again)
If your printer supports manual feed for cardstock, carefully load those 4×6 cardstock sheets into the manual feed tray. If not, make sure the paper tray is properly stocked with cardstock.
Step 6: Tap, Tap, Print
After configuring the settings, tap that “Print” button, and your mobile device will send the print job to your connected printer.
Method 3: Using a Dedicated Photo Printer
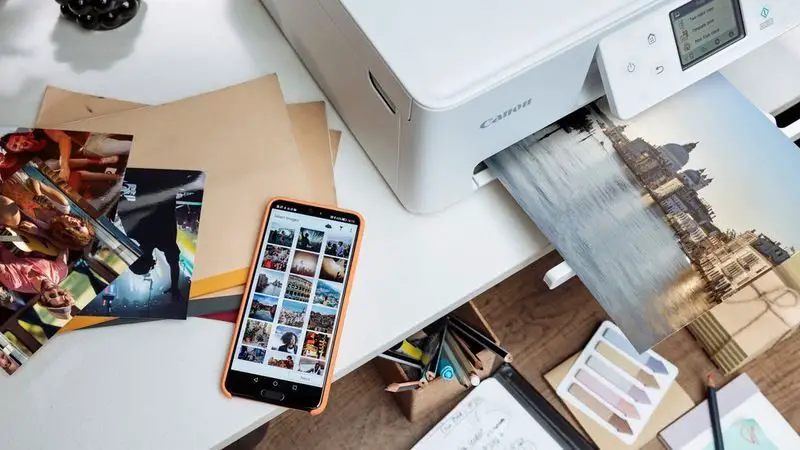
If you’re all about printing high-quality photos on 4×6 cardstock, a dedicated photo printer might be the way to go. These specialized printers are designed to produce vibrant, detailed prints with exceptional color accuracy.
Here’s how to use one.
Step 1: Load ’em up (Yet Again)
Follow the manufacturer’s instructions to load the 4×6 cardstock into your photo printer’s dedicated cardstock or photo paper tray.
Step 2: Connect like a Champ
Connect your camera, smartphone, tablet, or computer to the photo printer using the appropriate connection method (USB, Wi-Fi, or Bluetooth).
Step 3: Transfer that File
Get the photo file you want to print from your device onto the photo printer’s interface or software.
Step 4: Adjust Like a Pro (One More Time)
Within the printer’s interface or software, adjust the print settings as needed:
- Paper size: Select the 4×6 inch or equivalent size option.
- Paper type: Choose the cardstock or photo paper setting that matches your chosen cardstock.
- Print quality: Set it to the highest available option for optimal results.
Step 5: Print that Masterpiece
Once you’ve configured the settings, initiate the print job, and your photo printer will handle the rest, producing a high-quality print on the 4×6 cardstock that’s sure to impress.
And that’s it! You can now start printing on 4×6 cardstock without any hurdles whatsoever. In case they are any difficulties in the process, make sure to check the user manual of your printer for further information on the compatibility with different paper sizes and types.
Related Article: How to Print Cardstock on HP Printer
Conclusion
This was pretty much it for our guide on how to print on 4×6 cardstock. We have outlined three detailed methods for you to follow, which should enable you to successfully overcome any challenges you were facing in this regard.
We sincerely hope that the information presented in this article has been invaluable to you and that you can now print on 4×6 cardstock without encountering any further difficulties.
Frequently Asked Questions (FAQs)

1. How to print on 4×6 photo paper?
You can print on 4×6 photo paper in a straightforward way. Firstly, ensure that your printer is compatible with the size and type of photo paper you are using.
Then, load the photo paper and adjust the settings according to your preferences. Preview the print to ensure proper orientation and positioning. Finally, initiate the print process
2. How do I print a 4×6 PDF?
Printing a 4×6 PDG is a very simple process and can be done in a few simple steps. First of all, open the PDF file you want to print. Then, you need to adjust the print settings in your PDF viewer or image editing software.
After that, choose the appropriate settings (Paper size, orientation, scaling options etc) and save them. Lastly, after previewing the file simply go for the print.
3. Can printers print on 4×6 paper?
Yes, without a doubt, as you can pretty much predict from this article itself. Most printers especially home printers can easily print on 4×6 paper.
But considering the fact that it is compatible with the particular paper type and size you are using. This information is available on the printer’s user manual.
How to Change Paper Size on HP Printer Using iPhone – Easy Steps
How to Print on Transparent Plastic Sheet – A Complete Technical Guide

How to Print on Cardstock at Home – 2 Easy Methods
About Author
Mark Kelly
This is Mark, a printer expert from North Carolina, US. It has been 8 years since I started using and reviewing printers of all types. With that said, I decided to share my knowledge with you lovely people so you can make the perfect choice when it comes to choosing a printer.