
How to Print Labels on Konica Minolta Printer – 3 Easy Ways
Contemplating how to print labels on Konica Minolta printer? Well, if you are then there is no need to worry because this guide will take you through three different methods that can help you get the job done.
How to Print Labels on Konica Minolta Printer

In today’s world, we are all involved in some sort of business whether directly or indirectly. Sometimes we partake in numerous businesses simultaneously.
It does not matter if it is organizing files, shipping packages, or managing assets, customized labels allow us to create high-quality professional and readable tags that are used for identification purposes.
But when it comes to printing these labels, Konica Minolta printer users face difficulties because there is no dedicated button for label printing and the template designing can also be tricky at times.
If you are also caught in a similar situation then there is no need to be concerned anymore because we have got your back.
This extensive guide covers three detailed step-by-step methods that you can follow to get this problem over the line and start printing labels with ease. Without any delay, let’s jump into the methods.
Methods for Printing Labels on Konica Minolta Printer
Before diving into the methods, make sure that you are using the highest quality label sheets available because the quality has a direct correlation with the detailing of the results.
You can follow different ways to print labels on a Konica Minolta printer. A thorough description of each method is given below.
Method 1: By Using Built-In Label Printing Function
In many Konica Minolta printers, a dedicated label printing function can be found. This is built into the printer’s interface. This function allows users to print labels directly from the printer without the help of any additional software.
In order to use this function to the fullest, follow the instructions below.
Step 1: First of all, you have to load the label sheets into the printer’s paper tray. For perfect loading of the sheets, refer to the user manual of your printer so that there are no problems in printing whatsoever.
Step 2: Then, on your printer, press the Menu button. A number of options will appear on your printer’s display, you have to select the Utility option.
Step 3: From the options in the utility tab, select the Label Print option.
Step 4: Now, on the label printing screen, you can adjust different settings related to the labels. These include the label sheet size, print orientation, number of copies, and other settings like tray selection etc.
Step 5: When you are ready to proceed, select the Start option by pressing OK and printing will begin.
This is a great solution if you are looking for a quick label printing option but there are a couple of downsides to this method. It does not offer many customization options and this function is limited to only a few Konica Minolta printers.
Related Article: How to Find Serial Number on Kyocera Printer
Method 2: By Using Label Printing Software
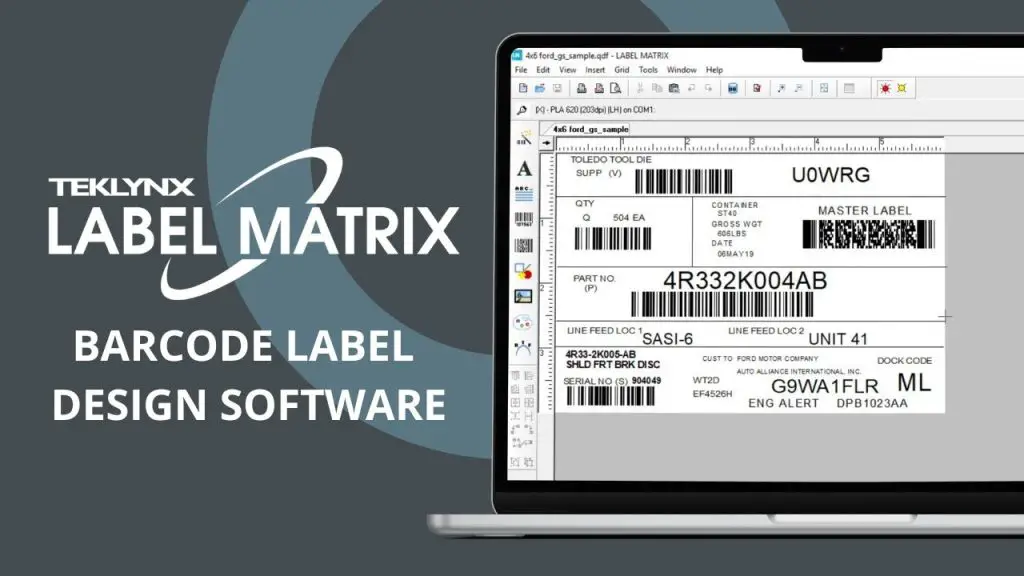
Another great way to print labels on your printer is to utilize label printing software. There are different applications that allow you to design and customize labels on your computer like Dyno Label or Label Matrix.
When downloading, ensure that the app is compatible with your operating system. For further details, follow the steps given below.
Step 1: In the first place, choose the application you want to use and download it on your computer. Install the setup and launch the application.
Step 2: Secondly, you need to choose a template for your labels according to your requirements. You can also design one yourself.
Note: The size of the template needs to be perfect in relation to the size of the label sheets you are using.
Step 3: You will find a bunch of pre-made templates to customize. So, customize them accordingly by adding text, images, and barcodes, etc.
Step 4: When you are done with the customization, open the print menu by Ctrl + P or do it manually. Again, select the orientation, label size, and amount of copies you want to print.
Step 5: Finally, click on the Print button and the printing process will now be underway.
When using such applications, select the simplest templates available because it will be easy for you to edit and avoid taking out any complex operations.
Method 3: By Using Word Processor

The last option you have is to use Microsoft Word and make the most out of it. It will not provide you with the most advanced customization options but definitely get the job completed for you.
The steps you need to follow are given below.
Step 1: Firstly, you need to launch the Microsoft Word application on your computer and load a blank document.
Step 2: After that, select and navigate to the Page Layout> Labels menu located on the top bar of the document.
Step 3: You have to browse through multiple template options and select the perfect one for your label type.
Step 4: You can design and edit the template with simple effects like adding and removing images and text. You can also insert or delete extra elements in the template.
Step 5: When you are ready with the template, you can start printing the labels through the print menu. Again, tweak the print settings and click on the Print button to start the printing process.
And congrats, you now have three separate methods to choose from and start printing labels on your Konica Minolta printer. It will be even better if you already have a designed template because you will not have to go through the editing part.
If there are still any issues you are facing, try to get in contact with the official customer care team of Konica Minolta for further guidance on the subject.
Related Article: How to Reset Kyocera Printer Password
Conclusion
This was all for the article on how to print labels on Konica Minolta printer. We discussed three in depth methods that you can perform to get over this problem.
We hope that this guide was highly useful to you and that you are not facing any difficulties in printing labels on your printer anymore.
How to Print Zip Files – 5 Easy Ways to Follow
How to Connect Canon TS3522 Printer to WiFi – Easy Methods to Follow
How to Restart Lexmark Printer – 2 Easy Ways to Follow
About Author
Mark Kelly
This is Mark, a printer expert from North Carolina, US. It has been 8 years since I started using and reviewing printers of all types. With that said, I decided to share my knowledge with you lovely people so you can make the perfect choice when it comes to choosing a printer.