
How to Print 13×19 on Epson 8550 – Easy and Complete Guide
Mastering the art of large-format printing can be a formidable challenge, especially when aiming for professional-quality results. The Epson EcoTank Pro ET-8550, a versatile all-in-one printer, offers a solution to this conundrum with its ability to handle various paper sizes, including the popular 13×19 inch format.
This guide will walk you through the intricacies of printing 13×19 inch documents and photos on the Epson 8550, ensuring you achieve optimal results.
The ET-8550, with its sophisticated six-color Claria ET Premium ink system, is designed to meet the exacting standards of photographers, graphic designers, and small businesses requiring high-quality, large-format prints.
Whether you’re creating eye-catching posters, vibrant photographs, or detailed technical drawings, understanding the nuances of 13×19 printing on this device will expand your creative horizons.
In this comprehensive guide, we’ll explore various aspects of 13×19 printing on the Epson 8550, including paper selection, printer settings, software configurations, and troubleshooting tips.
How to Print 13×19 on Epson 8550
By following these methods and steps, you’ll be able to harness the full potential of your printer and produce professional-grade 13×19 prints with confidence.
Method 1: Printing from Windows
Printing 13×19 documents or photos from a Windows computer is a straightforward process, but it requires attention to detail in terms of settings and paper handling. Follow these steps to ensure optimal results:
Step 1: Load the Paper
Begin by loading your 13×19 inch paper into the rear paper feed of the Epson 8550. Ensure that the printable side is facing up and that the paper is properly aligned with the right edge of the feeder.
Slide the edge guide against the paper, but avoid pressing too tightly to prevent feeding issues.
Step 2: Adjust Printer Settings
Open the document or image you want to print in the appropriate software application. Click on “File” and select “Print” to open the print dialog box. Choose the Epson ET-8550 as your printer if it’s not already selected.
Step 3: Configure Paper Size
In the print dialog box, locate the “Paper Size” or “Document Size” option. Select “13×19” or “Super B” from the dropdown menu. If this size is not listed, you may need to select “Custom” and manually enter the dimensions (13 inches width, 19 inches height).
Step 4: Set Print Quality
Look for the “Quality” or “Print Quality” settings. For the best results, choose “High” or “Best” quality. Keep in mind that higher quality settings will result in longer print times and increased ink usage.
Step 5: Adjust Color Management
For color-critical work, it’s important to manage your color settings. In the printer properties, find the “Color Management” or “ICM” (Image Color Management) section.
Select “ICM” and choose “Off (No Color Adjustment)” if you’re using third-party color management software, or select “Driver ICM” if you want the printer to handle color management.
Step 6: Select Paper Type
Choose the appropriate paper type that matches the media you’ve loaded into the printer. This setting is crucial for ink application and overall print quality.
Common options for 13×19 printing include “Premium Photo Paper Glossy”, “Ultra Premium Photo Paper Luster”, or “Matte Paper Heavyweight”.
Note: Invest in premium photo papers designed for large-format printing. Epson’s own brand of papers is optimized for use with their printers, but other high-quality brands can also produce excellent results.
Step 7: Preview and Print
Before sending the job to the printer, use the print preview function to ensure your document or image is correctly positioned on the 13×19 canvas.
Make any necessary adjustments to scaling or positioning. Once you’re satisfied, click “Print” to start the printing process.
Related Guide: How to Print 13×19 on Epson ET-15000
Method 2: Printing from macOS

Printing 13×19 documents or photos from a Mac computer follows a similar process to Windows, but with some differences in the user interface and settings locations. Here’s how to achieve great results on your Epson 8550 using macOS:
Step 1: Prepare the Printer
As with the Windows method, start by loading your 13×19 inch paper into the rear paper feed of the Epson 8550. Ensure the printable side is facing up and properly aligned.
Step 2: Open Print Dialog
Open your document or image in the appropriate application. Click on “File” and select “Print” to open the print dialog box. Ensure that the Epson ET-8550 is selected as your printer.
Step 3: Set Paper Size
In the print dialog, click on the dropdown menu that shows the current paper size (it may say “US Letter” by default). Select “Manage Custom Sizes” from this menu.
In the new window that appears, click the “+” button to add a new custom size. Name it “13×19” and set the width to 13 inches and the height to 19 inches. Click “OK” to save this custom size.
Step 4: Configure Print Settings
In the print dialog, look for a dropdown menu that says “Layout” or similar. Change this to “Print Settings”. Here you’ll find options for quality, paper type, and color management.
Step 5: Adjust Quality and Paper Type
Set the “Print Quality” to “Best” for optimal results. Then, select the appropriate “Media Type” that matches your 13×19 paper. As with Windows printing, common choices include premium photo papers in glossy, luster, or matte finishes.
Step 6: Manage Color Settings
In the “Color Matching” section, choose “ColorSync” if you want macOS to handle color management, or “Epson Color Controls” if you prefer the printer to manage colors.
For professional work, you may want to use third-party color management software, in which case you should select “Off (No Color Adjustment)” in the printer’s color settings.
Step 7: Preview and Print
Use the preview function to check the positioning and scaling of your image or document on the 13×19 canvas. Make any necessary adjustments. When you’re ready, click “Print” to send the job to your Epson 8550.
Tip: Give your 13×19 prints ample time to dry before handling or framing them. This is especially important for glossy and semi-gloss papers.
Method 3: Printing from Epson Print Layout Software
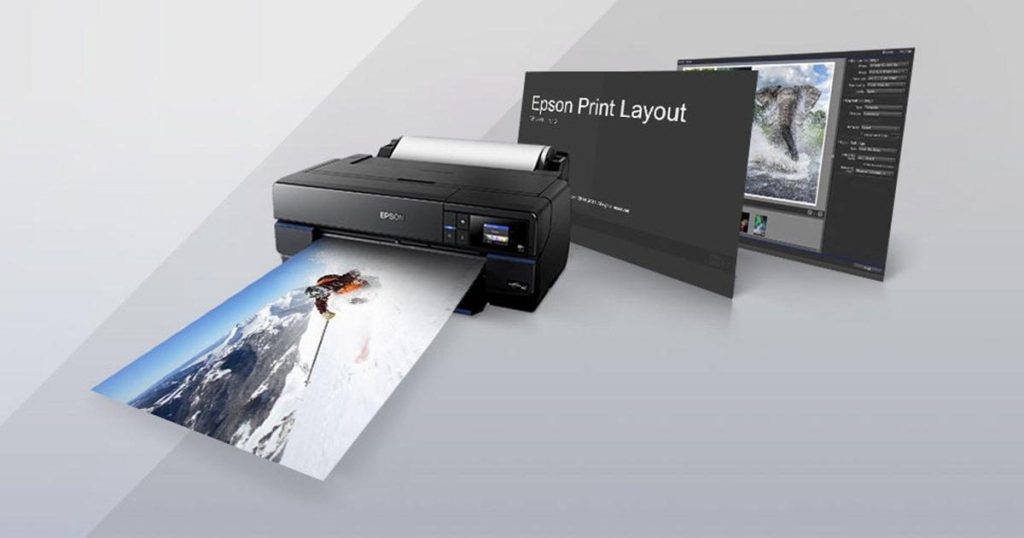
For more advanced control over your 13×19 prints, especially for photography work, Epson provides a free software called Epson Print Layout. This application offers enhanced features for color management, layout, and print quality optimization. Here’s how to use it.
Step 1: Install Epson Print Layout
If you haven’t already, download and install the Epson Print Layout software from the official Epson website. This software is available for both Windows and macOS.
Step 2: Launch Epson Print Layout
Open the Epson Print Layout software. You can either start a new project or open an existing image file directly in the application.
Step 3: Select Printer and Media
In the software interface, choose your Epson ET-8550 from the printer selection dropdown. Then, select “13×19” or “Super B” as your paper size. Choose the appropriate media type that matches your paper.
Step 4: Import and Position Your Image
If you haven’t already opened an image, use the “Add Image” button to import your photo. Use the layout tools to position and resize your image on the 13×19 canvas. You can create custom layouts, add multiple images, or apply borders as needed.
Step 5: Adjust Color Settings
Epson Print Layout offers advanced color management options. You can choose between “Epson Standard”, “Adobe RGB”, or “Professional Photo” color modes. For the most control, select “Custom” and fine-tune individual color parameters.
Step 6: Set Print Quality
Choose the highest print quality setting for best results. The software may offer presets like “Max Quality” or allow you to customize resolution and print speed settings.
Step 7: Preview and Make Final Adjustments
Use the software’s preview function to check your layout, color, and overall appearance. Make any final adjustments to positioning, cropping, or color balance as needed.
Step 8: Print
Once you’re satisfied with all settings and previews, click the “Print” button in Epson Print Layout. The software will send the optimized print job directly to your Epson 8550.
Related Article: How to Power Clean Epson 2720
Conclusion
Mastering the art of printing 13×19 documents and photos on the Epson EcoTank Pro ET-8550 opens up a world of creative possibilities.
Whether you’re a photographer looking to produce gallery-quality prints, a graphic designer creating impactful posters, or a business professional preparing large-format presentations, the Epson 8550’s capability to handle 13×19 media is a powerful tool in your arsenal.
By following the methods and steps outlined in this guide, you can achieve professional-grade results consistently.
Remember that practice and experimentation are key to perfecting your large-format printing technique. Don’t be afraid to try different paper types, adjust settings, and fine-tune your workflow to achieve the best possible output for your specific needs.
With its advanced ink system, versatile paper handling, and high-resolution printing capabilities, the Epson 8550 is well-equipped to meet the demands of 13×19 printing.
By combining this hardware with the right software, settings, and techniques, you can produce stunning large-format prints that showcase your work in the best possible light.
Frequently Asked Questions (FAQs)
1. Does ET-8550 print 13×19?
The Epson ET-8550 is indeed capable of printing on 13×19 inch paper, also known as Super B or A3+ size. This large format capability makes it an excellent choice for photographers, artists, and designers who need to produce high-quality prints in larger sizes.
The printer’s versatility allows it to handle a wide range of paper sizes, from standard letter-size up to this impressive 13×19 format. This feature, combined with its EcoTank technology for cost-effective ink usage, makes the ET-8550 a popular option for those requiring both quality and size flexibility in their printing tasks.
However, it’s always wise to double-check the specific model specifications for your region, as features can sometimes vary slightly between markets.
2. What is the largest print size for ET-8550?
The Epson ET-8550 is capable of handling impressively large print sizes, with its maximum print dimensions reaching 13 x 19 inches (also known as A3+ or Super B size).
This generous printing area makes it an excellent choice for photographers, graphic designers, and artists who need to produce high-quality large format prints. The printer’s versatility allows users to create everything from standard document sizes up to these expansive borderless prints.
This large print capability, combined with the ET-8550’s six-color ink system and high resolution, enables users to produce stunning, detailed images and documents that truly showcase their work in a larger format.
3. How to print on thick paper Epson 8550?
To print on thick paper with the Epson ET-8550, first ensure your paper is compatible with the printer’s specifications. Access the printer settings on your computer and select the appropriate paper type and thickness.
Use the rear paper feed for thicker media, as it provides a straighter paper path. Adjust the platen gap setting to accommodate the paper’s thickness, preventing head strikes. Print a test page to check quality and make any necessary adjustments.
When loading the paper, handle it carefully to avoid smudges or fingerprints. Remember to allow extra drying time for prints on thick paper. Always consult your printer’s manual for specific guidelines, as proper settings are crucial for optimal results with thick media.
How to Clear Memory on Kyocera Printer – 2 Easy Ways to Follow
How to Print Cheque in Brother Printer – Easy Guide
How to Print Zip Files – 5 Easy Ways to Follow
About Author
Mark Kelly
This is Mark, a printer expert from North Carolina, US. It has been 8 years since I started using and reviewing printers of all types. With that said, I decided to share my knowledge with you lovely people so you can make the perfect choice when it comes to choosing a printer.