
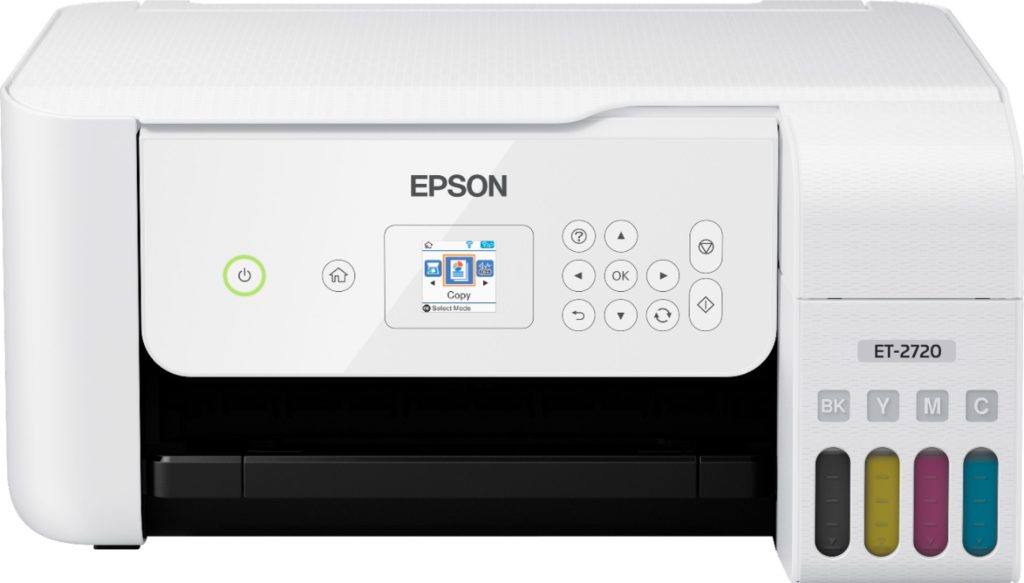
How to Power Clean Epson 2720 – Easy Methods to Follow

The Epson 2720 stands out as a versatile all-in-one printer, revered for its dependable performance and stellar output quality. However, like its inkjet counterparts, it’s not immune to the occasional hiccup of clogged print heads, which can lead to subpar prints or missing colors.
Enter the power clean – a robust solution to these pesky issues. This comprehensive guide will walk you through the intricacies of performing a power clean on your Epson 2720, offering multiple approaches to restore your printer to its former glory.
We’ll delve into the nuances of when a power clean is necessary, explore various methods to execute it, and provide pragmatic tips to maintain your printer’s health.
How to Power Clean Epson 2720
Whether you’re a tech-savvy user or a printing novice, this article aims to demystify the power cleaning process, ensuring you can tackle print quality issues with confidence.
So, let’s roll up our sleeves and breathe new life into your Epson 2720!
Method 1: Power Clean Using the Printer Control Panel
This method allows you to initiate a power clean directly from your Epson 2720’s control panel.
Step 1: Access the Maintenance Menu
Navigate to the printer’s home screen and select “Setup” or “Maintenance”, depending on your firmware version.
Step 2: Select Power Cleaning
Scroll through the maintenance options and choose “Power Cleaning” or “Head Cleaning”, depending on your model’s terminology.
Step 3: Choose Print Head to Clean
Select whether you want to clean all print heads or specific color groups. For a thorough cleaning, choose “All Colors”.
Step 4: Confirm and Start Power Clean
Press “Start” or “OK” to begin the power cleaning process. The printer will now run through the deep cleaning cycle, which may take several minutes.
Step 5: Perform a Nozzle Check
After the power clean is complete, run a nozzle check to verify the results. If issues persist, you may need to repeat the process or try an alternative method.
Note: Power cleaning uses a significant amount of ink. Be mindful of this and only perform power cleans when necessary to reduce waste.
Method 2: Power Clean Using Epson Printer Software
For users who prefer a computer-based approach, Epson provides software that allows you to initiate a power clean from your PC or Mac.
Step 1: Open Epson Printer Utility
On Windows, navigate to Control Panel > Devices and Printers, right-click on your Epson 2720, and select “Printing Preferences”.
On Mac, open System Preferences > Printers & Scanners, select your Epson 2720, click “Options & Supplies”, then “Utility”, and finally “Open Printer Utility”.
Step 2: Access Head Cleaning Options
In the printer utility, locate and click on the “Head Cleaning” or “Power Cleaning” option.
Step 3: Select Cleaning Type
Choose “Power Cleaning” if available, or the most intensive cleaning option offered.
Step 4: Initiate Cleaning Process
Click “Start” or “Clean” to begin the power cleaning cycle. Ensure your printer is connected and powered on.
Step 5: Verify Results
After the cleaning cycle completes, print a nozzle check pattern to confirm improved print quality.
Related Article: How to Keep Header Row in Excel When Printing
Method 3: Manual Power Cleaning
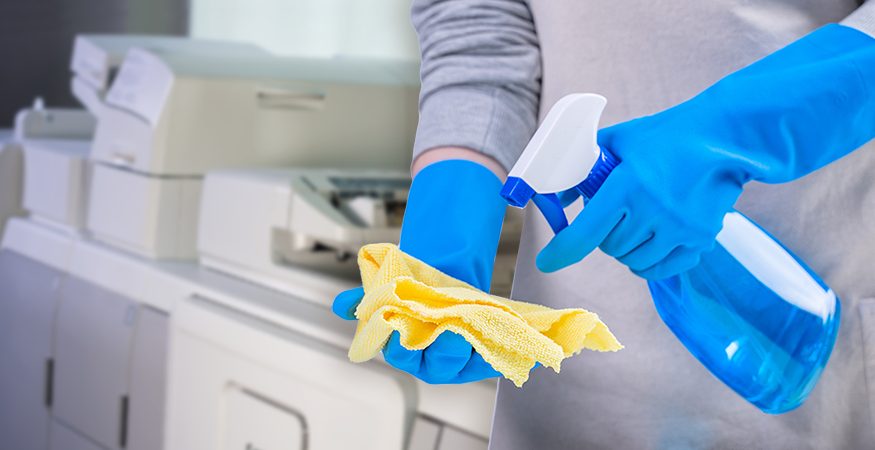
For stubborn clogs or when electronic methods fail, a manual approach can be effective, though it requires more care and precision.
Step 1: Prepare Cleaning Solution
Mix a solution of equal parts distilled water and isopropyl alcohol. This mixture helps dissolve dried ink without damaging printer components.
Step 2: Access the Print Head
Turn off the printer and unplug it. Open the top cover and locate the print head assembly.
Step 3: Apply Cleaning Solution
Using a lint-free cloth or cotton swab, gently apply the cleaning solution to the print head nozzles. Be careful not to oversaturate or allow liquid to drip into the printer.
Important: When using cleaning solutions, dispose of used materials properly. Never pour cleaning solutions down the drain or into the environment.
Step 4: Allow to Soak
Let the cleaning solution sit on the print head for about 5-10 minutes to soften dried ink deposits.
Step 5: Blot Excess Solution
Use a clean, dry lint-free cloth to carefully blot away excess cleaning solution and dissolved ink.
Step 6: Reassemble and Test
Close the printer cover, plug it in, and turn it on. Run a nozzle check to assess the results of your manual cleaning.
Conclusion
Power cleaning your Epson 2720 is an effective way to maintain print quality and resolve issues related to clogged print heads. By following the methods and steps outlined in this guide, you can successfully perform a power clean and keep your printer in optimal condition.
Remember to use power cleaning judiciously, as it consumes significant amounts of ink, and always start with less intensive cleaning methods before resorting to a full power clean.
Regular maintenance, including routine cleaning cycles and proper storage, can help minimize the need for power cleaning. If you encounter persistent issues that don’t resolve with power cleaning, it may be time to consult with Epson support or consider professional servicing.
By understanding your Epson 2720’s technology and implementing best practices for maintenance, you can ensure high-quality prints and extend the life of your printer. Whether you’re a home user or rely on your Epson 2720 for business purposes, mastering the power cleaning process is an essential skill for maintaining your printer’s performance and print quality.
Frequently Asked Questions (FAQs)
1. How do I clean the rollers on my Epson 2720 printer?
To clean the rollers on your Epson 2720 printer, start by turning off the printer and unplugging it. Open the paper tray and locate the rollers. Use a lint-free cloth slightly dampened with water to gently wipe the rollers, removing any dust or debris.
For stubborn dirt, you can use a mild cleaning solution specifically designed for printer rollers. Rotate the rollers as you clean to ensure full coverage.
Once clean, allow the rollers to dry completely before closing the paper tray and plugging the printer back in. Regular cleaning can help prevent paper feed issues and maintain print quality.
2. How to do a power cleaning on Epson ET-2760?
To perform a power cleaning on your Epson ET-2760 printer, start by ensuring your ink tanks are at least one-third full. From the printer’s control panel, navigate to the maintenance menu and select “Power Cleaning”.
This process uses more ink than a regular cleaning, so confirm when prompted. The printer will then run through an intensive cleaning cycle, which may take several minutes. After completion, print a nozzle check pattern to verify improvement.
If necessary, repeat the process up to three times. Remember that frequent power cleanings can deplete ink quickly, so use this feature sparingly and only when regular cleaning doesn’t resolve print quality issues.
We have published an in-depth guide on how to power clean Epson ET-2760. You can check it out for further assistance on this matter.
3. How do I clear a paper jam on my Epson ET 2720?
To clear a paper jam on your Epson ET 2720, first turn off the printer and unplug it. Open the scanner unit and carefully remove any visible jammed paper, pulling it straight out to avoid tearing.
Check the rear paper feed area and gently remove any stuck paper there as well. Look inside the printer near the print head and remove any small pieces of torn paper using tweezers if necessary.
Once you’ve removed all paper, close the scanner unit, plug in the printer, and turn it on. Run a test print to ensure the jam is fully cleared. If the problem persists, consult your user manual or contact Epson support for further assistance.
How to Reset Kyocera Printer Password – 3 Easy Methods

How to Reset Epson ET-2760 – Easy Methods to Perform
How to Print Business Cards at Home from PDF – 3 Easy Ways
About Author
Mark Kelly
This is Mark, a printer expert from North Carolina, US. It has been 8 years since I started using and reviewing printers of all types. With that said, I decided to share my knowledge with you lovely people so you can make the perfect choice when it comes to choosing a printer.