How to Make Your Own 3D Print Files – Easy Ways to Follow
In the burgeoning landscape of digital fabrication, 3D printing stands as a transformative technology that bridges imagination and tangible reality. This metamorphic process allows individuals to transmute digital designs into physical objects with unprecedented precision and creativity.
At the core of every successful 3D print lies a meticulously crafted digital blueprint—the 3D print file—which serves as the fundamental instructions for transforming raw material into three-dimensional creations.
Whether you’re a hobbyist, designer, engineer, or innovative enthusiast, the ability to create your own 3D print files opens up a world of limitless possibilities.
From intricate prototypes and custom replacement parts to artistic sculptures and functional components, the power to design and print is now within reach of anyone willing to learn.
How to Make Your Own 3D Print Files
This guide will demystify the process of creating 3D print files, providing you with the knowledge and techniques to turn your digital concepts into physical reality.
Method 1: Using CAD Software for 3D Print File Creation
Step 1: Choose the Right CAD Software
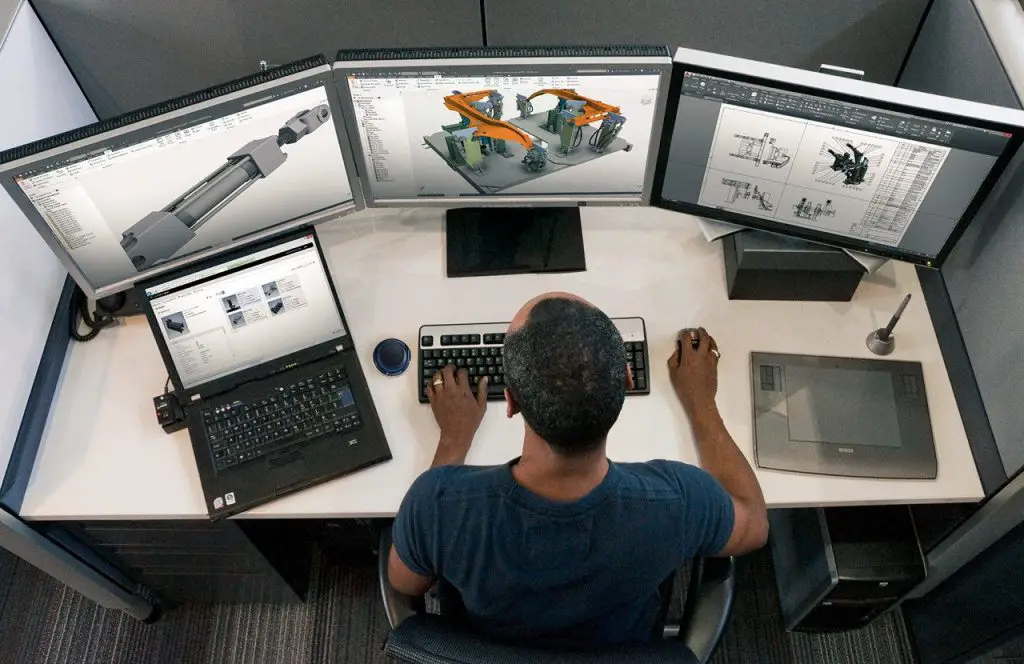
Selecting appropriate computer-aided design (CAD) software is the first critical step in creating 3D print files. For beginners, user-friendly options like Fusion 360, TinkerCAD, and Blender provide intuitive interfaces and robust design capabilities. Professional designers might prefer advanced software like SolidWorks or Rhino.
Step 2: Develop Your Design Concept
Before starting digital modeling, develop a clear conceptual understanding of your object. Sketch preliminary designs, take measurements, and consider the functional and aesthetic requirements of your 3D print. This preparatory stage helps streamline the digital design process and reduces potential complications during modeling.
Step 3: Create Precise Geometric Modeling
Begin constructing your 3D model by leveraging the software’s geometric tools. Start with basic shapes like cubes, cylinders, and spheres, then use boolean operations, extrusion, and Boolean modifications to refine your design. Pay careful attention to dimensions, ensuring your model’s measurements align with your original concept.
Step 4: Optimize for 3D Printing
Optimize your model for successful 3D printing by considering several critical factors. Ensure wall thicknesses are consistent, typically between 1-3mm depending on your printing material. Avoid extreme overhangs that might require extensive support structures. Add fillets and rounded edges to improve structural integrity and reduce stress points.
Step 5: Export in Appropriate File Format
Once your design is complete, export the file in a 3D printing-compatible format. STL is typically the most universally accepted format. Most CAD software offers direct export options with adjustable resolution settings. Choose a resolution that balances file size and print quality.
Related Guide: How to Print All Files in a Folder
Method 2: Parametric Modeling Approach
Step 1: Understand Parametric Design Principles
Parametric modeling offers a more mathematical and adaptable approach to 3D print file creation. This method allows designers to create models based on parameters and relationships between different geometric elements, enabling easier modifications and iterations.
Step 2: Implement Constraint-Based Modeling
Utilize constraint-based modeling techniques where dimensions and geometric relationships are defined by specific parameters. This approach provides greater flexibility, allowing rapid design iterations by adjusting fundamental measurements and relationships.
Step 3: Utilize Parametric Software Features
Leverage specialized parametric modeling software like OpenSCAD, which uses a script-based approach. This method is particularly useful for engineers and programmers comfortable with coding-like design processes.
Related Guide: How to Batch Print PDF Files
Method 3: 3D Scanning and Reverse Engineering
Step 1: Capture Physical Object Geometry
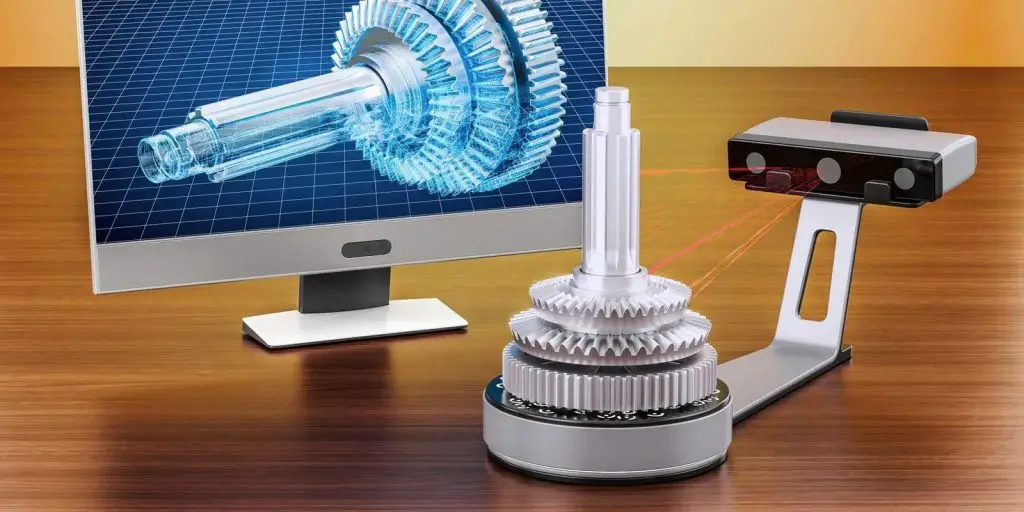
Use 3D scanners to capture the precise geometry of existing objects. Professional-grade scanners provide high-resolution point cloud data that can be converted into printable 3D models.
Step 2: Process Scan Data
Process the scanned data using specialized software that can convert point cloud information into solid 3D models. This technique is invaluable for recreating complex objects, prototyping replacements, or developing derivative designs.
Step 3: Clean and Refine Scanned Model
Manually refine the scanned model, removing artifacts, smoothing surfaces, and ensuring the model is watertight—a critical requirement for successful 3D printing.
Conclusion
Creating 3D print files is a skill that combines technical precision with creative vision. By understanding various design methods, mastering CAD software, and applying fundamental 3D printing principles, you can transform digital concepts into tangible, three-dimensional objects.
The journey of 3D print file creation is iterative. Each design represents an opportunity to learn, refine your skills, and push the boundaries of digital fabrication. Embrace experimentation, seek feedback, and continuously expand your technical and creative capabilities.
Frequently Asked Questions (FAQs)

1. How do you create files for 3D printing?
Creating files for 3D printing involves using Computer-Aided Design (CAD) software to design your 3D model. Popular programs like Fusion 360, TinkerCAD, and Blender allow you to create or modify 3D designs.
Once your model is complete, you’ll need to export it as an STL or OBJ file, which are standard formats for 3D printing. Next, use slicing software like Cura or PrusaSlicer to convert your 3D model into a G-code file that your 3D printer can understand.
This process involves setting parameters like layer height, infill density, and print speed to ensure optimal print quality.
2. How to create stl files for free?
Creating STL files for 3D printing is easier than ever with numerous free software options available. TinkerCAD stands out as an excellent web-based tool that allows beginners to design simple 3D models directly in their browser without any installation required. It offers an intuitive drag-and-drop interface that makes 3D modeling accessible to everyone.
For more advanced users, Fusion 360 provides a comprehensive CAD solution. Autodesk offers a free version for hobbyists, students, and startups, enabling complex and precise 3D modeling capabilities. Similarly, Blender, an open-source 3D creation suite, delivers powerful modeling tools that can generate intricate designs suitable for 3D printing.
3. Can I use Blender for 3D printing?
Blender is an excellent tool for 3D printing, offering powerful modeling and sculpting capabilities. You can create complex 3D models using its comprehensive toolset, including polygon modeling and mesh editing features.
To prepare a model for printing, ensure the mesh is watertight and manifold, using Blender’s repair tools. Export your design as an STL file, which is compatible with most 3D printers.
While Blender has a steeper learning curve compared to simpler design tools, its flexibility and robust features make it a top choice for designers and makers interested in 3D printing.

