
How to Make Matte Paper Glossy – A Comprehensive Guide
Matte paper is a popular choice for various printing applications due to its non-reflective surface and elegant appearance. However, there may be instances when you desire a glossy finish for your matte paper projects.
Whether you’re looking to add a touch of shine to your photographs, enhance the vibrancy of your designs, or simply experiment with different finishes, transforming matte paper into a glossy surface is possible.
In this comprehensive guide, we will explore multiple methods and techniques that you can employ to achieve a glossy finish on your matte paper, along with step-by-step instructions and helpful tips to ensure optimal results.
Understanding Matte Paper and Glossy Finishes
Before diving into the methods of making matte paper glossy, it’s essential to understand the characteristics of both matte and glossy finishes.
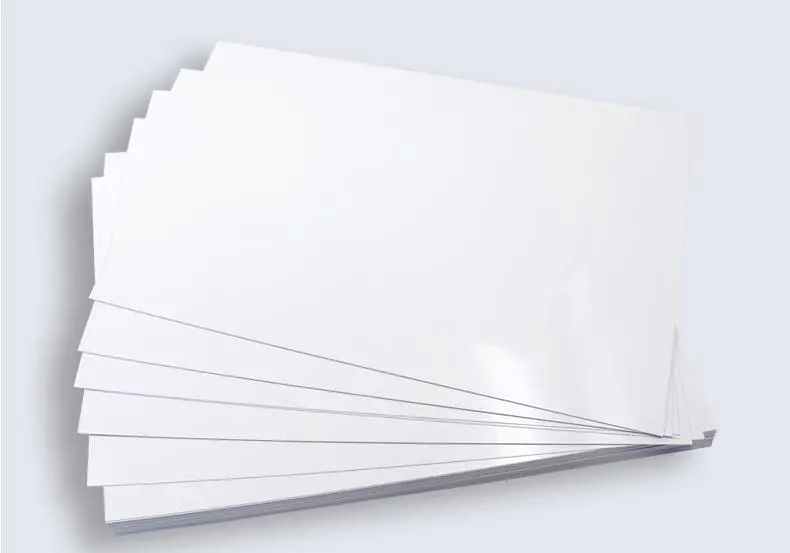
Matte paper has a smooth, non-reflective surface that diffuses light, resulting in a soft and subdued appearance. It is often preferred for its classic and sophisticated look, especially in applications such as business cards, brochures, and art prints.
On the other hand, glossy paper has a shiny and reflective surface that enhances color vibrancy and image sharpness. Glossy finishes are commonly used for photographs, magazine pages, and promotional materials where a high-impact visual appeal is desired.
Method 1: Using a Glossy Coating Spray

One of the most straightforward and effective methods to make matte paper glossy is by using a glossy coating spray. These sprays are specifically designed to add a glossy finish to various surfaces, including paper.
Here’s a step-by-step guide on how to use a glossy coating spray.
Step 1: Prepare Your Workspace
Before applying the glossy coating spray, ensure that you have a clean and well-ventilated workspace. Cover your work surface with newspapers or a protective sheet to prevent any overspray or drips from damaging the surrounding area.
Step 2: Clean the Matte Paper
Gently clean the surface of your matte paper using a soft, lint-free cloth to remove any dust, dirt, or fingerprints. This step helps ensure that the glossy coating adheres evenly to the paper surface.
Step 3: Apply the Glossy Coating Spray
Shake the glossy coating spray can well before use, following the manufacturer’s instructions. Hold the can approximately 6-8 inches away from the matte paper and apply a light, even coat of the spray.
Move the can in a sweeping motion, covering the entire surface of the paper. Avoid applying too much spray in one area to prevent drips or an uneven finish.
Step 4: Allow the Coating to Dry
After applying the glossy coating spray, allow the paper to dry completely. The drying time may vary depending on the specific product and the thickness of the coating applied. Follow the manufacturer’s guidelines for the recommended drying time.
Step 5: Apply Additional Coats (Optional)
If you desire a higher level of glossiness, you can apply additional coats of the spray once the previous coat has dried completely. Repeat the process, ensuring that each coat is applied evenly and allowed to dry before applying the next one.
Related Article: How to Change Paper Size on HP Printer Using iPhone
Method 2: Laminating with Glossy Pouches
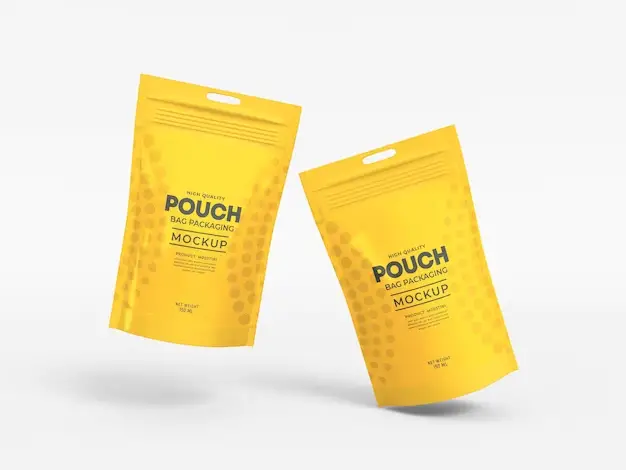
Another effective method to make matte paper glossy is by laminating it using glossy laminating pouches. Lamination involves sealing the paper between two sheets of plastic film using heat and pressure.
Here’s how to laminate your matte paper with glossy pouches.
Step 1: Choose the Right Laminating Pouch
Select a glossy laminating pouch that is slightly larger than your matte paper. Glossy pouches are available in various sizes and thicknesses, so choose one that suits your specific project requirements.
Step 2: Preheat the Laminator
Turn on your laminator and allow it to preheat according to the manufacturer’s instructions. Most laminators have indicator lights that signal when the device is ready for use.
Step 3: Place the Matte Paper in the Laminating Pouch
Open the glossy laminating pouch and place your matte paper inside, ensuring that it is centered and aligned properly. If your paper has a specific orientation, make sure it is placed correctly within the pouch.
Step 4: Run the Pouch through the Laminator
Feed the laminating pouch containing your matte paper into the laminator, following the device’s guidelines. The laminator will apply heat and pressure to seal the pouch and adhere the glossy film to your paper.
Step 5: Allow the Laminated Paper to Cool
Once the laminated paper emerges from the laminator, allow it to cool for a few minutes before handling it. The lamination process can cause the paper to be slightly warm and pliable, so letting it cool ensures a flat and stable result.
Step 6: Trim the Excess Laminate (Optional)
If desired, use a trimmer or scissors to carefully cut away any excess laminate around the edges of your paper. This step gives your glossy paper a clean and professional appearance.
Method 3: Applying a Glossy Varnish
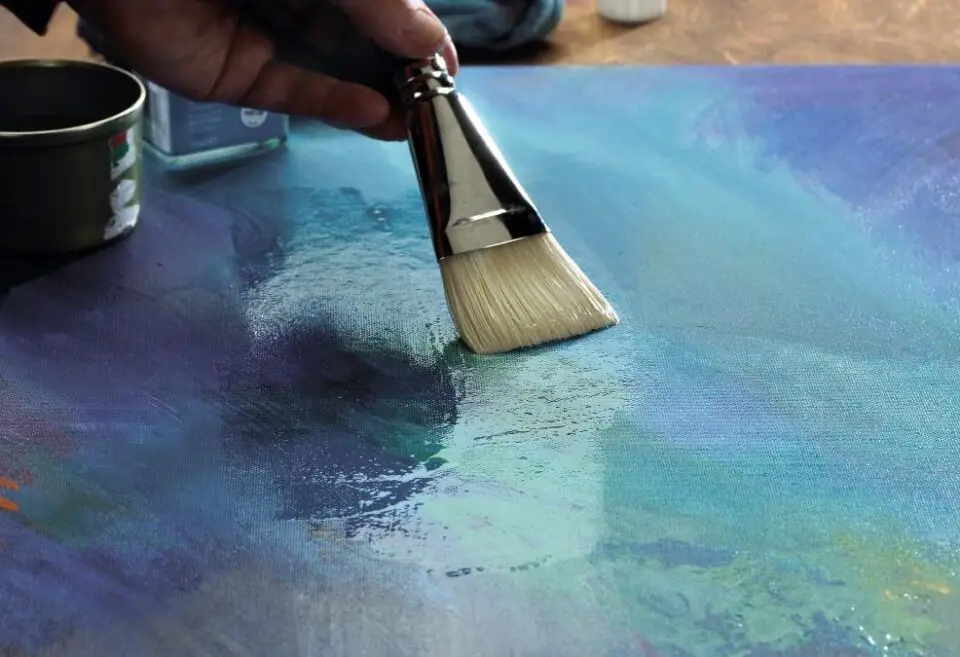
Applying a glossy varnish is another method to add shine and protection to your matte paper. Glossy varnishes are clear, liquid coatings that can be brushed or sprayed onto the paper surface. Follow these steps to apply a glossy varnish.
Step 1: Choose a Suitable Glossy Varnish
Select a glossy varnish that is compatible with your matte paper and the intended use of your project. There are various types of varnishes available, including water-based and solvent-based options.
Consider factors such as durability, drying time, and environmental friendliness when making your choice.
Step 2: Prepare Your Workspace
Protect your work surface with newspapers or a drop cloth to catch any drips or spills. Ensure that your workspace is well-ventilated, especially if you are using a solvent-based varnish.
Step 3: Apply the Glossy Varnish
Using a foam brush or a specialized varnish brush, apply a thin and even layer of the glossy varnish onto your matte paper.
Start from the center of the paper and work your way outwards, using smooth and consistent strokes. Avoid overloading the brush with varnish to prevent drips or an uneven application.
Step 4: Allow the Varnish to Dry
Let the varnished paper dry completely, following the manufacturer’s recommended drying time. Drying times can vary based on the type of varnish used and the environmental conditions.
Step 5: Apply Additional Coats (Optional)
If you desire a higher level of glossiness or protection, you can apply additional coats of varnish once the previous coat has dried completely. Sand the surface lightly with fine-grit sandpaper between coats to ensure better adhesion and a smoother finish.
Related Article: How to Make Paper Hard and Glossy
Tips for Achieving the Best Results
To ensure the best results when making your matte paper glossy, consider the following tips:
- Always test the chosen method on a small, inconspicuous area of your paper first to check for compatibility and desired results.
- Work in a clean, dust-free environment to minimize the risk of particles adhering to the glossy surface.
- Allow sufficient drying time between coats and before handling the paper to prevent smudging or fingerprints.
- Experiment with different levels of glossiness by adjusting the number of coats applied or trying different products to find the perfect finish for your project.
Conclusion
Making matte paper glossy is a creative way to add a new dimension to your printed projects. Whether you choose to use a glossy coating spray, laminate with glossy pouches, or apply a glossy varnish, each method offers its own advantages and level of shine.
By following the step-by-step instructions and tips provided in this guide, you can transform your matte paper into a glossy masterpiece that catches the eye and elevates your designs.
Remember to experiment, have patience, and enjoy the process of exploring different finishes to create stunning and unique results.
Frequently Asked Questions (FAQs)
1. What is added to paper to make it glossy?
To make paper glossy, a coating is applied to its surface. This coating can be a layer of varnish, laminate, or a glossy finish spray. The varnish or spray contains resins that create a smooth, reflective surface when dried.
Lamination involves sealing the paper between two glossy plastic sheets using heat and pressure. These coatings fill in the paper’s pores and create a unified, shiny surface that enhances the vibrancy of colors and images printed on the paper.
2. What makes paper hard and glossy?
The hardness and glossiness of paper are achieved through a process called sizing and coating. Sizing involves adding substances like resin or starch to the paper pulp, which helps to fill the gaps between the fibers, resulting in a smoother, harder surface.
Coating is the application of a thin layer of materials such as clay, calcium carbonate, or polymers onto the sized paper surface. This coating further enhances the paper’s smoothness, opacity, and glossiness, giving it a polished and professional appearance.
3. Is matte paper glossy?
Matte paper is not glossy. In fact, it has a non-reflective, smooth surface that diffuses light, resulting in a soft, subtle appearance. Unlike glossy paper, which has a shiny and reflective surface, matte paper absorbs light, reducing glare and providing a more muted look.
This makes matte paper ideal for projects where readability and a sophisticated, understated aesthetic are desired, such as business cards, brochures, and book pages. While matte paper lacks the vibrant shine of glossy paper, it offers a unique, elegant appeal.
How to Print Multiple Business Cards on One Sheet – Easy Guide
How to Print on 5×7 Cardstock – Easy Ways to Follow
How to Print Cardstock on HP Printer – 2 Easy Ways to Follow
About Author
Mark Kelly
This is Mark, a printer expert from North Carolina, US. It has been 8 years since I started using and reviewing printers of all types. With that said, I decided to share my knowledge with you lovely people so you can make the perfect choice when it comes to choosing a printer.