
How to Keep Ink From Smearing on Glossy Paper – Easy Steps to Follow
Printing on glossy paper can produce stunning, high-quality results with vivid colors and sharp details. However, a common problem encountered when printing on glossy surfaces is ink smearing.
Smudging occurs when the ink does not dry or set properly on the paper, leading to unsightly blemishes that ruin the appearance of your printed materials.
Ink smearing on glossy paper is caused by a variety of factors. Glossy paper is less absorbent than matte stock, so the ink sits on the surface instead of soaking in. Certain inks, especially slow-drying dye-based inks, are more prone to smudging.
High-humidity environments can also prevent ink from drying thoroughly on the glossy surface. And if you handle the prints too soon after printing, the friction from your fingers can easily smear the ink.
Fortunately, by understanding the causes of ink smearing and following some best practices, you can achieve blemish-free prints on glossy paper. The key is to use the right inks, allow adequate drying time, and take precautions when handling the prints.
In this article, we will explore multiple proven methods you can use to prevent smearing and ensure your glossy prints look pristine.
Method 1: Use Pigment-Based Inks
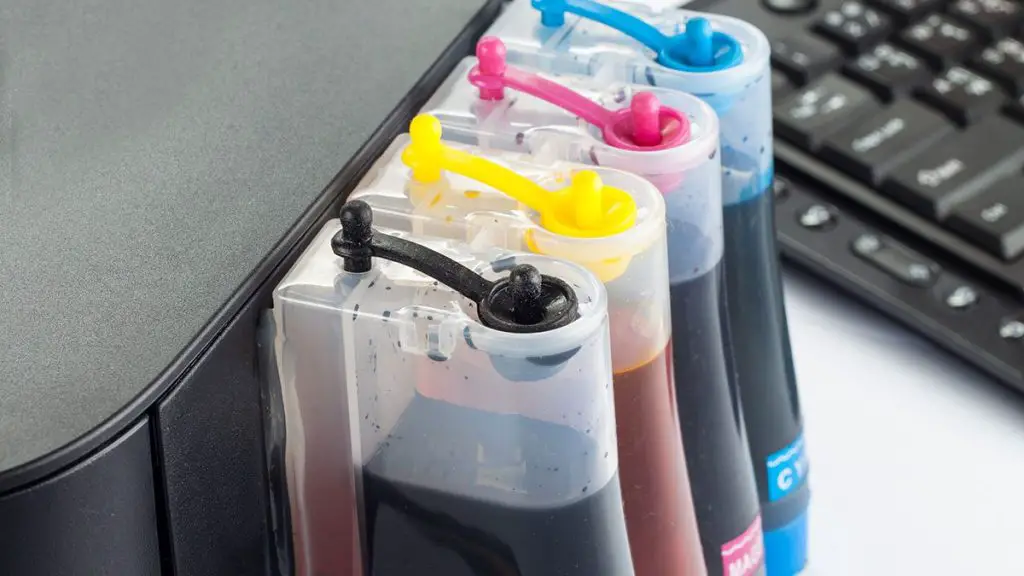
One of the most effective ways to prevent ink smearing on glossy paper is to use pigment-based inks rather than dye-based inks. Pigment inks contain microscopic color particles suspended in the liquid.
When printed, these particles rest on the glossy surface and dry to a stable, water-resistant state. Compared to dye-based inks which soak into absorbent paper, pigment inks dry faster and are less prone to smudging, especially on glossy coated stock.
Most inkjet photo printers use pigment inks, as do large format printers optimized for glossy media. If you plan to print extensively on glossy paper, it is worth investing in a printer that uses pigment-based inks. Some popular pigment ink printers include:
- Canon PIXMA PRO-100
- Epson SureColor P600
- HP DesignJet Z3200
Before purchasing a new printer, check the specifications to ensure it uses pigment inks suitable for glossy paper. Using the right inks will go a long way in preventing smears and smudges on your prints.
Method 2: Allow Sufficient Drying Time
Even when using quick-drying pigment inks, it’s crucial to allow printed glossy sheets adequate time to dry before handling them. Drying times can vary based on the specific printer, inks, and paper you are using.
As a general rule of thumb, let glossy prints dry for at least 10-15 minutes before touching them. High-volume printers may include a drying rack or holding tray that allows prints to dry without being touched.
If your printer does not have a built-in drying feature, you can improvise a drying area using a table, cabinet, or drying racks from an art supply store. Lay out the prints separately so they don’t touch each other.
In humid environments, ink can take longer to dry on glossy paper. If you’re having recurring issues with smearing, try increasing the drying time to 30 minutes or more. You can also aim a gentle fan at the drying prints to increase air circulation and speed up drying. Avoid using heat though, as it may cause the glossy coating to soften.
Related Article: How to Resize an Image for Printing on Android
Method 3: Use Hairspray

A clever technique to reduce ink smearing is to apply a light coating of hairspray to your glossy prints. The hairspray acts as a fixative, binding the ink to the paper so it resists smudging when touched.
To use this method:
Step 1: Print your document or image on glossy paper as usual.
Step 2: Hold the hairspray can about 12 inches away from the print.
Step 3: Spray a light, even coating over the entire surface.
Step 4: Allow the hairspray to dry completely, for about 5-10 minutes.
Choose a basic hairspray without excess additives. Aerosol spray is easier to apply evenly compared to pump spray. Don’t oversaturate the print or spray too closely, as this can cause ink to run or puddle. A light misting is all you need to prevent smears.
Note: The drawback of using hairspray is it may leave a slightly sticky residue or dull the glossy sheen. For important prints that need to look perfect, test the hairspray technique on a sample print first before applying it to your final version.
But in a pinch, hairspray is an effective way to quickly reduce ink smearing on glossy papers.
Method 4: Adjust Printer Settings
Modern photo and art printers usually have built-in settings optimized for glossy paper. Check your printer menu options for a glossy paper mode and enable it when printing on those media types. Glossy mode typically uses less ink and allows more drying time between passes to help prevent over-saturating the paper.
Other settings to check include:
- Print Quality – Use the recommended resolution for your glossy paper, usually the highest quality setting. Avoid “draft” or “fast” modes.
- Dry Time – If available, increase the dry time setting to allow more time between print head passes. This gives ink more time to dry.
- Ink Density – Lowering the ink density will reduce the amount of ink laid down and help pages dry faster. Try reducing density 5-10%.
Every printer is different, so check your manual or the manufacturer’s website for instructions on optimizing glossy paper settings for your device. A few tweaks to your printer settings can help minimize smearing issues.
Method 5: Handle With Care
Even if you follow all the above techniques, proper handling is still important to prevent smudging your glossy prints. When removing a page from the printer, hold it gently by the edges without touching the printed areas.
If you must handle the print, make sure your hands are clean and dry. Even natural oils from your skin can interact with inks and cause smears. When stacking glossy prints, place a sheet of plain paper between each printed page to prevent ink transfer.
Don’t enclose prints in plastic sleeves or laminate them until you are certain the ink has fully dried, usually 24 hours. Avoid rolling or folding glossy prints while the ink is still fresh.
If you notice a small smudge on an important print, you may be able to carefully remove it using a soft, lint-free cloth very lightly dampened with rubbing alcohol. Dab gently at the smudge; do not rub or wipe the page. This trick doesn’t always work and can damage some prints, so use it sparingly and test on a non-critical page first.
Related Article: How to Connect Canon MG2522 Printer to Android Phone
Conclusion
Keeping ink from smearing on glossy paper requires a multi-pronged approach. Start by choosing pigment-based inks that dry quickly to a stable, water-resistant finish. Make sure to allow sufficient drying time before handling prints, at least 10-15 minutes or more in humid environments.
For extra smudge protection, you can try lightly misting prints with hairspray, although this can leave a residue. Adjusting your printer settings, including enabling glossy paper mode and increasing drying time between passes, can further reduce smearing. And of course, always handle glossy prints carefully by the edges to avoid marring the surface.
By following these techniques and best practices, you can achieve beautiful, smear-free prints on glossy paper. It may take some experimentation to find the optimal approach for your particular printer, inks, and glossy paper.
But by understanding the underlying causes of ink smearing and taking proactive steps to address them, you’ll be able to produce stunning glossy prints that maintain their luster and integrity over time.
Frequently Asked Questions (FAQs)
1. Will ink ever dry on glossy paper?
Yes, ink will eventually dry on glossy paper, but it may take significantly longer compared to matte or uncoated stocks.
Glossy papers have a smooth, non-porous surface that prevents ink from absorbing quickly. The drying time depends on various factors such as the type of ink, printer settings, and environmental conditions.
To expedite drying, you can use fast-drying pigment-based inks, adjust printer settings for glossy media, allow sufficient drying time before handling prints, and ensure a well-ventilated printing environment with moderate humidity levels.
2. How to dry pen ink on glossy paper?
To dry pen ink on glossy paper, you can try several methods. First, allow the ink to air dry for several minutes to an hour, depending on the pen type. You can also use a hairdryer on a cool setting to speed up the drying process, but be careful not to blow the ink around.
Another option is to apply a thin layer of clear, fast-drying spray like hairspray or workable fixative over the ink. Alternatively, using quick-drying gel pens or ballpoint pens can help minimize drying time on glossy surfaces.
3. What ink is best for glossy paper?
When printing on glossy paper, pigment-based inks are generally considered the best choice. Unlike dye-based inks, pigment inks sit on the surface of the glossy paper rather than being absorbed, resulting in faster drying times and reduced smudging.
Pigment inks also tend to be more fade-resistant and water-resistant, ensuring the longevity and durability of your prints. Many high-quality photo printers specifically designed for glossy media use pigment-based inks for optimal results.
However, it is essential to choose a pigment ink that is compatible with your printer and the specific glossy paper you are using.

How to Print on 5×7 Envelopes – Easy Methods to Perform
How to Print White on Black Paper – 5 Easy Methods
How to Print Cardstock on HP Printer – 2 Easy Ways to Follow
About Author
Mark Kelly
This is Mark, a printer expert from North Carolina, US. It has been 8 years since I started using and reviewing printers of all types. With that said, I decided to share my knowledge with you lovely people so you can make the perfect choice when it comes to choosing a printer.