How to Edit 3D Print Files – Easy Methods to Follow
3D printing has revolutionized manufacturing, prototyping, and design, offering unprecedented flexibility in creating complex geometries and custom components. However, the journey from initial design to a successful print often requires meticulous file editing.
Whether you’re a hobbyist, engineer, or professional designer, understanding how to effectively modify 3D print files is crucial to achieving optimal print quality, functionality, and precision.
Modern 3D printing encompasses a wide range of applications, from intricate architectural models to functional mechanical parts, medical prosthetics, and artistic creations.
Each of these domains demands specific file editing techniques to transform digital designs into physical objects. The complexity of 3D model modification requires a deep understanding of various software tools, file formats, and technical considerations that can significantly impact the final print’s success.
How to Edit 3D Print Files
This comprehensive guide will explore multiple methods, techniques, and best practices for editing 3D print files, ensuring that you can confidently prepare your designs for successful 3D printing across different technologies and applications.
Method 1: Editing Files Using CAD Software
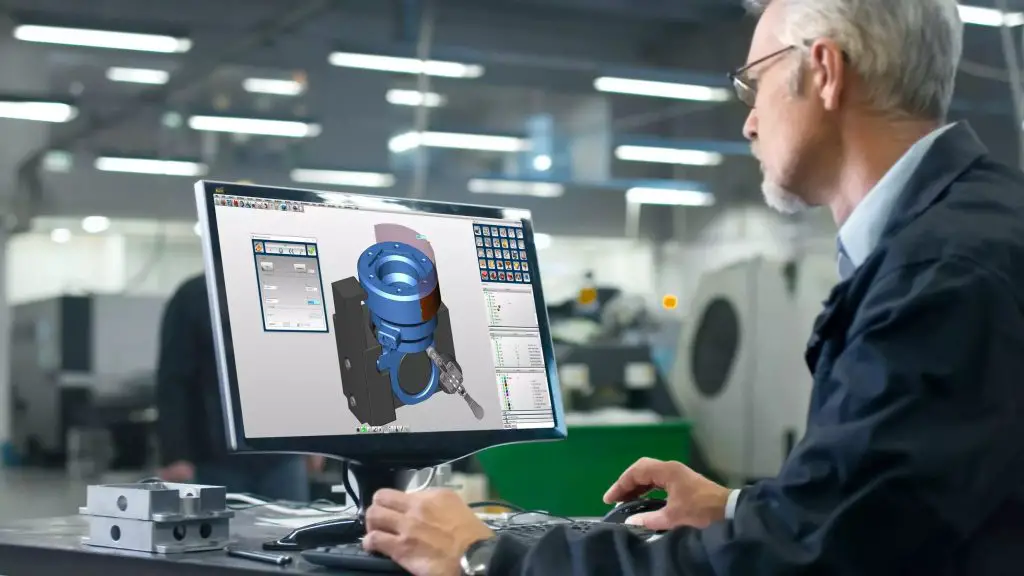
Professional Computer-Aided Design (CAD) software provides the most comprehensive and precise toolkit for 3D print file editing.
These powerful platforms offer unparalleled control over geometric transformations, allowing designers to meticulously refine and optimize their digital models before printing.
Step 1: Selecting Appropriate CAD Software
Choosing the right Computer-Aided Design (CAD) software is the first critical step in editing 3D print files. Professional-grade software like Fusion 360, SolidWorks, and Rhino offer comprehensive tools for sophisticated file modifications.
Pro Tip: For hobbyists and beginners, free alternatives such as Blender, FreeCAD, and Tinkercad provide accessible editing capabilities.
Step 2: Importing Your 3D Model
After selecting your preferred CAD software, the next step involves importing your 3D model. Most software supports multiple file formats, allowing seamless integration of designs from various sources.
Pay careful attention to the import settings, ensuring that the model’s scale, orientation, and geometric integrity remain intact during the transfer process.
Step 3: Geometric Modifications
Geometric modifications form the core of 3D print file editing. This stage involves fundamental transformations like scaling, rotating, mirroring, and reshaping your model. Professional CAD software provides precise control over these modifications, allowing you to adjust dimensions with microscopic accuracy.
When scaling your model, consider the printing technology and material limitations. Different 3D printing methods have specific size constraints, and scaling must account for potential shrinkage or deformation during the printing process.
Step 4: Structural Optimization
Structural optimization is a critical aspect of 3D print file editing. This involves analyzing and modifying the model’s internal geometry to enhance print quality, reduce material usage, and improve mechanical properties. Techniques like adding support structures, creating hollow sections, and implementing lattice designs can significantly impact the final print’s performance.
Step 5: Preparing for Print
Before finalizing your edited file, conduct a thorough preparation process. This includes checking for potential printing issues such as non-manifold edges, intersecting geometries, and wall thickness inconsistencies. Many CAD software packages offer built-in analysis tools that can automatically detect and help resolve these potential problems.
Related Guide: How to Make Your Own 3D Print Files
Method 2: Online 3D Model Editing Platforms

For those seeking accessibility and convenience, online 3D model editing platforms offer a flexible alternative to traditional desktop software.
These web-based tools democratize 3D model editing, providing user-friendly interfaces that enable quick modifications without requiring advanced technical expertise or expensive software licenses.
Step 1: Exploring Web-Based Editing Tools
Online 3D model editing platforms offer an alternative approach for those without access to professional CAD software. Platforms like Meshmixer, TinkerCAD, and Fusion 360 Web provide browser-based editing capabilities that can handle basic to intermediate modifications.
Step 2: File Upload and Initial Assessment
Begin by uploading your 3D model to the chosen online platform. These tools typically support multiple file formats and provide immediate visualization of your design. Take time to thoroughly examine the model’s initial state, identifying areas that require modification.
Step 3: Performing Basic Edits
Online platforms excel at performing basic edits such as scaling, rotation, and simple geometric transformations. Utilize intuitive interface tools to make precise adjustments. Many platforms offer real-time previews, allowing you to instantly visualize the impact of your modifications.
Step 4: Advanced Editing Techniques
While online platforms might have limitations compared to professional CAD software, they still offer advanced editing features. These can include boolean operations, mesh repair, support generation, and basic sculpting tools. Experiment with these features to refine your 3D print file.
Method 3: Specialized 3D Printing Preparation Software
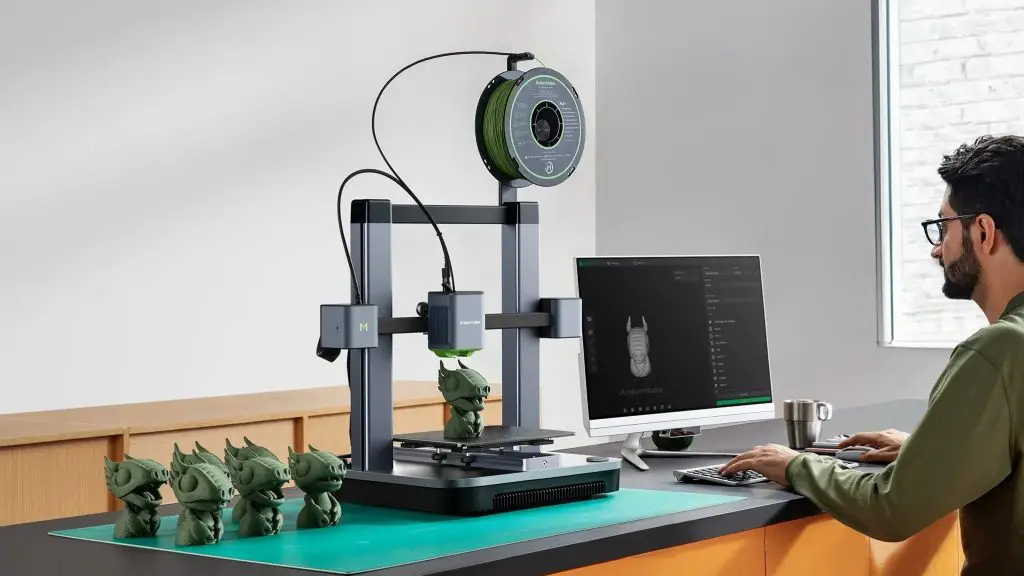
Slicing software represents the critical bridge between digital 3D models and physical printed objects. These specialized tools go beyond simple editing, transforming 3D designs into precise, printer-specific instructions while offering advanced optimization techniques that can significantly enhance print quality and efficiency.
Step 1: Understanding Slicing Software
Slicing software represents a crucial stage in 3D print file preparation. These specialized tools transform 3D models into detailed instruction sets (G-code) that 3D printers can understand. Popular slicing software like Cura, PrusaSlicer, and Simplify3D offer extensive editing capabilities beyond traditional CAD platforms.
Step 2: Advanced File Optimization
Slicing software provides unique optimization features specifically tailored for 3D printing. These include generating support structures, defining print orientation, adjusting infill patterns, and managing layer heights. Each of these parameters can dramatically influence print quality and material efficiency.
Step 3: Print Settings Customization
Customize print settings to match your specific 3D printer’s capabilities and the chosen printing material. Parameters like temperature, print speed, cooling, and retraction can be fine-tuned to achieve optimal results. Experienced users often create custom profiles that capture the nuanced requirements of specific printing scenarios.
Related Guide: How to Print Multiple Files at Once
Conclusion
Editing 3D print files is a nuanced skill that combines technical knowledge, creativity, and precision. By mastering various editing methods, understanding file formats, and leveraging specialized software tools, you can transform digital designs into high-quality 3D printed objects.
The journey from digital concept to physical creation involves continuous learning and experimentation. Each editing technique offers unique advantages, and the most successful 3D printing practitioners develop a flexible approach that draws from multiple methods and tools.
Embrace the iterative nature of 3D print file editing. Each modification is an opportunity to refine your design, optimize performance, and push the boundaries of what’s possible in additive manufacturing.
Frequently Asked Questions (FAQs)
1. Can you edit 3D print files?
Yes, you can edit 3D print files using specialized software like Fusion 360, Blender, or TinkerCAD. These programs allow you to modify existing 3D models by adjusting dimensions, adding or removing features, smoothing surfaces, and combining multiple designs.
Whether you want to resize a model, repair imperfections, or customize an object to suit your specific needs, 3D modeling software provides flexible tools for file manipulation.
Professional designers and hobbyists alike use these applications to transform digital blueprints before sending them to a 3D printer, enabling creative modifications and precise adjustments to suit individual requirements.
2. How can I edit STL files for free?
For editing STL files for free, several robust options exist. Blender, a powerful open-source 3D modeling software, offers comprehensive file modifications. FreeCAD provides user-friendly tools for 3D model editing, while Tinkercad serves as an accessible web-based platform.
These free applications enable resizing, repairing, and transforming STL files, catering to both beginners and experienced designers seeking cost-effective solutions for 3D file manipulation.
3. Can I edit STL files in Blender?
Blender provides excellent capabilities for editing STL files, offering comprehensive tools for precise model modifications. Users can import STL files directly, enter edit mode, and utilize features like extrude, scale, rotate, and sculpt to transform 3D models.
With its robust functionality, Blender allows professionals and hobbyists to perform complex geometric adjustments, repair mesh imperfections, and customize STL files with remarkable precision and flexibility.

