
How to Dry Ink on Glossy Paper – 3 Easy Ways to Follow
Printing on glossy paper can be a tricky process, especially when it comes to ensuring that the ink dries properly. Glossy paper is known for its smooth, shiny surface, which enhances the vibrancy and clarity of printed images and text.
However, this same characteristic can also make it challenging for the ink to adhere and dry efficiently. Improper drying can lead to smudging, smearing, and even damage to the printed material.
In this comprehensive guide, we will explore various methods and techniques to help you achieve perfectly dried ink on glossy paper, ensuring your prints look professional and long-lasting.
Understanding the Challenges of Drying Ink on Glossy Paper
Before we dive into the solutions, it’s essential to understand why drying ink on glossy paper can be problematic. Glossy paper is coated with a layer of resin or varnish, which creates a smooth, non-porous surface.
This coating prevents the ink from being absorbed into the paper fibers, causing it to sit on top of the surface. As a result, the ink takes longer to dry and is more susceptible to smudging or smearing when handled too soon.
Moreover, different types of ink have varying drying times and characteristics. For example, dye-based inks, commonly used in inkjet printers, tend to dry faster than pigment-based inks.
However, pigment-based inks are known for their durability and resistance to fading. Understanding the type of ink you are using can help you determine the best approach to drying it on glossy paper.
Method 1: Natural Air Drying

One of the simplest and most straightforward methods to dry ink on glossy paper is natural air drying. This method relies on the evaporation of the ink’s liquid components, leaving behind the pigments or dyes on the paper’s surface.
Here is how to do it.
Step 1: Handle the Print with Care
After your document or image has finished printing, carefully remove it from the printer tray. Avoid touching the printed surface, as the ink will still be wet and prone to smudging. Hold the paper by its edges or corners to minimize contact.
Step 2: Place the Print on a Flat Surface
Find a clean, flat surface where you can place your print. Ensure that the surface is free from dust, debris, or any other materials that could stick to the wet ink. A desk, table, or countertop works well for this purpose.
Step 3: Allow Adequate Drying Time
Leave your print to air dry naturally. The drying time will vary depending on factors such as the type of ink, the amount of ink used, and the humidity levels in the room.
As a general rule, allow at least 30 minutes to an hour for the ink to dry completely. Avoid stacking multiple prints on top of each other during this time, as the weight can cause the ink to smear or transfer.
Step 4: Check for Dryness
After the recommended drying time has passed, gently touch a small, inconspicuous area of the print to check if the ink has dried. If it feels dry to the touch and does not smudge, your print is ready. If the ink still feels tacky or wet, allow more drying time.
Method 2: Using a Hair Dryer
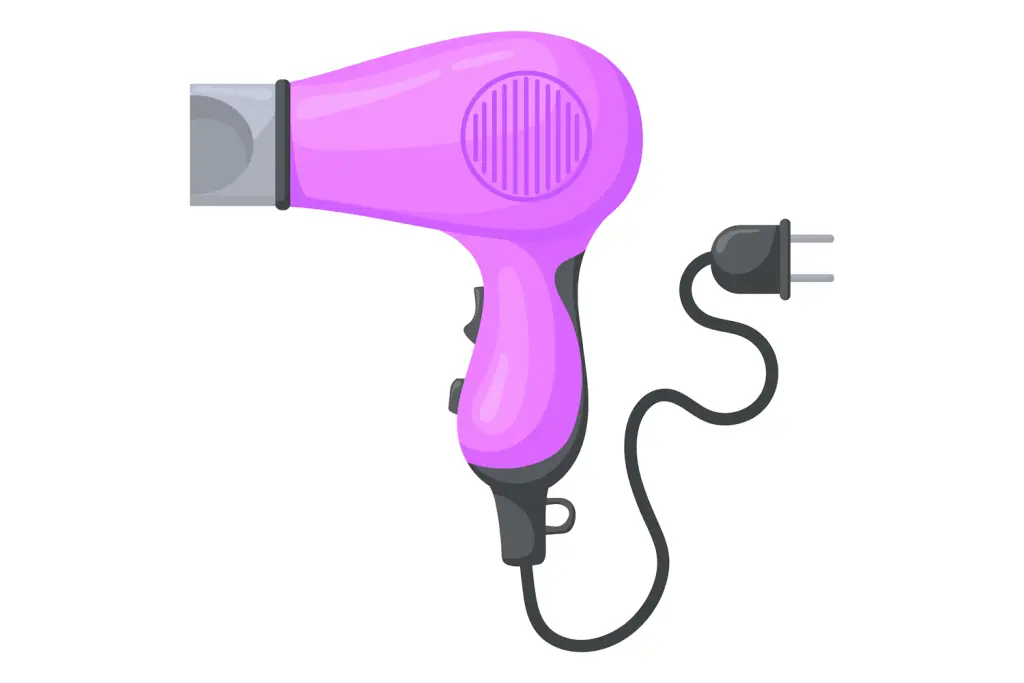
If you need to speed up the drying process, using a hair dryer can be an effective solution. The heat and airflow from the hair dryer help evaporate the ink’s liquid components more quickly.
However, it is crucial to use this method with caution to avoid damaging your print. Follow these steps.
Step 1: Set the Hair Dryer to the Lowest Heat Setting
Ensure that your hair dryer is set to the lowest heat setting available. High heat can cause the ink to bleed, distort the colors, or even warp the glossy paper. If your hair dryer has a cool air option, that is even better.
Step 2: Hold the Hair Dryer at a Distance
Position the hair dryer approximately 6 to 8 inches away from the print’s surface. Holding it too close can cause the ink to splatter or the paper to warp due to the intense heat and airflow.
Step 3: Move the Hair Dryer Continuously
Slowly move the hair dryer back and forth across the print, ensuring that you cover the entire surface evenly. Avoid focusing the airflow on one spot for too long, as it can cause uneven drying or damage to the print.
Step 4: Check for Dryness
After a minute or two of using the hair dryer, touch a small area of the print to check if the ink has dried. If it still feels wet, continue the process for a little longer. Be patient and avoid overexposing the print to heat.
Related Article: How to Resize an Image for Printing on Android
Method 3: Using a Heat Press
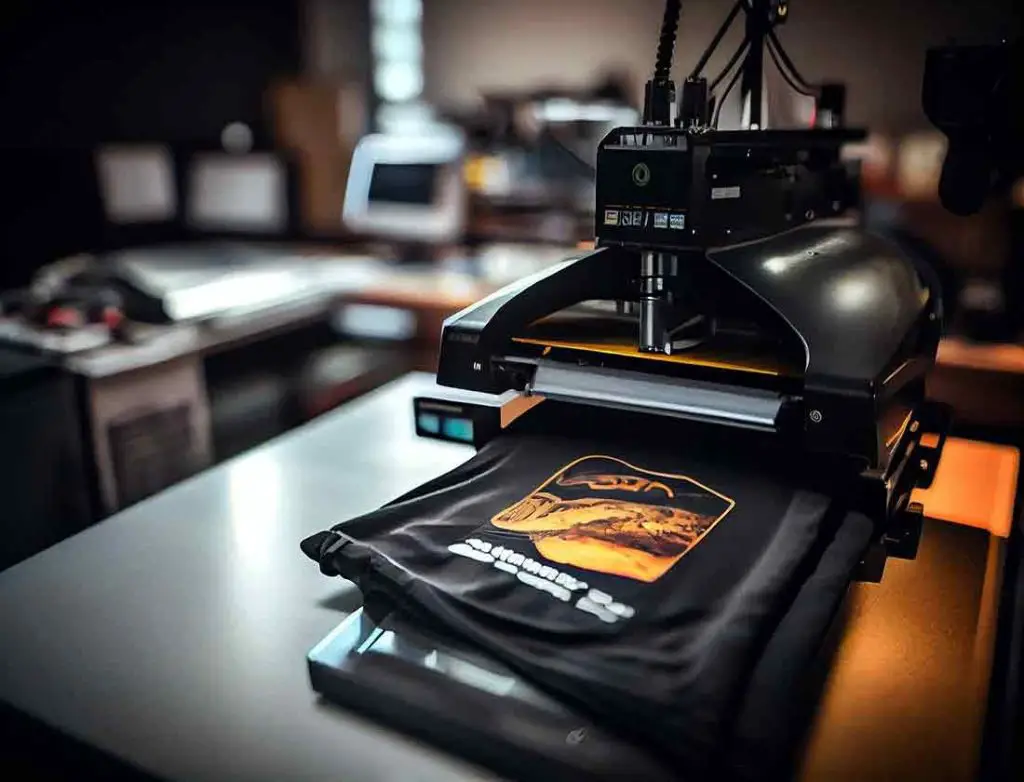
For those who frequently print on glossy paper and require a more professional and efficient drying solution, a heat press can be a worthwhile investment.
Heat presses are designed to apply even heat and pressure to the printed surface, resulting in quick and uniform drying. Here is how to use a heat press to dry ink on glossy paper.
Step 1: Set the Heat Press Temperature
Consult your heat press manual or the manufacturer’s guidelines to determine the recommended temperature setting for glossy paper. Different types of glossy paper may have specific temperature requirements.
Generally, a temperature range of 300°F to 350°F (150°C to 175°C) works well for most glossy papers.
Step 2: Place the Print on the Heat Press
Open the heat press and carefully place your printed glossy paper onto the lower platen. Ensure that the print is centered and positioned correctly.
If your heat press has a Teflon sheet or protective cover, place it over the print to prevent direct contact with the heated upper platen.
Step 3: Close the Heat Press
Lower the heat press’s upper platen onto the print, applying even pressure. Most heat presses have a built-in timer that automatically opens the press after a set duration.
If your heat press doesn’t have this feature, consult the manual for the recommended pressing time, usually around 10 to 20 seconds.
Step 4: Remove the Print
Once the heat press opens, carefully remove the print using heat-resistant gloves or tongs. Place the print on a flat surface to cool down completely.
Note: Avoid touching the printed surface until it has cooled, as the ink may still be slightly malleable.
Conclusion
Drying ink on glossy paper requires a bit of knowledge, patience, and the right techniques. Whether you opt for natural air drying, using a hair dryer, or investing in a heat press, understanding the characteristics of your ink and paper is crucial.
By following the steps outlined in this guide, you can achieve perfectly dried prints on glossy paper, ensuring that your images and documents look sharp, vibrant, and professional.
Remember to handle your prints with care during the drying process and give them adequate time to dry completely before displaying or storing them. With these tips and methods, you’ll be able to create stunning glossy prints that stand the test of time.
Frequently Asked Questions (FAQs)

1. How long does it take for ink to dry on glossy paper?
The drying time for ink on glossy paper varies depending on factors such as the type of ink, printer, and environmental conditions.
Generally, it takes longer for ink to dry on glossy paper compared to regular paper due to the non-porous surface. Dye-based inks typically dry faster than pigment-based inks.
On average, it can take anywhere from a few minutes to several hours for the ink to dry completely on glossy paper. For best results, allow ample drying time before handling the printed material.
2. Why is the ink not drying on glossy paper?
Ink takes longer to dry on glossy paper due to its non-porous surface. Unlike regular paper, glossy paper is coated with a layer of resin or varnish, which prevents the ink from being absorbed into the paper fibers.
Instead, the ink sits on top of the glossy surface, making it more susceptible to smudging or smearing when handled too soon. The type of ink also plays a role, as pigment-based inks tend to dry slower than dye-based inks on glossy paper.
3. How to keep ink from smearing on glossy paper?
To prevent ink from smearing on glossy paper, allow sufficient drying time after printing. Avoid touching or handling the printed material immediately, as the ink may still be wet. Ensure proper ventilation to facilitate drying and consider using a fan or hair dryer on a low setting to speed up the process.
Choose quick-drying inks compatible with glossy paper and adjust printer settings accordingly. Additionally, using a fixative spray or coating can help protect the ink from smudging once it has dried completely.
For a detailed overview, you can check out our guide on how to keep ink from smearing on glossy paper.
How to Print on 5×7 Cardstock – Easy Ways to Follow
How to Print on 5×7 Envelopes – Easy Methods to Perform
How to Fax Double-Sided Documents – 4 Easy Ways
About Author
Mark Kelly
This is Mark, a printer expert from North Carolina, US. It has been 8 years since I started using and reviewing printers of all types. With that said, I decided to share my knowledge with you lovely people so you can make the perfect choice when it comes to choosing a printer.