
How to Clean HP LaserJet Printer Rollers – Easy Ways to Follow
Keeping your HP LaserJet printer in top shape is essential for consistent, high-quality output. One often overlooked yet crucial aspect of printer maintenance is cleaning the rollers. These unassuming components play a vital role in the printing process, guiding paper through the intricate machinery with precision.
Over time, however, they can accumulate a veritable potpourri of dust, toner particles, and debris, leading to a host of printing woes.
In this comprehensive guide, we’ll delve into the art of cleaning HP LaserJet printer rollers, ensuring your trusty machine continues to churn out impeccable documents. We’ll explore various methods, from basic upkeep to more thorough cleaning procedures, tailored to different levels of grime and printer models.
Whether you’re a home user printing occasional recipes or managing a fleet of printers in a bustling office, this article will equip you with the knowledge to maintain your LaserJet’s performance.
How to Clean HP LaserJet Printer Rollers
So, roll up your sleeves and prepare to give your printer some well-deserved TLC. With our step-by-step instructions and insider tips, you’ll be well on your way to extending your printer’s lifespan and preserving its print quality.
Method 1: Basic Cleaning with a Dry Cloth
For routine maintenance or light dirt accumulation, a simple dry cleaning method can be effective.
Step 1: Access the Rollers
Open the printer’s access panels and paper trays to expose the rollers. Refer to your printer’s manual for specific instructions on how to access different roller sets.
Step 2: Inspect the Rollers
Visually examine the rollers for signs of dirt, dust, or wear. Note any areas that require particular attention.
Note: When accessing the printer’s internal components, be gentle to avoid damaging the rollers or other sensitive parts.
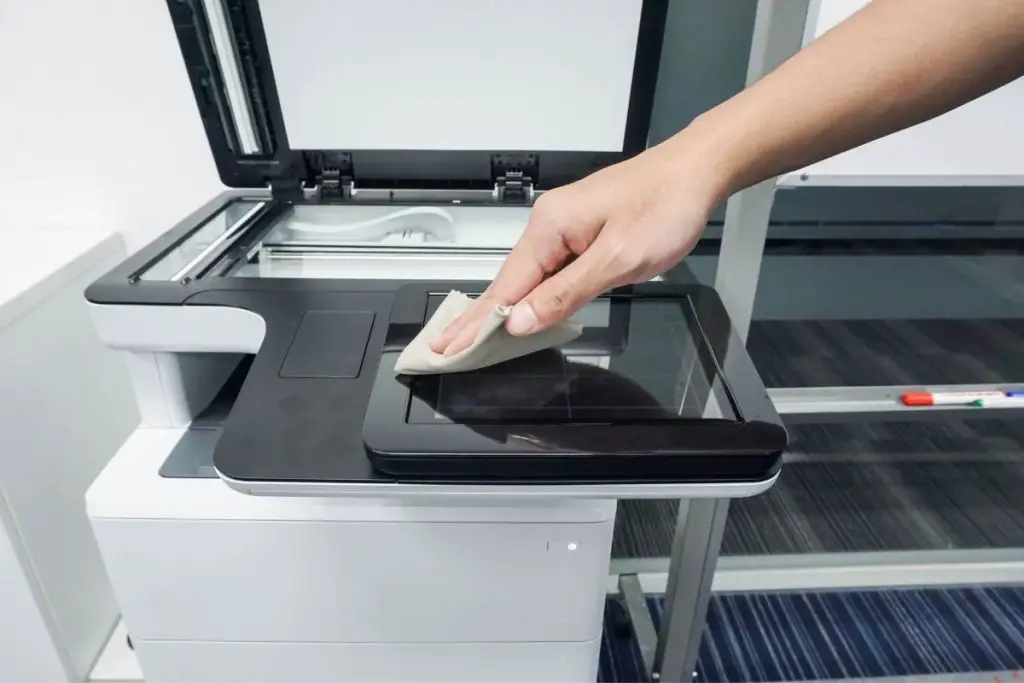
Step 3: Clean with a Lint-Free Cloth
Using a lint-free cloth or microfiber towel, gently wipe the surface of each roller. Apply light pressure and rotate the roller as you clean to cover its entire surface.
Step 4: Remove Loose Debris
Use a soft-bristled brush or a vacuum cleaner with a soft brush attachment to remove any loose debris around the roller areas.
Step 5: Reassemble and Test
Once you’ve cleaned all accessible rollers, close the access panels and paper trays. Plug in the printer, turn it on, and run a test print to ensure proper functionality.
Related Article: How to Format SD Card for 3D Printer
Method 2: Damp Cleaning with Distilled Water
For more stubborn dirt or if the dry method proves insufficient, cleaning with distilled water can be more effective.
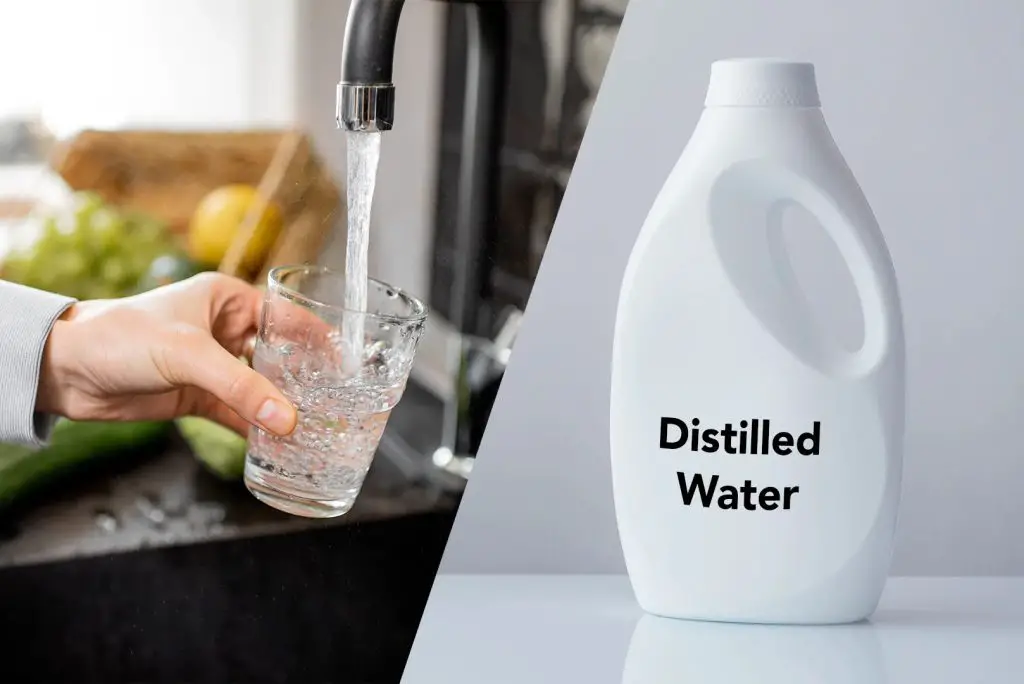
Step 1: Prepare the Cleaning Solution
Fill a small bowl with distilled water. Avoid using tap water, as it may contain minerals that can leave residue on the rollers.
Step 2: Dampen the Cloth
Dip a lint-free cloth or microfiber towel into the distilled water. Wring out excess water until the cloth is damp but not soaking wet.
Step 3: Clean the Rollers
Gently wipe each roller with the damp cloth, rotating the roller to clean its entire surface. Pay special attention to any visibly dirty areas.
Step 4: Dry the Rollers
Use a dry lint-free cloth to thoroughly dry each roller after cleaning. This step is crucial to prevent water from affecting the printer’s internal components.
Step 5: Allow to Air Dry
Leave the printer open for 10-15 minutes to ensure all cleaned areas are completely dry before reassembling and testing.
Method 3: Deep Cleaning with Isopropyl Alcohol
For tougher grime or to remove toner residue, isopropyl alcohol can be an effective cleaning agent.
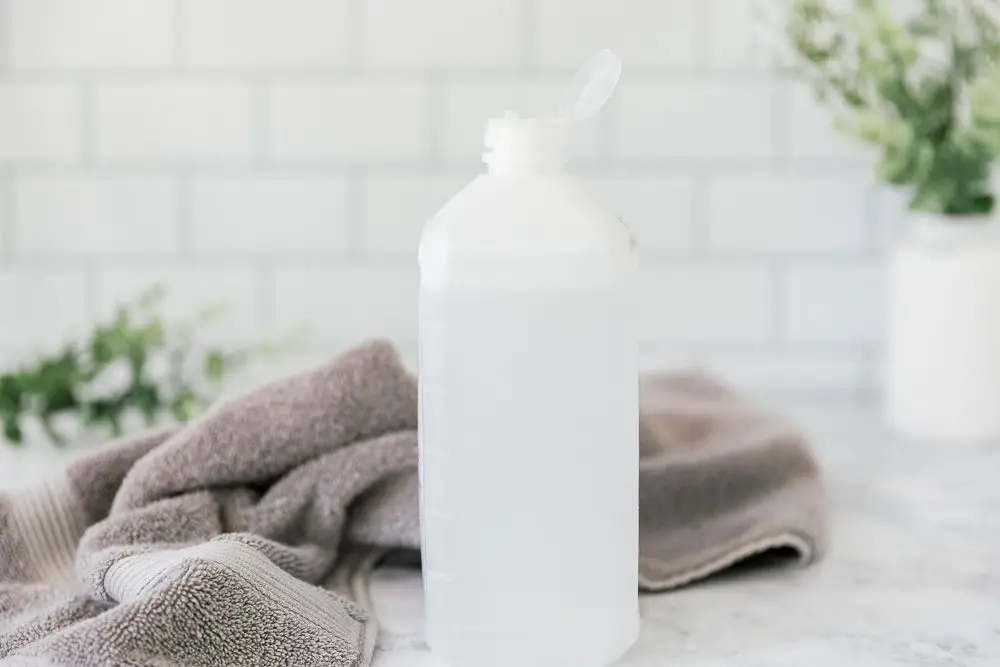
Step 1: Prepare the Alcohol Solution
Pour a small amount of isopropyl alcohol (90% or higher) into a bowl. Alternatively, you can use pre-moistened alcohol wipes designed for electronics.
Step 2: Apply Alcohol to Cloth
Dampen a lint-free cloth or cotton swab with the isopropyl alcohol. Ensure it’s not oversaturated to prevent excess liquid from entering the printer.
Step 3: Clean the Rollers
Carefully wipe each roller with the alcohol-dampened cloth or swab. For hard-to-reach areas, use a cotton swab for more precise cleaning.
Step 4: Remove Residue
Use a dry lint-free cloth to wipe away any loosened dirt or toner residue from the rollers.
Step 5: Allow to Dry
Let the rollers air dry completely for at least 15-20 minutes before closing the printer and running a test print.
Related Article: How to Print in Color on HP Printer
Method 4: Cleaning with Rubber Rejuvenator
For older printers or rollers showing signs of wear, a rubber rejuvenator solution can help restore grip and flexibility.
Step 1: Choose a Rubber Rejuvenator
Select a rubber rejuvenator solution specifically designed for printer rollers. These products are formulated to clean and condition rubber surfaces without causing damage.
Step 2: Apply the Solution
Following the product instructions, apply a small amount of rubber rejuvenator to a lint-free cloth. Gently wipe each roller, ensuring even coverage.
Step 3: Allow to Absorb
Let the rejuvenator solution sit on the rollers for the time specified in the product instructions, typically a few minutes.
Step 4: Wipe Clean
Use a clean, dry lint-free cloth to wipe off any excess rejuvenator solution from the rollers.
Step 5: Test Functionality
After the rollers have dried completely, run several test prints to ensure proper paper feeding and print quality.
Tip: Establish a routine cleaning schedule based on your printer usage. For high-volume environments, monthly cleaning may be necessary, while less frequent cleaning may suffice for home use.
Conclusion
By following these cleaning methods, preventive maintenance tips, and troubleshooting steps, you can significantly extend the life of your HP LaserJet printer rollers and maintain high-quality print output. Regular care and attention to your printer’s rollers will not only improve its performance but also reduce the likelihood of costly repairs or premature replacement.
Remember, while cleaning printer rollers is an important maintenance task, it’s just one aspect of overall printer care. Be sure to follow all manufacturer recommendations for your specific HP LaserJet model, including regular toner replacement, software updates, and professional servicing when required.
With proper care and maintenance, your HP LaserJet printer will continue to deliver the reliable, high-quality prints you depend on for years to come. Whether you’re printing important business documents, vibrant marketing materials, or cherished personal photos, clean and well-maintained rollers are key to ensuring your printer performs at its best.
Frequently Asked Questions (FAQs)
1. How do I clean the rollers on my HP Laserjet 500?
To clean the rollers on your HP LaserJet 500.
- Power off and unplug the printer.
- Open the front cover and remove the toner cartridge.
- Locate the rubber rollers inside.
- Dampen a lint-free cloth with water or isopropyl alcohol.
- Gently wipe each roller, rotating them to clean all surfaces.
- For stubborn debris, use a cotton swab.
- Allow rollers to dry completely before reassembling.
- Replace the toner cartridge and close the cover.
- Plug in and power on the printer.
Regular cleaning prevents paper jams and improves print quality. Consult your printer manual for specific instructions and safety precautions.
2. How do I run the clean cycle on HP LaserJet?
To run the clean cycle on an HP LaserJet, start by loading plain paper into the input tray. Access the printer’s control panel menu and navigate to “Device Maintenance” or “Tools”. Select “Cleaning Page” or “Clean Fuser”, then press “OK” or “Start” to begin the process.
Wait for the printer to print a cleaning page, then discard it. For newer models with touchscreens, tap the Setup icon, select “Printer Maintenance”, choose “Clean Page”, and follow the on-screen instructions.
It’s recommended to run this cycle monthly or when print quality declines. Keep in mind that the exact steps may vary slightly depending on your specific LaserJet model, so it’s best to consult your printer’s manual for detailed instructions tailored to your device.
3. Where is the cleaning button on HP printer?
The location of the cleaning button on HP printers varies depending on the model. On many HP inkjet printers, you’ll find it in the printer’s control panel menu. Navigate through the settings to find options like “Tools”, “Maintenance“, or “Printer Maintenance”.
From there, look for “Clean Printhead” or “Cleaning”. For LaserJet models, the cleaning function is often found under “Device Maintenance” or “Tools”. Some newer printers with touchscreens may have a “Setup” icon where you can access cleaning options.
If you’re having trouble locating the cleaning function, consult your printer’s manual or HP’s support website for model-specific instructions. Remember, running a cleaning cycle uses ink, so only do it when necessary to maintain print quality.

How to Scan with Canon MG3500 – Easy Steps to Follow
How to Change Print Speed on Ender 3 – Easy Steps to Follow
How to Copy on Canon TS3522 Printer – Easy Steps to Follow
About Author
Mark Kelly
This is Mark, a printer expert from North Carolina, US. It has been 8 years since I started using and reviewing printers of all types. With that said, I decided to share my knowledge with you lovely people so you can make the perfect choice when it comes to choosing a printer.