
How to Make Thermal Printer Print Darker – 4 Easy Methods
In the fast-paced world of printing technology, thermal printers have become indispensable tools across various industries. These efficient devices, known for their speed and low maintenance, use heat to create images on specially treated paper.
However, a common conundrum faced by users is the issue of faint or light printing, which can compromise the legibility of important documents, labels, or receipts.
This comprehensive guide delves into the intricacies of thermal printing and explores multiple methods to enhance print darkness.
We’ll unravel the factors contributing to suboptimal print quality, from incorrect density settings to environmental influences. By addressing these elements and fine-tuning your printer’s performance, you can achieve crisp, clear output that meets professional standards.
Our exploration will cover four primary approaches: adjusting printer settings, performing meticulous maintenance, selecting appropriate thermal paper, and optimizing the printing environment.
By the end of this guide, you’ll be equipped with the knowledge to troubleshoot and elevate your thermal printer’s output quality, ensuring your prints are consistently dark and legible.
How to Make Thermal Printer Print Darker
Let’s dive into the methods and steps you can take to improve your thermal printer’s output quality.
Method 1: Adjusting Printer Settings

One of the most straightforward ways to make your thermal printer print darker is by adjusting its settings. Most thermal printers allow you to modify various parameters that affect print quality, including darkness or density. Here’s how you can go about it.
Step 1: Access the printer settings
Locate the control panel or settings menu on your thermal printer. This may be a physical button on the printer itself or accessible through the printer’s software on your computer.
Step 2: Find the print density or darkness setting
Look for an option labeled “Print Density”, “Darkness” or something similar. This setting controls how much heat the printhead applies to the thermal paper.
Step 3: Increase the print density
Gradually increase the print density setting. Most printers use a scale from 1 to 10 or 1 to 100. Start by increasing it by about 10-20% from its current value.
Step 4: Print a test page
After adjusting the setting, print a test page to see the result. This will help you determine if the new setting produces the desired darkness.
Step 5: Fine-tune the settings
If the test print is still too light, increase the density further. If it’s too dark or causes smudging, decrease it slightly. Repeat steps 3 and 4 until you achieve the optimal print darkness.
Step 6: Save the new settings
Once you’ve found the ideal print density, save the new settings. This ensures that your printer will use these optimized settings for future print jobs.
It’s important to note that while increasing print density can improve the darkness of your prints, setting it too high can lead to other issues. Excessively high density can cause the thermal paper to stick to the printhead, potentially damaging both the paper and the printer.
It can also lead to decreased printhead lifespan and higher power consumption. Therefore, it’s crucial to find the right balance between print darkness and printer longevity.
Related Article: How to Add Ink to Epson ET-2760
Method 2: Maintaining and Cleaning Your Printer
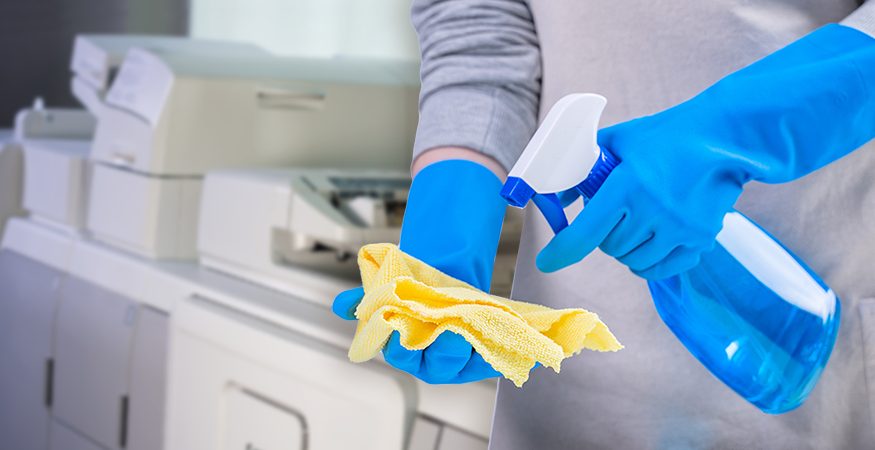
Regular maintenance and cleaning of your thermal printer can significantly impact print quality. Over time, dust, paper debris, and residue can accumulate on the printhead and other components, leading to lighter prints. Here’s how to maintain your printer for optimal performance:
Step 1: Power off and unplug the printer
Before starting any maintenance, ensure the printer is turned off and unplugged to prevent any potential electrical hazards.
Step 2: Open the printer cover
Carefully open the printer’s cover or top lid to access the internal components, particularly the printhead and platen roller.
Step 3: Inspect the printhead
Examine the printhead for any visible signs of dirt, dust, or residue. The printhead is typically a ceramic or glass bar with a row of heating elements.
Step 4: Clean the printhead
Use a printhead cleaning pen or a lint-free cloth dampened with isopropyl alcohol to gently clean the printhead. Move the cleaning tool across the printhead in one direction, being careful not to apply too much pressure.
Step 5: Clean the platen roller
The platen roller is the rubber roller that the paper passes over during printing. Clean it using a lint-free cloth slightly dampened with water or a specialized cleaning solution. Rotate the roller to clean its entire surface.
Step 6: Remove debris from paper path
Use compressed air or a soft brush to remove any paper dust or debris from the paper path and other internal components of the printer.
Step 7: Clean the exterior
Wipe down the exterior of the printer with a slightly damp cloth to remove dust and grime.
Step 8: Allow components to dry
Before closing the printer cover, ensure all cleaned components are completely dry.
Step 9: Close the cover and run a test print
Once everything is dry, close the printer cover, plug in the printer, and run a test print to check if the cleaning has improved print darkness.
Regular maintenance not only helps improve print quality but also extends the life of your thermal printer. It’s recommended to clean your printer at least once a month, or more frequently if you use it heavily or operate in a dusty environment.
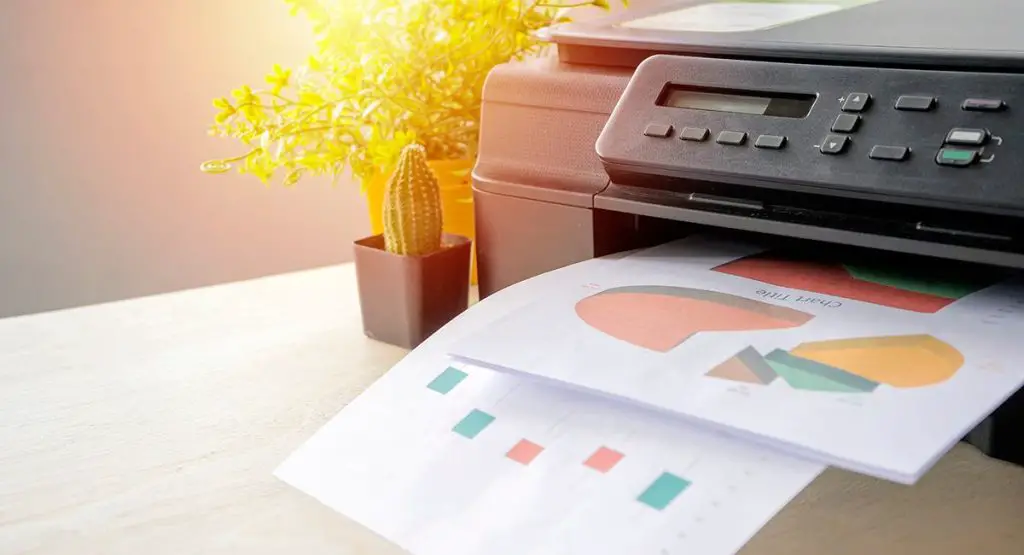
Method 3: Choosing the Right Thermal Paper

The quality and type of thermal paper you use can significantly affect print darkness. Not all thermal papers are created equal, and using the right paper for your specific printer model can make a substantial difference. Here’s how to select and use the appropriate thermal paper:
Step 1: Check your printer’s specifications
Consult your printer’s manual or manufacturer’s website to determine the recommended paper type and specifications for your model.
Step 2: Choose high-quality thermal paper
Opt for thermal paper from reputable brands. Higher quality paper typically has a more sensitive thermal coating, resulting in darker prints.
Step 3: Consider paper thickness
Thicker thermal paper (often measured in microns) generally produces darker prints. However, ensure your printer can handle the thickness you choose.
Step 4: Select the appropriate paper size
Use paper that’s the correct width and roll diameter for your printer to ensure proper feeding and tension.
Step 5: Check the paper’s image density
Look for thermal paper with higher image density ratings. This indicates how dark the print can be when heated.
Step 6: Store paper properly
Keep thermal paper in a cool, dry place away from direct sunlight and heat sources. Improper storage can degrade the paper’s thermal coating.
Step 7: Load paper correctly
Ensure the thermal side of the paper (usually the shinier side) faces the printhead when loaded into the printer.
Step 8: Adjust printer settings for new paper
If you’ve switched to a different type of thermal paper, you may need to readjust your printer’s density settings to achieve optimal results.
Step 9: Perform a test print
After loading the new paper, print a test page to check the print quality and darkness.
Using the right thermal paper not only improves print darkness but can also enhance overall print quality, increase printing speed, and reduce wear on the printhead. It’s worth investing in high-quality paper that’s specifically designed for your printer model to achieve the best results.
Related Article: How to Print Screen on Logitech Keyboard K850
Method 4: Optimizing the Printing Environment
The environment in which your thermal printer operates can have a surprising impact on print quality and darkness.
Factors such as temperature, humidity, and even static electricity can affect how well the thermal paper reacts to the heat from the printhead. Here’s how you can optimize your printing environment:
Step 1: Control room temperature
Maintain a consistent room temperature between 20°C and 25°C (68°F to 77°F). Extreme temperatures can affect the chemical reaction in thermal paper.
Step 2: Manage humidity levels
Keep relative humidity between 45% and 60%. Too much humidity can cause paper to absorb moisture, while too little can increase static electricity.
Step 3: Avoid direct sunlight
Position the printer away from windows or direct sunlight, which can prematurely activate the thermal coating on the paper.
Step 4: Ensure proper ventilation
Place the printer in a well-ventilated area to prevent heat buildup, which can affect print quality.
Step 5: Minimize dust and debris
Keep the printer and surrounding area clean to reduce the amount of dust that can accumulate on the printhead and other components.
Step 6: Use anti-static measures
In dry environments, consider using an anti-static mat or spray to reduce static electricity that can interfere with paper feeding and print quality.
Step 7: Allow printer warm-up time
If the printer has been in a cold environment, allow it to acclimate to room temperature before use.
Step 8: Avoid rapid temperature changes
Prevent exposing the printer to sudden temperature changes, which can cause condensation and affect print quality.
Step 9: Check power supply
Ensure the printer is connected to a stable power source. Fluctuations in power can affect the heat generated by the printhead.
By optimizing your printing environment, you create ideal conditions for your thermal printer to operate efficiently. This can lead to more consistent and darker prints, as well as extended printer lifespan.
Conclusion
In conclusion, achieving darker prints from your thermal printer involves a multi-faceted approach. By adjusting printer settings, maintaining and cleaning your device regularly, choosing the right thermal paper, and optimizing the printing environment, you can significantly improve the darkness and overall quality of your thermal prints.
Remember that each printer model may have unique characteristics, so it’s essential to consult your printer’s manual for specific guidance.
Additionally, keep in mind that while darker prints are often desirable, excessively dark settings can lead to other issues such as smudging or decreased printhead lifespan. The key is to find the right balance that produces clear, legible prints without compromising the longevity of your printer.
Implementing these methods not only enhances print darkness but also contributes to better overall print quality, improved efficiency, and extended printer life. Regular monitoring and adjustment of these factors will ensure that your thermal printer continues to produce high-quality, dark prints that meet your specific needs.
As thermal printing technology continues to evolve, staying informed about the latest best practices and innovations in the field can help you maintain optimal performance from your printer.
By following the steps outlined in this guide and staying attentive to your printer’s performance, you can ensure that your thermal printer consistently produces the dark, crisp prints you require for your business or personal needs.
Frequently Asked Questions (FAQs)
1. How do I increase the darkness on my thermal printer?
To increase darkness on your thermal printer, start by adjusting the printer settings. Look for options like “print density” or “darkness” and increase the value gradually. If your printer has a physical dial, turn it towards the darker end.
Ensure you’re using high-quality thermal paper compatible with your printer model. Clean the print head regularly to remove dust and debris that can affect print quality. If these steps don’t suffice, check your printer’s user manual for specific instructions or contact the manufacturer’s support.
Be cautious not to set the darkness too high, as it may cause excessive heat buildup and potentially damage the print head or reduce its lifespan.
2. Why is my thermal printer not printing dark enough?
If your thermal printer isn’t producing dark enough prints, several factors could be at play. The print density setting might be too low, so check your printer’s configuration and increase it if needed. Low-quality or old thermal paper can also result in faint prints, so try switching to fresh, high-grade paper.
A dirty print head can obstruct heat transfer, leading to light prints; clean it gently with isopropyl alcohol. Low battery in portable printers or a failing power supply in desktop models can cause insufficient heat for proper printing.
Lastly, if your printer is old or heavily used, the thermal elements may be wearing out, potentially requiring professional servicing or replacement of the print head.
3. How do you restore faded ink on thermal paper?
Unfortunately, restoring faded ink on thermal paper is challenging because the print isn’t actually ink-based. Thermal printers use heat to activate special chemicals in the paper, creating the image. Once faded, this chemical reaction can’t be easily reversed.
Your best option is prevention: store thermal prints away from heat, light, and humidity. For important documents, consider making photocopies or digital scans as backups. Some thermal papers are more fade-resistant, so opt for higher quality options when possible.
If you must preserve a faded receipt, carefully scanning and digitally enhancing the image might help, but it won’t restore the original print. For crucial documents, always choose more permanent printing methods.
How to Scan an Object for 3D Printing – Easy Ways to Follow
How to Use Fusion 360 for 3D Printing – Easy Ways to Follow
How to Use Toybox 3D Printer – Easy Steps to Follow
About Author
Mark Kelly
This is Mark, a printer expert from North Carolina, US. It has been 8 years since I started using and reviewing printers of all types. With that said, I decided to share my knowledge with you lovely people so you can make the perfect choice when it comes to choosing a printer.