
How to Reset Epson ET-2760 – Easy Methods to Perform
The Epson EcoTank ET-2760, a paragon of modern printing technology, offers users a cost-effective and versatile solution for their home and small office needs. However, like any sophisticated electronic device, it may occasionally require a reset to maintain its optimal performance or resolve unforeseen issues.
This comprehensive guide will elucidate various methods to reset your Epson ET-2760 printer, empowering you to troubleshoot and overcome common challenges.
Before we delve into the intricacies of resetting your printer, it’s crucial to understand the underlying reasons that might necessitate such action.
These can range from print quality degradation and persistent error messages to connectivity problems and ink level inaccuracies. By performing a reset, you can often rectify these issues without resorting to professional intervention or costly repairs.
How to Reset Epson ET-2760
In this article, we’ll explore multiple reset techniques, starting with simple power cycles and progressing to more advanced procedures. We’ll also discuss how to reset specific components of your printer, such as ink levels and Wi-Fi settings.
While resetting can be an effective troubleshooting tool, it’s important to approach the process with caution and follow the steps precisely to avoid potential complications.
Method 1: Soft Reset (Power Cycle)
A soft reset, also known as a power cycle, is often the first step in troubleshooting printer issues. This method is simple, safe, and can resolve minor glitches without affecting your printer’s settings.
Step 1: Turn off the printer
Locate the power button on your Epson ET-2760 and press it to turn off the printer. Wait for all lights on the control panel to go out, indicating that the printer is completely powered down.
Step 2: Unplug the power cable
Once the printer is off, unplug the power cable from both the printer and the wall outlet. This ensures that all residual power is drained from the device.
Step 3: Wait for 60 seconds
Allow the printer to remain unplugged for at least one minute. This waiting period helps to clear any temporary data stored in the printer’s memory.
Step 4: Reconnect the power cable
After the waiting period, plug the power cable back into both the printer and the wall outlet. Ensure that the connections are secure.
Step 5: Turn on the printer
Press the power button to turn on your Epson ET-2760. Wait for the printer to complete its startup sequence, which may take a few moments.
Step 6: Test the printer
Once the printer has fully initialized, perform a test print to check if the issue has been resolved. If the problem persists, you may need to try one of the more advanced reset methods outlined below.
Method 2: Factory Reset

If a soft reset doesn’t solve your problem, a factory reset might be necessary. This method will restore your Epson ET-2760 to its original factory settings, erasing all custom configurations and network settings.
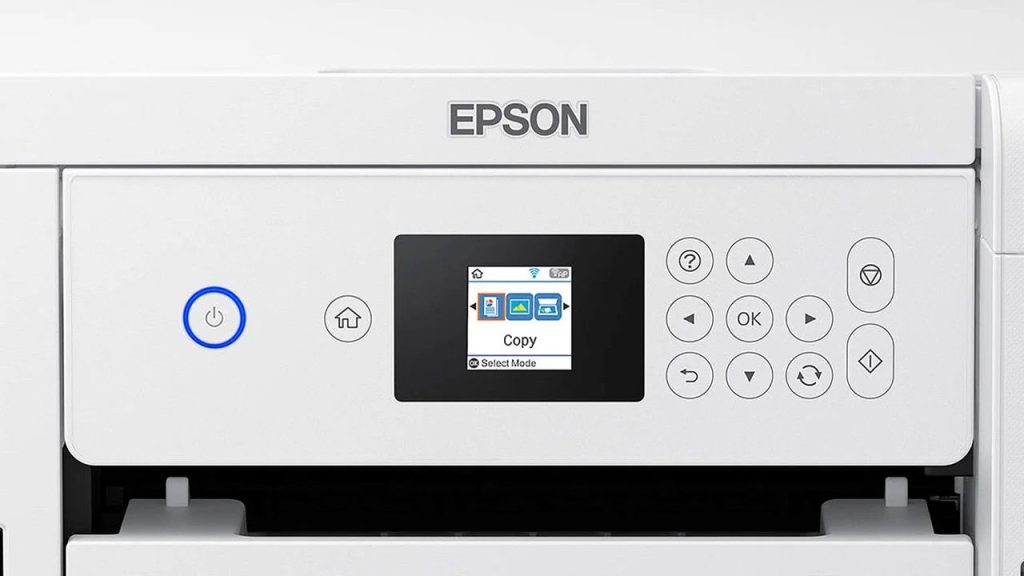
Step 1: Access the printer’s control panel
Locate the control panel on your Epson ET-2760. You’ll need to navigate through the menu options to perform the factory reset.
Step 2: Navigate to the setup menu
Using the arrow keys on the control panel, navigate to the “Setup” or “Settings” option and press the OK button.
Step 3: Select “Restore Default Settings”
Scroll through the setup menu until you find the “Restore Default Settings” or “Factory Reset” option. Select this option and press OK.
Step 4: Confirm the reset
The printer will ask you to confirm that you want to restore factory settings. Select “Yes” or “Confirm” to proceed with the reset.
Step 5: Wait for the reset to complete
The printer will now begin the factory reset process. This may take several minutes to complete. Do not turn off the printer or unplug it during this time.
Step 6: Reconfigure printer settings
Once the reset is complete, you’ll need to reconfigure your printer settings, including Wi-Fi connection and any custom print preferences.
Step 7: Test the printer
Perform a test print to ensure that the factory reset has resolved the issue you were experiencing.
Related Article: How to Set Up Fax on HP Printer Without Phone Line
Method 3: Firmware Reset

In some cases, issues with your Epson ET-2760 may be related to the printer’s firmware. Performing a firmware reset can help resolve these problems by reinstalling the printer’s operating system.
Step 1: Download the latest firmware
Visit the official Epson support website and locate the firmware update for your ET-2760 model. Download the firmware file to your computer.
Step 2: Prepare the printer
Ensure that your Epson ET-2760 is turned on and connected to your computer via USB cable. Remove any memory cards or USB drives from the printer.
Step 3: Run the firmware update utility
Locate the downloaded firmware file on your computer and run the update utility. Follow the on-screen instructions to begin the firmware update process.
Step 4: Wait for the update to complete
The firmware update may take several minutes to complete. Do not turn off the printer or disconnect the USB cable during this process.
Step 5: Restart the printer
Once the firmware update is complete, restart your Epson ET-2760 by turning it off and then on again.
Step 6: Test the printer
After the printer has restarted, perform a test print to check if the firmware reset has resolved your issue.
Method 4: Resetting Ink Levels
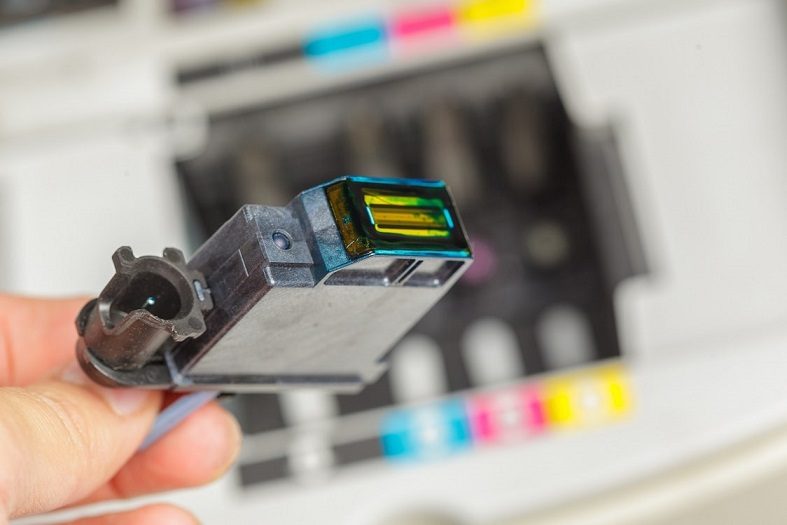
If you’re experiencing issues with ink level readings or have refilled your ink tanks manually, you may need to reset the ink levels on your Epson ET-2760.
Step 1: Access the printer’s control panel
Navigate to the control panel on your Epson ET-2760.
Step 2: Enter maintenance mode
To enter maintenance mode, turn off the printer, then press and hold the “Stop” button while turning the printer back on. Release the button when the printer’s lights start flashing.
Step 3: Navigate to ink reset option
Use the arrow keys to navigate through the maintenance menu until you find the “Ink Levels Reset” or similar option. Select this option and press OK.
Step 4: Choose the ink tanks to reset
Select the ink tanks you wish to reset. You can choose individual tanks or reset all of them at once.
Step 5: Confirm the reset
The printer will ask you to confirm the ink level reset. Select “Yes” or “Confirm” to proceed.
Step 6: Exit maintenance mode
Once the ink levels have been reset, exit maintenance mode by turning the printer off and then on again.
Step 7: Check ink levels
After restarting the printer, check the ink levels to ensure they have been reset correctly.
Related Article: How to Print Screen on Logitech Keyboard K780
Method 5: Resetting Wi-Fi Settings

If you’re experiencing connectivity issues with your Epson ET-2760, resetting the Wi-Fi settings can often help resolve the problem.
Step 1: Access the printer’s control panel
Navigate to the control panel on your Epson ET-2760.
Step 2: Open the Wi-Fi settings menu
Use the arrow keys to navigate to the “Setup” or “Settings” menu, then select “Network Settings” or “Wi-Fi Setup”.
Step 3: Choose “Restore Default Settings”
Look for an option labeled “Restore Default Settings” or “Reset Network Settings” and select it.
Step 4: Confirm the reset
The printer will ask you to confirm that you want to reset the network settings. Select “Yes” or “Confirm” to proceed.
Step 5: Wait for the reset to complete
The printer will now reset its network settings. This process may take a few moments to complete.
Step 6: Reconfigure Wi-Fi connection
Once the reset is complete, you’ll need to reconfigure your printer’s Wi-Fi connection. Follow the printer’s setup wizard to connect to your Wi-Fi network.
Step 7: Test the connection
After reconnecting to your Wi-Fi network, perform a test print to ensure that the connectivity issue has been resolved.
Conclusion
Resetting your Epson ET-2760 printer can be an effective way to resolve various issues and restore optimal performance. From simple power cycles to more advanced firmware resets, this guide has provided you with multiple methods to troubleshoot and reset your printer.
Remember to always start with the least invasive reset method and work your way up to more comprehensive resets if needed. By following the steps outlined in this article and implementing the preventive maintenance tips, you can keep your Epson ET-2760 running smoothly and efficiently for years to come.
If you continue to experience issues after trying these reset methods, or if you encounter any problems during the reset process, don’t hesitate to reach out to Epson’s customer support for further assistance. With proper care and maintenance, your Epson ET-2760 will continue to deliver high-quality prints and reliable performance for all your printing needs.
Frequently Asked Questions (FAQs)
1. How do I force my Epson printer to reset?
To reset your Epson printer, start by turning it off and unplugging it for about 30 seconds. Then, reconnect the power and turn it on while holding down the reset button (usually located on the control panel).
Keep the button pressed for 5-10 seconds or until you see indicator lights flashing. For some models, you may need to press a combination of buttons simultaneously. If this doesn’t work, try accessing the printer’s maintenance menu through your computer and look for a reset option.
As a last resort, consult your printer’s manual or Epson’s support website for model-specific instructions, as reset procedures can vary.
2. Where is the reset button on Epson ET 2700?
The Epson ET-2700 doesn’t have a dedicated reset button on its exterior. Instead, you can perform a reset through the printer’s control panel. To do this, turn off the printer, then press and hold the power button while simultaneously pressing the cancel button.
Keep both buttons pressed as you turn the printer back on. Release the buttons when the printer starts up. This should initiate a reset process.
If you need to reset specific settings, you can usually do so through the printer’s menu system or via the Epson software on your computer. For more extensive resets or troubleshooting, consult the user manual or Epson’s support website for detailed, model-specific instructions.
3. How do I put my Epson 2760 in power clean mode?
To put your Epson 2760 in power clean mode, start by ensuring the printer is turned on and has sufficient ink. Press the Home button on the control panel, then navigate to “Setup” or “Maintenance” using the arrow keys. Select “Print Head Cleaning” or “Power Cleaning” from the menu options. Choose “Start” to begin the cleaning process.
If this method doesn’t work, you can initiate power cleaning through your computer. Open the Epson printer utility software, find the maintenance tab, and select the power clean option.
Remember that power cleaning uses a significant amount of ink, so use it sparingly and only when necessary to avoid wasting ink. If print quality issues persist after multiple cleanings, you may need to align the print head or seek professional service.
We have a dedicated and in-depth guide on how to power clean Epson ET-2760 which covers each and every detail thoroughly. Make sure to give it a read.
How to Delete Job History on Konica Minolta Printer – Easy Guide
How to Scan Using Canon TS3522 – Easy Steps to Follow
How to Make Your Own 3D Print Files – Easy Ways to Follow
About Author
Mark Kelly
This is Mark, a printer expert from North Carolina, US. It has been 8 years since I started using and reviewing printers of all types. With that said, I decided to share my knowledge with you lovely people so you can make the perfect choice when it comes to choosing a printer.