
How to Power Clean Epson ET-2760 – Easy Steps to Follow
The Epson ET-2760 is a popular choice among home and small office users, thanks to its cost-effective EcoTank system and reliable performance. However, even the most dependable printers can sometimes encounter issues that affect print quality.
When your once-crisp documents start looking faded or streaky, it might be time for a power clean. This process, while more intensive than regular maintenance, can rejuvenate your printer’s output and restore its pristine performance.
In this comprehensive guide, we’ll walk you through the nuances of power cleaning your Epson ET-2760. Whether you’re a tech-savvy user or someone who finds printers somewhat enigmatic, we’ve got you covered.
We’ll explore multiple methods to tackle this task, from using the printer’s built-in functions to more hands-on approaches for persistent problems. Along the way, we’ll demystify the process, helping you understand when a power clean is necessary and how to prevent future issues.
How to Power Clean Epson ET-2760
So, let’s roll up our sleeves and dive into the world of printer maintenance, ensuring your Epson ET-2760 continues to churn out impeccable prints for years to come.
Method 1: Power Cleaning via Printer Control Panel
Step 1: Prepare the Printer
Ensure that your Epson ET-2760 is turned on and has sufficient ink in all tanks. Power cleaning consumes a considerable amount of ink, so check the ink levels before proceeding.
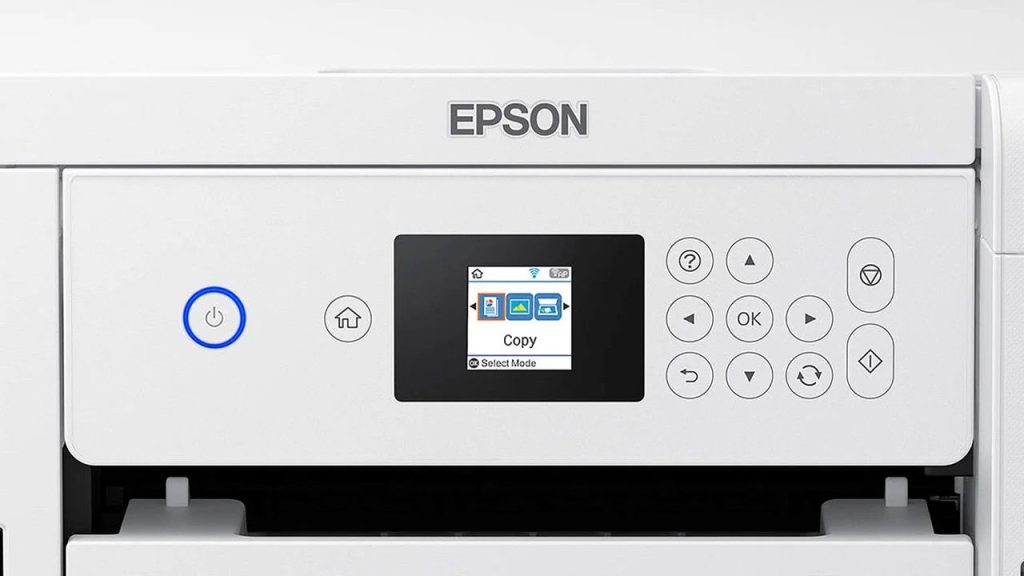
Step 2: Access the Maintenance Menu
On the printer’s control panel, navigate to the “Setup” or “Maintenance” menu. The exact location may vary depending on your firmware version.
Step 3: Select Power Cleaning
Scroll through the maintenance options and select “Power Cleaning” or “Head Cleaning”. If you don’t see this option immediately, look for an “Advanced” or “Additional Settings” submenu.
Step 4: Initiate the Power Clean
Confirm your selection to start the power cleaning process. The printer will begin the intensive cleaning cycle, which may take several minutes to complete.
Note: Power cleaning can take several minutes to complete. Ensure you have enough time to monitor the process.
Step 5: Perform a Nozzle Check
After the power cleaning finishes, run a nozzle check to verify the results. If print quality issues persist, you may need to repeat the power cleaning process.
Related Article: How to Set Up Fax on HP Printer Without Phone Line
Method 2: Power Cleaning via Epson Printer Software
Step 1: Open Epson Printer Software
Launch the Epson printer software on your computer. If you haven’t installed it, download the latest version from the official Epson website.
Step 2: Access Maintenance Tab
Navigate to the “Maintenance” or “Utility” tab within the printer software. This section contains various printer maintenance options.
Step 3: Locate Power Cleaning Option
Find and select the “Power Cleaning” or “Head Cleaning” option. It may be under a submenu labeled “Advanced” or “Additional Settings”.
Step 4: Start Power Cleaning
Click on the “Start” or “Begin” button to initiate the power cleaning process. The software will guide you through any additional steps required.
Step 5: Perform Nozzle Check
Once the power cleaning is complete, conduct a nozzle check through the software to assess the results. If necessary, repeat the process.
Additional Tip: Stick to Epson’s recommended ink or high-quality third-party alternatives to prevent clogs.
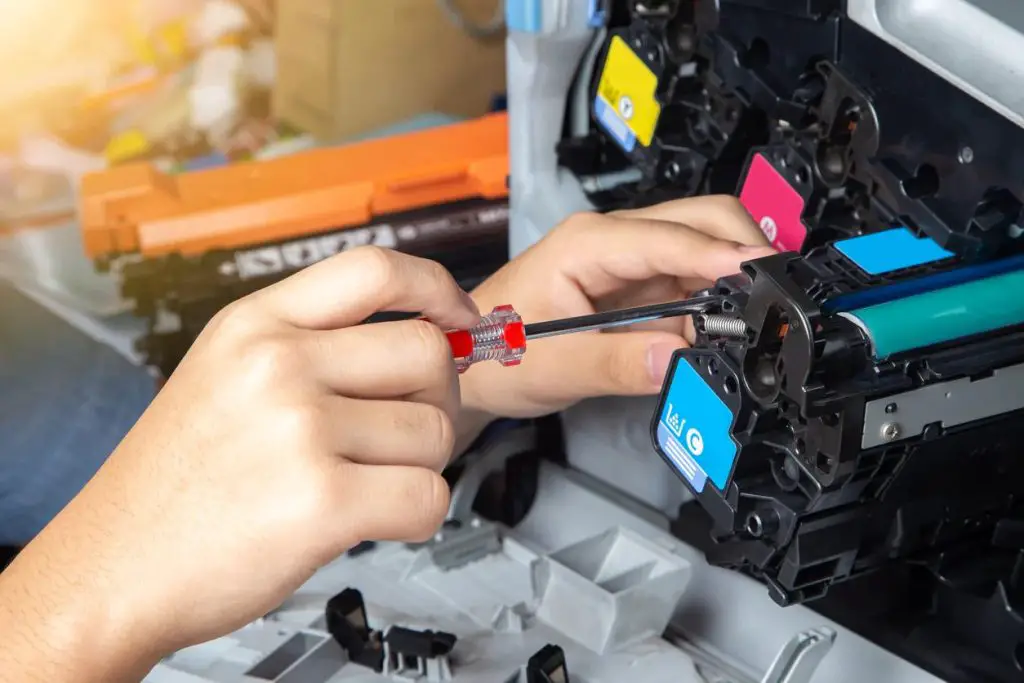
Method 3: Manual Cleaning for Persistent Issues
Step 1: Gather Supplies
You’ll need:
- Lint-free cloth or cotton swabs
- Distilled water
- Isopropyl alcohol (90% or higher)
- Protective gloves
Step 2: Prepare the Printer
Turn off the printer and unplug it from the power source. Open the printer cover to access the print head.
Step 3: Move Print Head
Gently move the print head to the center position to gain better access. Be careful not to force it if it resists movement.
Step 4: Clean Print Head
Dampen a lint-free cloth or cotton swab with distilled water. Gently clean the surface of the print head, being careful not to touch the nozzles directly.
Step 5: Address Stubborn Clogs
For stubborn clogs, use a mixture of distilled water and isopropyl alcohol (1:1 ratio). Apply this solution carefully to the affected areas.
Step 6: Dry and Reassemble
Allow the print head to air dry completely before closing the printer cover. Plug the printer back in and turn it on.
Step 7: Run Power Clean Cycle
Perform an electronic power clean cycle as described in Method 1 or 2 to flush out any loosened debris.
Related Article: How to Clean HP LaserJet Printer Rollers
Conclusion
Power cleaning your Epson ET-2760 is an essential maintenance task that can significantly improve print quality and extend the life of your printer. By following the methods and steps outlined in this guide, you can effectively perform a power clean and address most print quality issues.
Remember to use this process judiciously, as it consumes a considerable amount of ink. Regular maintenance and proper usage habits can reduce the frequency of required power cleans, ensuring your Epson ET-2760 continues to produce high-quality prints for years to come.
Whether you choose to use the printer’s control panel, the Epson software, or opt for manual cleaning methods, always approach the task with care and patience.
By understanding the intricacies of your printer’s maintenance needs and staying proactive in its upkeep, you can maximize the performance and longevity of your Epson ET-2760, making it a reliable tool for all your printing needs.
Frequently Asked Questions (FAQs)
1. How do I clean the rollers on my Epson ET 2760?
To clean the rollers on your Epson ET-2760 printer, first turn off the device and unplug it. Remove any paper from the input tray. Dampen a lint-free cloth with water and wring it out thoroughly. Gently rotate the rollers while wiping them with the cloth to remove any debris or paper dust.
For stubborn dirt, use a small amount of mild dish soap on the cloth. After cleaning, wipe the rollers with a dry lint-free cloth to remove any remaining moisture. Allow the rollers to air dry completely before reinserting paper and plugging the printer back in. Regular cleaning can help maintain print quality and prevent paper feed issues.
2. How do you clean Epson Ecotank print head nozzles which are blocked or clogged?
To clean clogged Epson Ecotank print head nozzles, start by running the built-in cleaning cycle from your printer’s maintenance menu. If that doesn’t work, try a manual cleaning. Turn off the printer, open the cover, and locate the print head.
Use a lint-free cloth dampened with distilled water or a print head cleaning solution to gently wipe the nozzles. For stubborn clogs, you can try soaking the print head in cleaning solution overnight.
After cleaning, run a nozzle check to ensure all nozzles are functioning properly. If problems persist, you may need to run multiple cleaning cycles or consider professional servicing. Regular maintenance can help prevent future clogs.
3. Can I use my Epson after power cleaning?
After performing a power cleaning on your Epson printer, you can generally use it right away. However, it’s advisable to run a nozzle check first to ensure all print head nozzles are functioning correctly. If the nozzle check shows satisfactory results, you can proceed with regular printing.
Keep in mind that power cleaning consumes a significant amount of ink, so it’s best to use this feature sparingly. If print quality issues persist after power cleaning, allow the printer to rest for a few hours before trying again.
In some cases, multiple cleaning cycles may be necessary. Always refer to your printer’s manual for specific guidelines on post-cleaning procedures.
How to Copy on Canon TS3522 Printer – Easy Steps to Follow
How to Clear Memory on Konica Minolta Bizhub – 2 Ways to Follow

How to Reset Ricoh Printer Admin Password – 2 Easy Ways
About Author
Mark Kelly
This is Mark, a printer expert from North Carolina, US. It has been 8 years since I started using and reviewing printers of all types. With that said, I decided to share my knowledge with you lovely people so you can make the perfect choice when it comes to choosing a printer.