How to Print in Color on HP Printer – 3 Easy Ways to Follow
In our increasingly digital world, the ability to produce vivid, high-quality color prints has become indispensable for both personal and professional endeavors. HP (Hewlett-Packard) printers have long been at the forefront of this technology, offering reliable and sophisticated color reproduction capabilities.
Whether you’re looking to bring your cherished photographs to life, create compelling presentations, or design eye-catching marketing materials, mastering the nuances of color printing on your HP printer can elevate your output to new heights.
We’ll explore multiple methods, troubleshoot common issues, and offer expert tips to help you achieve optimal results. By the end of this article, you’ll have the knowledge and confidence to produce professional-quality color prints that truly captivate your audience.
Prepare to embark on a chromatic journey that will transform your printing experience and unleash the full potential of your HP printer’s color capabilities.
How to Print in Color on HP Printer
This comprehensive guide will navigate you through the intricacies of color printing on HP printers, covering everything from basic setup to advanced techniques.
Method 1: Printing in Color from Windows

For Windows users, here’s a step-by-step guide to printing in color on your HP printer.
Step 1: Ensure your HP printer is properly connected and powered on.
Step 2: Open the document or image you want to print in color.
Step 3: Click on “File” in the top-left corner of your application window.
Step 4: Select “Print” from the drop-down menu or use the keyboard shortcut Ctrl+P.
Step 5: In the Print dialog box, select your HP printer from the list of available printers.
Step 6: Click on “Printer Properties”, “Preferences”, or “Settings” (the exact wording may vary depending on your application).
Step 7: Look for a tab or section labeled “Color” or “Output”.
Note: For inkjet printers, regularly clean the print heads to prevent clogging and maintain color quality.
Step 8: Ensure that “Color” is selected as the output option. Some printers may have an option like “Print in Color” or “Color Output”.
Step 9: Adjust color settings if necessary. You may find options for color intensity, brightness, or specific color modes.
Step 10: Click “OK” to save your color settings.
Step 11: Back in the main Print dialog box, click “Print” to start the color printing process.
Related Article: How to Reset Kyocera Printer
Method 2: Printing in Color from macOS
If you’re using a Mac, follow these steps to print in color on your HP printer.
Step 1: Confirm that your HP printer is properly connected and turned on.
Step 2: Open the document or image you wish to print in color.
Step 3: Click on “File” in the top menu bar.
Step 4: Select “Print” from the drop-down menu or use the keyboard shortcut Command+P.
Step 5: In the Print dialog box, choose your HP printer from the “Printer” drop-down menu.
Step 6: Click on the drop-down menu that shows the application name (e.g., “Preview” or “Pages”) and select “Color Management”.
Step 7: Ensure that “Color” is selected in the “Color Management” section.
Step 8: If available, click on “Show Details” to access more color options.
Step 9: Look for a “Color Options” or “Quality & Media” section to fine-tune your color settings.
Step 10: Adjust color intensity, saturation, or choose specific color profiles if desired.
Step 11: Click “Print” to start the color printing process.
Related Article: How to Print on Black Cardstock
Method 3: Printing in Color from Mobile Devices
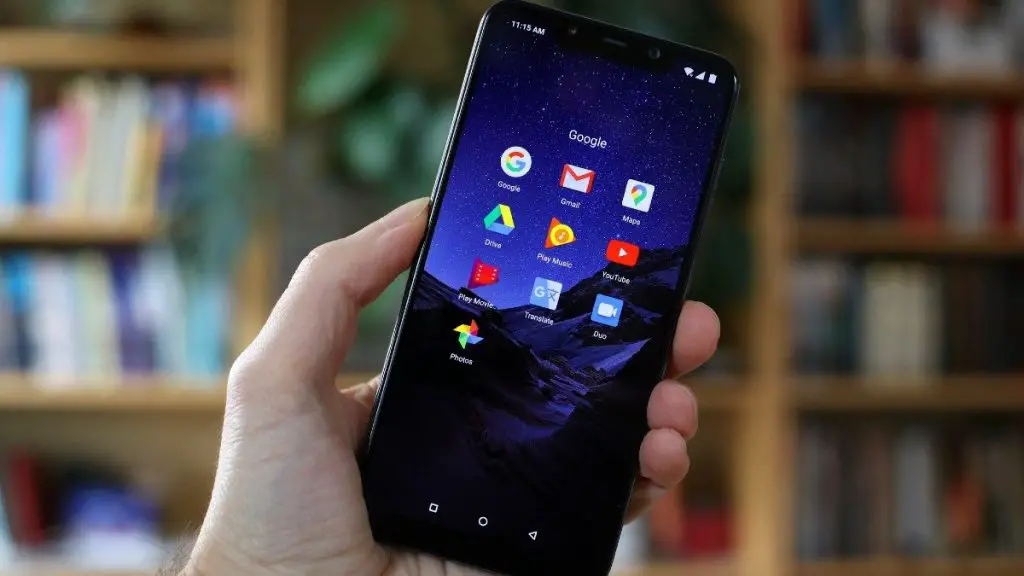
With the increasing popularity of mobile printing, HP offers solutions for printing in color directly from smartphones and tablets:
Step 1: Download and install the HP Smart app from your device’s app store (available for both iOS and Android).
Step 2: Open the HP Smart app and follow the on-screen instructions to set up your HP printer.
Step 3: Ensure that your mobile device and HP printer are connected to the same Wi-Fi network.
Step 4: In the HP Smart app, tap on “Print Documents” or “Print Photos”, depending on what you want to print.
Step 5: Select the document or photo you wish to print in color.
Step 6: Tap on the settings icon (usually a gear or sliders icon) to access print options.
Step 7: Look for “Color Options” or a similar setting and ensure that color printing is enabled.
Step 8: Adjust any additional color settings if available, such as quality or intensity.
Step 9: Tap “Print” to send the color job to your HP printer.
Tip: Choose paper specifically designed for color printing or photo paper for best results.
Conclusion
Mastering color printing on your HP printer opens up a world of possibilities for creating stunning documents, photos, and marketing materials.
By understanding your printer’s capabilities, following the proper steps for your operating system, and implementing advanced techniques, you can achieve professional-quality color prints right from your home or office.
Remember that consistent maintenance, using high-quality supplies, and staying up-to-date with the latest software and firmware updates are key to maintaining excellent color output over time.
As you become more comfortable with your HP printer’s color capabilities, don’t be afraid to experiment with different settings and techniques to find the perfect balance for your specific needs.
Whether you’re a casual user looking to print vibrant family photos or a professional seeking to produce top-notch marketing materials, your HP printer is a powerful tool for bringing your colorful visions to life.
With the knowledge gained from this guide, you’re now well-equipped to make the most of your HP printer’s color printing capabilities and create impressive, eye-catching prints that truly stand out.
Frequently Asked Questions (FAQs)
1. How do I set my printer to print in Colour?
To print in color, first ensure your printer supports color printing. Access your computer’s print settings, usually found in the application you’re printing from or in your system’s control panel. Look for an option labeled “Color” or “Output Color” and select it.
You may need to choose between color quality settings like “Standard” or “High Quality”. Some printers require you to use specific color cartridges, so check that these are installed and have ink.
If your printer still prints in black and white, try updating your printer drivers or consulting your printer’s manual for model-specific instructions.
2. Why is my HP printer not printing colors correctly?
If your HP printer isn’t producing colors correctly, several issues could be at play. First, check if your ink cartridges are low or expired, as this can lead to poor color quality. Ensure you’re using genuine HP cartridges, as third-party alternatives may cause inconsistent results.
Run a printer head cleaning cycle from your computer’s printer settings to clear any clogged nozzles. Verify that your print settings are configured for color output and high quality.
If the problem persists, try aligning the print heads using the printer’s maintenance menu. Lastly, outdated printer drivers can cause color issues, so make sure your software is up to date.
3. Why is my HP printer only printing in black and white?
If your HP printer is only printing in black and white, there are several potential causes. First, check your print settings to ensure you haven’t accidentally selected grayscale or black and white mode.
Next, verify that your color ink cartridges aren’t empty or low – some printers default to black and white when color ink is depleted. Inspect the print heads for clogs, which can prevent color ink from flowing. Try running a printer head cleaning cycle from your computer’s printer settings.
Also, ensure you’re using the correct driver for your printer model, as an outdated or incorrect driver may limit color printing capabilities. If issues persist, consult HP’s support resources for model-specific troubleshooting.

