
How to Change Paper Size on HP Printer – 4 Easy Ways
Printers, those unsung heroes of our digital lives, continue to play a vital role in both personal and professional spheres. Among the myriad of brands out there, HP stands tall, revered for its dependability and versatility.
But even the most seasoned users can find themselves stumped by seemingly simple tasks, like changing paper sizes. Fear not! This guide is here to demystify the process, walking you through the ins and outs of modifying paper dimensions on your trusty HP printer.
Whether you’re dealing with run-of-the-mill documents or tackling more esoteric printing projects, understanding how to adjust paper size settings is crucial. It’s not just about making things fit; it’s about optimizing print quality, sidestepping those infuriating paper jams, and ensuring your printer performs at its zenith.
How to Change Paper Size on HP Printer
Buckle up as we embark on this journey through the labyrinthine world of HP printers and paper sizes. By the time we’re done, you’ll be adjusting paper sizes with the finesse of a printing virtuoso.
Method 1: Changing Paper Size in the Printer Tray
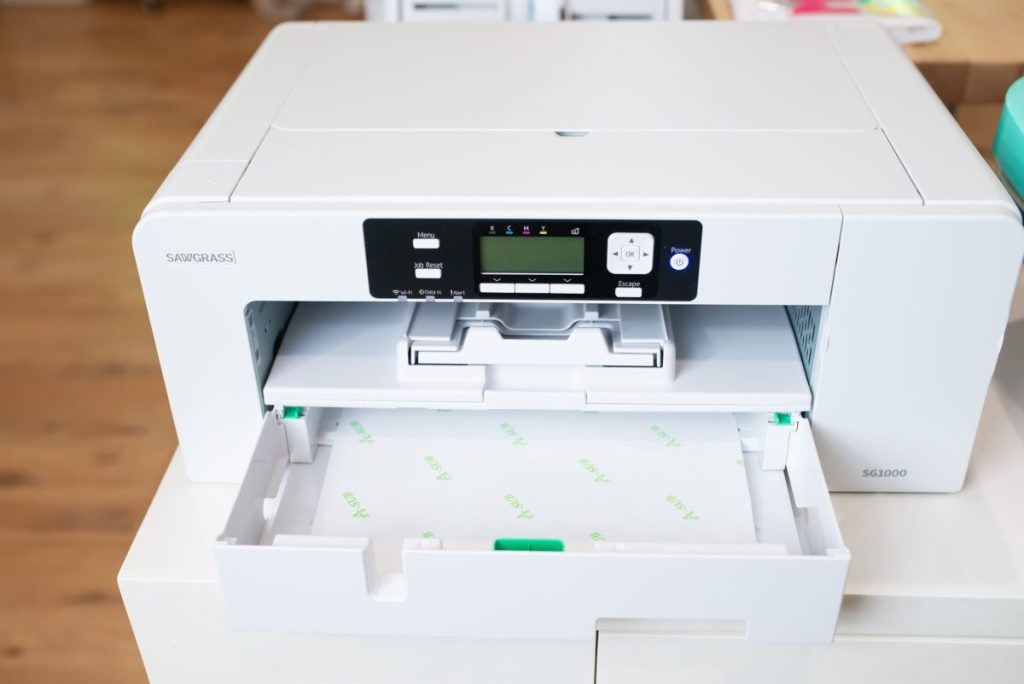
One of the most straightforward ways to change the paper size on your HP printer is by adjusting the physical tray that holds the paper. This method is particularly useful when you’re dealing with standard paper sizes and want to make a quick change without delving into software settings.
Step 1: Locate the Paper Tray
First, identify the paper tray on your HP printer. Most models have a tray at the bottom front of the printer, but some may have multiple trays or a rear feed option.
Step 2: Remove the Paper Tray
Gently pull out the paper tray from the printer. If it’s not immediately obvious how to remove it, consult your printer’s manual for specific instructions.
Step 3: Remove Any Paper in the Tray
Take out any paper currently loaded in the tray. This will give you clear access to the size adjustment mechanisms.
Step 4: Locate the Size Adjustment Guides
Look for sliding guides or tabs within the tray. These are typically found on the sides and at the rear of the tray.
Step 5: Adjust the Side Guides
Squeeze or press the release mechanism on the side guides and slide them to match the width of your new paper size. Most trays have markings to indicate standard sizes.
Step 6: Adjust the Rear Guide
Similarly, adjust the rear guide to match the length of your new paper size. Again, look for markings that indicate standard sizes like Letter, Legal, or A4.
Step 7: Load the New Paper
Place your new paper size into the tray, making sure it sits flat and aligns with the guides you’ve just adjusted.
Step 8: Verify the Fit
Gently push the stack of paper to ensure it fits snugly against the guides without bending or forcing.
Step 9: Reinsert the Tray
Carefully slide the paper tray back into the printer until it clicks into place.
Step 10: Update Printer Settings
On the printer’s control panel, navigate to the paper settings and select the new paper size you’ve loaded. This step may vary depending on your specific HP printer model.
By following these steps, you’ve successfully changed the paper size in your HP printer’s tray. This method is ideal for frequently used paper sizes and ensures that the physical aspect of your printer is correctly configured.
Related Article: How to Clean Glue Off 3D Printer Bed
Method 2: Changing Paper Size via Printer Driver Settings
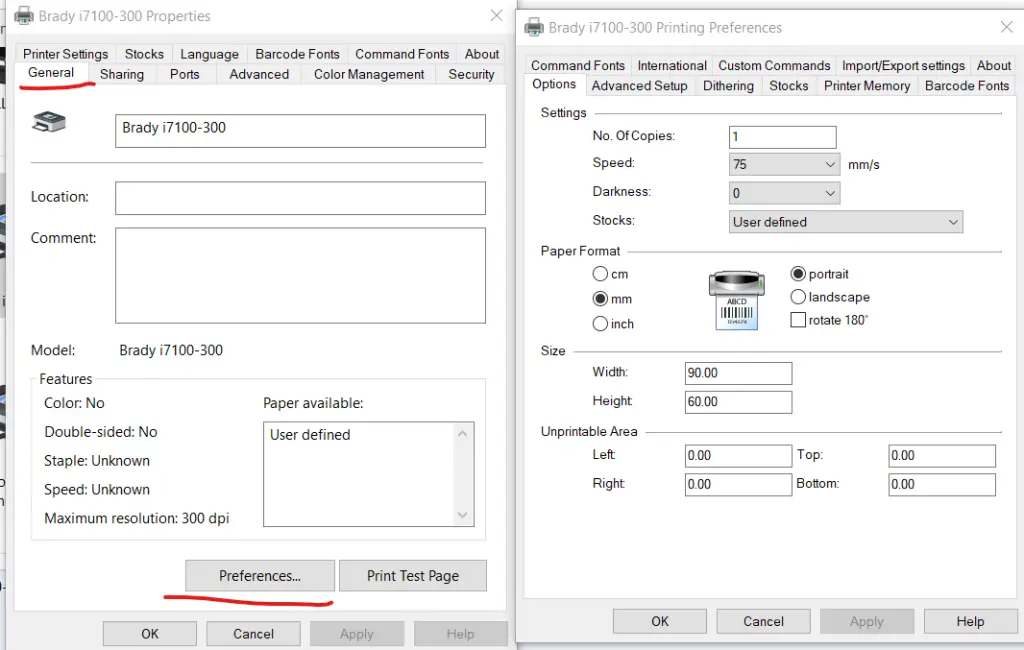
While adjusting the physical tray is important, it’s equally crucial to update the paper size settings in your printer driver. This ensures that your computer and printer are in sync regarding the paper size being used.
Step 1: Open Printer Settings
On Windows, go to “Settings” > “Devices” > “Printers & scanners”. On macOS, open “System Preferences” > “Printers & Scanners”.
Step 2: Select Your HP Printer
From the list of installed printers, select your HP printer.
Step 3: Access Printer Properties
On Windows, click “Manage” and then “Printing preferences”. On macOS, click “Options & Supplies” and then “Driver” or “Utility”.
Step 4: Locate Paper Size Settings
Look for a tab or section labeled “Paper/Quality”, “Features”, or something similar. The exact location may vary depending on your printer model and driver version.
Step 5: Choose the New Paper Size
From the dropdown menu or list of paper sizes, select the size that matches the paper you’ve loaded into the printer.
Step 6: Apply Custom Sizes (If Needed)
If your desired size isn’t listed, look for an option to create a custom paper size. Enter the dimensions manually.
Step 7: Save the Changes
Click “Apply” and then “OK” to save your new paper size settings.
Step 8: Test the New Settings
Print a test page to ensure that the new paper size settings are working correctly.
By updating the driver settings, you ensure that your computer sends the correct information to the printer regarding paper size. This method is particularly important when dealing with non-standard sizes or when you need to make changes that will apply to all print jobs sent to this printer.
Method 3: Changing Paper Size in Specific Applications
Sometimes, you may need to change the paper size for a specific document or application without altering your printer’s default settings. Here’s how to do it in some common applications:
Microsoft Word
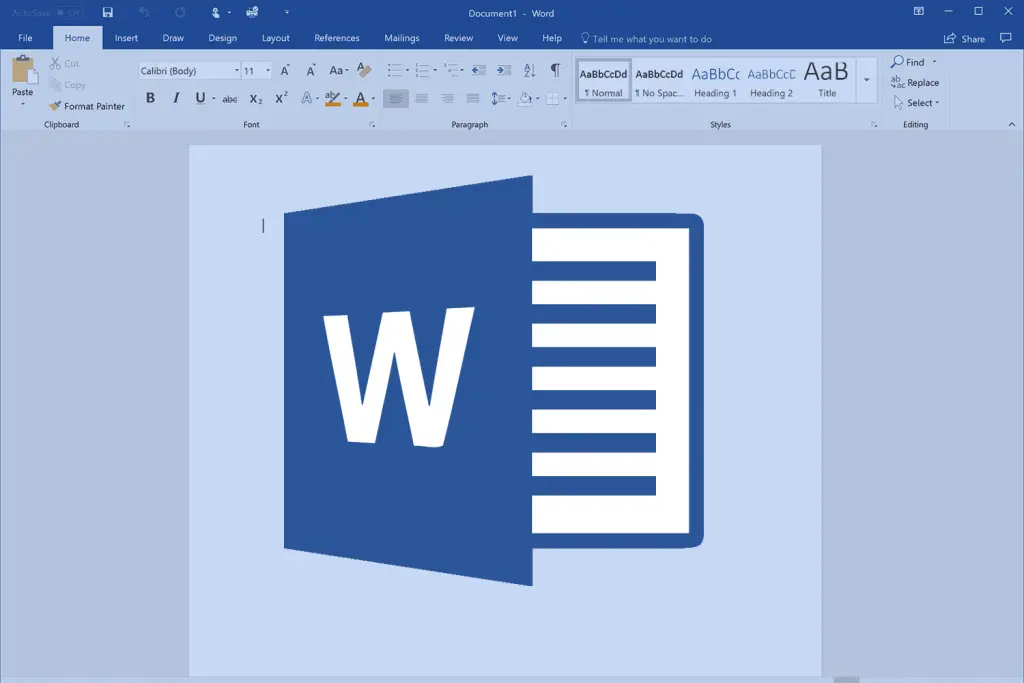
Step 1: Open your document in Microsoft Word.
Step 2: Click on the “Layout” tab in the ribbon menu.
Step 3: Click on “Size” in the “Page Setup” group.
Step 4: Select your desired paper size from the dropdown menu.
Step 5: If your size isn’t listed, click “More Paper Sizes” at the bottom of the list to enter custom dimensions.
Adobe Acrobat Reader

Step 1: Open your PDF in Adobe Acrobat Reader.
Step 2: Click “File” > “Print” to open the print dialog.
Step 3: In the print dialog, look for “Paper Size” or “Page Size”.
Step 4: Click the dropdown menu and select your desired size.
Step 5: If needed, click “Custom” to enter specific dimensions.
Google Chrome (for web printing)

Step 1: Open the webpage you want to print in Google Chrome.
Step 2: Click the three-dot menu in the top right and select “Print”.
Step 3: In the print preview, look for “Paper size” in the right-hand settings panel.
Step 4: Click the dropdown and choose your desired paper size.
By changing the paper size within specific applications, you can ensure that your document is formatted correctly for the paper you’re using, even if it differs from your printer’s default settings.
Related Article: How to Use Toybox 3D Printer
Method 4: Using HP Smart App for Paper Size Changes
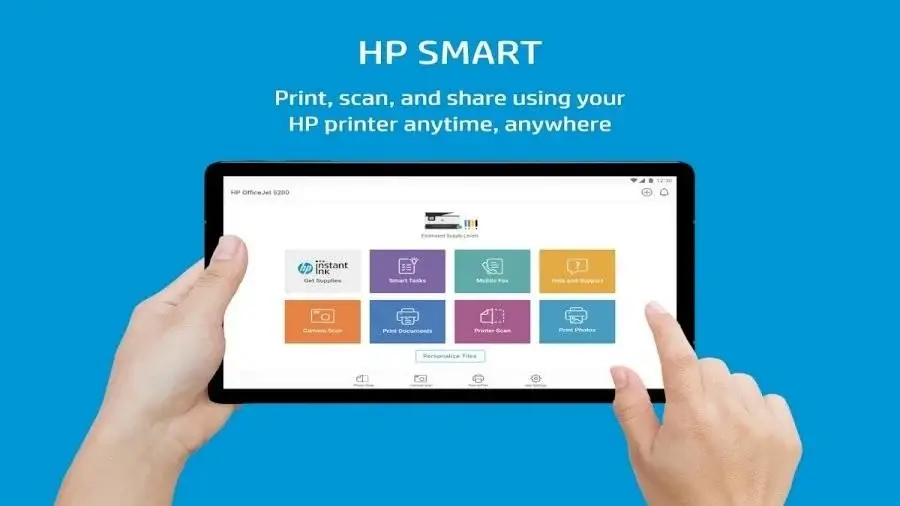
HP provides a dedicated app called HP Smart that offers an intuitive interface for managing your printer settings, including paper size. Here’s how to use it:
Step 1: Install HP Smart
Download and install the HP Smart app from your device’s app store or HP’s website.
Step 2: Add Your Printer
Open the app and add your HP printer if you haven’t already done so.
Step 3: Access Printer Settings
Select your printer from the home screen and look for a “Settings” or “Printer Settings” option.
Step 4: Find Paper Settings
Navigate to the section that deals with paper or media settings.
Step 5: Change Paper Size
Look for an option to change the paper size and select your desired size from the list provided.
Step 6: Save Changes
Confirm and save your new paper size settings.
Step 7: Sync with Printer
Ensure that the app syncs the new settings with your printer. This may happen automatically or require you to press a sync button.
Using the HP Smart app can be particularly convenient for mobile users or those who prefer a more graphical interface for managing their printer settings.
Conclusion
Mastering the art of changing paper sizes on your HP printer opens up a world of printing possibilities. From basic letter-sized documents to custom-sized creative projects, understanding how to adjust your printer settings ensures that you can tackle any printing task with confidence.
Remember that successful paper size changes involve a combination of physical adjustments to your printer’s paper tray and updates to your software settings. Always ensure that these two aspects are in sync to avoid printing errors and achieve the best possible results.
As printing technology continues to evolve, HP printers are becoming increasingly versatile in their paper handling capabilities. Stay informed about your specific model’s features and keep your software up to date to take full advantage of these capabilities.
Whether you’re a home user printing occasional documents or a business professional managing complex print jobs, the ability to change paper sizes efficiently is a valuable skill. With the methods and tips outlined in this guide, you’re now equipped to handle any paper size challenge that comes your way.
Embrace the flexibility that your HP printer offers, experiment with different paper sizes, and unlock the full potential of your printing projects. Happy printing!
Frequently Asked Questions (FAQs)
1. How to change default paper size in HP printer?
To change the default paper size on your HP printer, start by opening Windows Settings and navigating to Devices > Printers & scanners. Select your HP printer and click “Manage”, then choose “Printing preferences.”
Look for the “Paper/Quality” or “Paper” tab, where you’ll find a dropdown menu for paper size. Select your desired size from this menu, then click “Apply” and “OK” to save your changes.
This sets the new default for all print jobs, though you can still adjust the paper size for individual prints in each application’s print dialog. If you have trouble locating these settings, consult your printer’s manual or HP’s support website for model-specific guidance.
2. How to fix paper size mismatch on HP printer?
When faced with a paper size mismatch on your HP printer, first ensure you’ve loaded the correct paper size in the tray. Next, check your print settings in both the application you’re printing from and the printer driver. Make sure the paper size selected matches the paper in the tray.
If the issue persists, try updating your printer driver or resetting the printer to factory settings. For recurring problems, clean the paper sensors to ensure they’re detecting the paper size accurately.
If you’re using custom paper sizes, double-check that they’re properly defined in your printer settings. Remember, some printers have multiple trays, so verify you’re adjusting settings for the correct one.
3. Why is my HP printer not printing A4 size?
If your HP printer isn’t printing A4 size correctly, several factors could be at play. First, check if the paper loaded in the tray is actually A4. Next, verify the paper size settings in both your document and printer properties match A4.
Ensure the correct paper tray is selected if your printer has multiple trays. Sometimes, outdated or corrupt printer drivers can cause sizing issues, so consider updating them. Check for any paper jams or debris in the printer that might affect paper feeding.
If you’ve recently changed paper types, make sure the printer is configured for the new media. Lastly, some HP printers have a default override setting that could be forcing a different size – check your printer’s control panel for this option.
How to Change Paper Size on HP Printer Using iPhone – Easy Steps
How to Print on Sublimation Paper – 2 Easy Methods to Follow
How to Print on Black Cardstock – Easy Guide
About Author
Mark Kelly
This is Mark, a printer expert from North Carolina, US. It has been 8 years since I started using and reviewing printers of all types. With that said, I decided to share my knowledge with you lovely people so you can make the perfect choice when it comes to choosing a printer.