
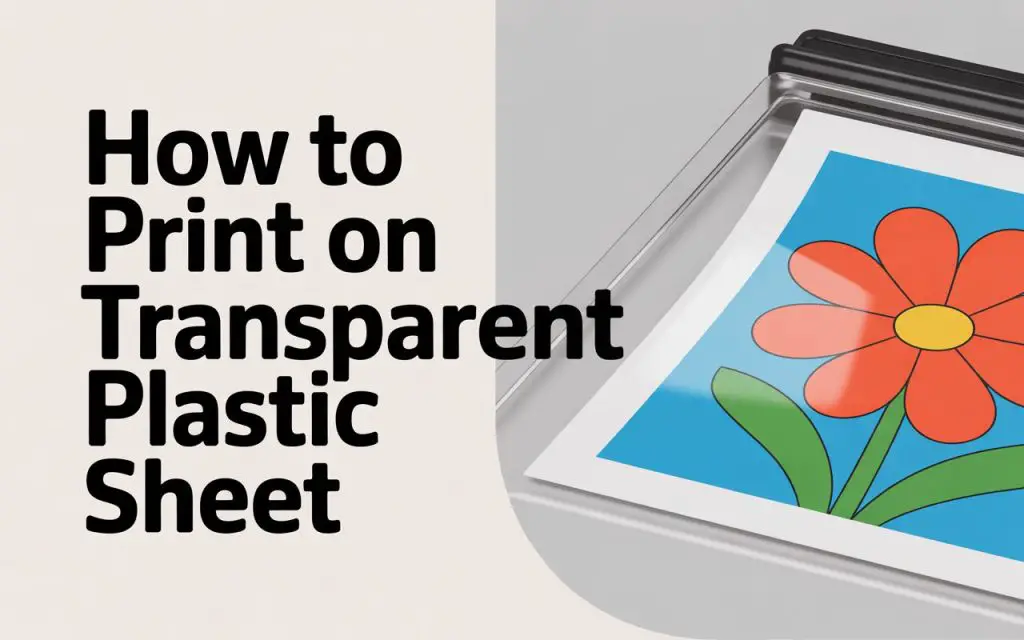
How to Print on Transparent Plastic Sheet – A Complete Technical Guide
Printing on transparent plastic sheets might seem tricky at first, but it’s actually easier than you think once you know the right techniques.
Whether you’re creating presentation slides, making custom labels, or working on a creative project, transparent plastic printing opens up countless possibilities for your designs.
The key is understanding which method works best for your specific needs and having the right materials on hand.
How to Print on Transparent Plastic Sheet
This comprehensive technical guide explores proven methodologies, specialized equipment requirements, and industry best practices for achieving professional-grade results on clear plastic substrates.
Method 1: Inkjet Printing on Transparent Plastic
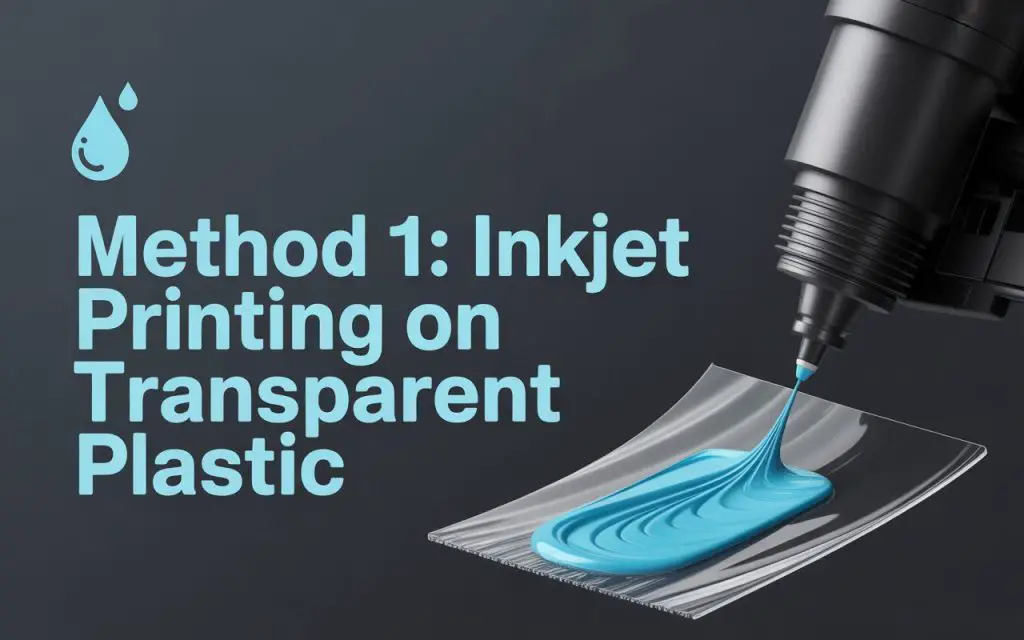
Inkjet printing represents the most accessible and cost-effective approach for printing on transparent plastic sheets.
This method utilizes specialized transparent film media designed specifically for inkjet printers, ensuring optimal ink adhesion and color reproduction on clear substrates.
Step 1: Select Compatible Transparent Film Media
Choose transparent film media specifically designed for inkjet printing applications. These specialized materials feature surface treatments that promote ink adhesion and prevent beading or smearing during the printing process.
Verify compatibility with your specific inkjet printer model by checking manufacturer specifications and recommended media types. High-quality transparent inkjet films typically feature a slightly textured surface that enhances ink binding while maintaining optical clarity.
Step 2: Configure Printer Settings for Transparent Media
Access your printer’s media settings and select the transparent film or overhead transparency option from the available media types.
This configuration adjusts ink density, drying time, and print speed parameters to optimize results for transparent plastic substrates.
Disable any automatic paper detection features that might interfere with transparent media recognition, and manually specify the media thickness if your printer supports this option.
Step 3: Prepare Your Design for Transparent Printing
Design preparation for transparent printing requires specific considerations to account for the clear substrate background. Ensure text and graphics utilize sufficient contrast and avoid relying on white backgrounds, as these will appear transparent in the final output.
Consider incorporating background colors or patterns where necessary to maintain readability and visual impact. Verify that your design resolution meets minimum requirements for sharp text and graphics reproduction on transparent media.
Step 4: Load Transparent Media into Printer
Handle transparent plastic sheets carefully to avoid fingerprints and static electricity buildup that can affect print quality. Load the media with the treated printing surface facing the correct direction according to your printer’s specifications.
Most inkjet printers require the printable surface to face downward in the paper tray. Adjust paper guides to accommodate the transparent media thickness without applying excessive pressure that could cause feeding problems.
Step 5: Execute Print Job with Optimal Settings
Initiate the printing process using draft or standard quality settings for initial test prints, then adjust to higher quality settings once optimal results are achieved. Monitor the printing process carefully for any feeding issues or ink coverage problems.
Allow adequate drying time between multiple prints to prevent ink smearing and ensure proper adhesion to the transparent substrate.
Step 6: Post-Processing and Quality Control
Examine printed transparent sheets for ink adhesion quality, color accuracy, and overall print clarity. Address any issues with ink beading or poor adhesion by adjusting printer settings or considering alternative transparent media options.
Handle finished prints carefully to avoid smudging wet ink, and allow complete drying before handling or storage.
Pro Tip: Always do a test print first! Use a small corner of your transparent sheet to check settings before printing your entire project. This saves both time and expensive transparent media.
Method 2: Laser Printing on Transparent Plastic
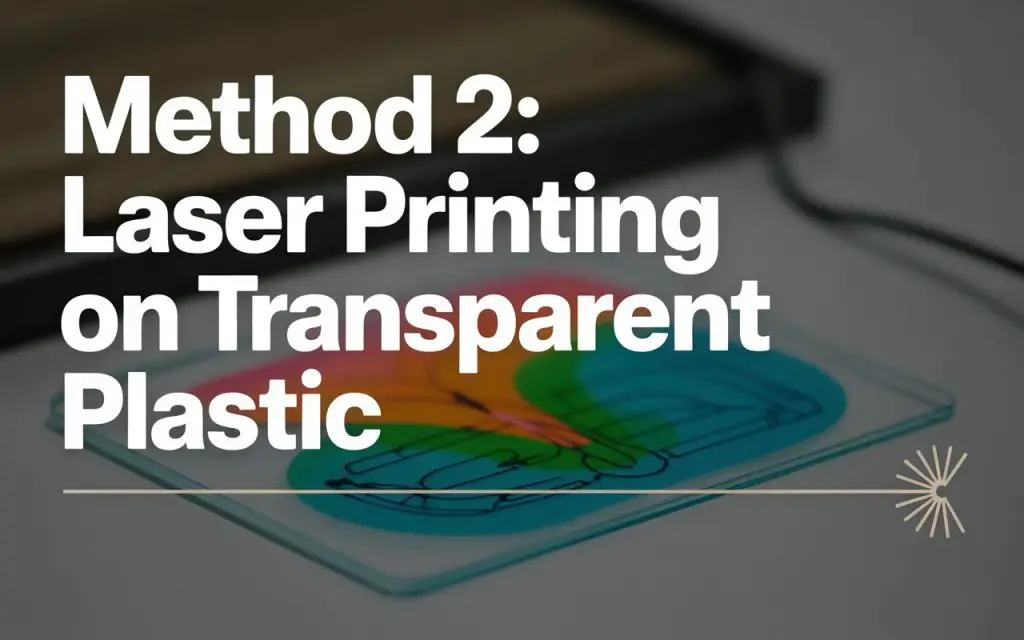
Laser printing on transparent plastic sheets offers superior durability and professional-quality results compared to inkjet methods.
This technique requires specialized transparent media designed to withstand the heat and pressure of laser printing processes while maintaining optical clarity and dimensional stability.
Step 1: Source Laser-Compatible Transparent Media
Obtain transparent plastic sheets specifically manufactured for laser printing applications. These materials feature heat-resistant properties and specialized surface treatments that ensure proper toner adhesion without melting or warping during the printing process.
Verify compatibility with your laser printer model and check maximum operating temperature specifications to prevent media damage.
Step 2: Configure Laser Printer for Transparent Media
Access your laser printer’s advanced settings and select the transparency or clear film media type from available options. This configuration adjusts fusing temperature, print speed, and toner density parameters to optimize results for transparent plastic substrates.
Disable any automatic media sensing features that might incorrectly identify transparent media as standard paper.
Step 3: Optimize Design for Laser Printing
Prepare your design with consideration for laser printing characteristics on transparent media. Ensure adequate contrast and avoid fine details that might not reproduce clearly on transparent substrates.
Consider the opacity requirements for your specific application and adjust design elements accordingly to achieve desired visual impact through the transparent material.
Step 4: Test Print Configuration
Execute test prints using sample transparent media to verify optimal printer settings and design compatibility. Evaluate toner adhesion quality, transparency clarity, and overall print appearance.
Make necessary adjustments to printer settings or design elements based on test results before proceeding with full production runs.
Step 5: Production Printing Process
Load transparent media into the laser printer’s manual feed tray or designated specialty media path to ensure proper handling and prevent jamming.
Execute the printing process at reduced speed settings to minimize heat exposure and prevent media warping. Monitor the printing process closely for any signs of media distortion or feeding problems.
Step 6: Quality Assessment and Finishing
Inspect completed prints for toner adhesion quality, dimensional accuracy, and transparency clarity. Address any issues with poor adhesion or media warping by adjusting printer settings or considering alternative transparent media options.
Allow printed materials to cool completely before handling to prevent toner smearing or media deformation.
Important: Never touch the printable surface of transparent sheets with your fingers. The oils from your skin can prevent ink from adhering properly.
Method 3: Specialty Printing Techniques

Advanced transparent plastic printing applications may require specialized techniques beyond standard inkjet or laser printing methods.
These approaches offer enhanced durability, chemical resistance, and specialized visual effects for demanding applications.
Step 1: Evaluate Specialty Printing Requirements
Assess your specific application requirements to determine if specialty printing techniques are necessary. Consider factors such as environmental exposure, chemical resistance needs, UV stability requirements, and expected service life.
Specialty printing methods include screen printing, thermal transfer printing, and digital UV printing, each offering unique advantages for transparent plastic applications.
Step 2: Select Appropriate Specialty Printing Method
Choose the most suitable specialty printing technique based on your application requirements and production volume.
Screen printing offers excellent durability and chemical resistance for high-volume applications, while thermal transfer printing provides precise detail reproduction for smaller quantities.
Digital UV printing delivers exceptional color accuracy and immediate curing for rapid production requirements.
Step 3: Prepare Materials and Equipment
Obtain specialized inks, substrates, and equipment required for your selected specialty printing method. Ensure all materials are compatible with transparent plastic substrates and meet your specific performance requirements.
Verify that printing equipment is properly calibrated and maintained for optimal results on transparent media.
Step 4: Execute Specialty Printing Process
Follow manufacturer-specific procedures for your selected specialty printing technique, maintaining careful attention to temperature, pressure, and timing parameters.
Monitor the printing process continuously to ensure consistent quality and address any issues immediately. Document optimal printing parameters for future reference and quality control purposes.
Step 5: Quality Control and Testing
Conduct comprehensive quality control testing on specialty printed transparent materials to verify performance characteristics and durability.
Test for ink adhesion, transparency clarity, chemical resistance, and environmental stability as required by your specific application. Document test results and establish quality standards for ongoing production requirements.
Step 6: Post-Processing and Finishing
Complete any required post-processing steps such as curing, lamination, or protective coating application.
Handle finished materials according to recommended procedures to maintain quality and prevent damage during storage or shipping. Implement appropriate packaging and labeling procedures for specialty printed transparent materials.
Related Guide: How to Print on Cardstock at Home
Conclusion
Mastering the art of printing on transparent plastic sheets requires a comprehensive understanding of material properties, printing technologies, and process optimization techniques.
The methods outlined in this technical guide provide multiple pathways to achieve professional-quality results, from cost-effective inkjet solutions for basic applications to specialized printing techniques for demanding industrial requirements.
Each approach offers distinct advantages and considerations that must be carefully evaluated against specific project requirements and performance expectations.
Frequently Asked Questions (FAQs)

1. Can you print on clear plastic sheets?
Yes, you can print on clear plastic sheets, but you need the right materials and printer settings. Use transparent films specifically designed for your printer type (inkjet or laser).
Inkjet printers work well with plastic transparency films, while laser printers require heat-resistant plastic sheets. Ensure the plastic surface is treated for ink adhesion.
Common applications include overhead transparencies, window decals, and craft projects. Always check your printer’s compatibility and use appropriate print settings for best results.
2. Can a regular printer print on plastic?
Most regular inkjet and laser printers can print on plastic, but only with specially designed plastic sheets. You cannot use any random plastic material.
The plastic must be specifically manufactured for your printer type – inkjet transparency films for inkjet printers or laser-compatible plastic sheets for laser printers.
Regular plastic like bags or containers won’t work as they lack proper coating for ink adhesion and may melt or jam your printer. Always use printer-specific plastic media designed for your exact printer model to avoid damage.
3. Does ink dry on transparency paper?
Yes, ink does dry on transparency paper, but it takes longer than on regular paper and requires special considerations.
Transparency films are coated with a special surface that allows ink to adhere and dry properly. However, the drying process is slower because the plastic surface is less absorbent than paper.
For best results, allow extra drying time before handling, use printer settings designed for transparencies, and avoid touching the printed surface immediately after printing. Some transparency films may require heat-setting or special inks to ensure proper adhesion and prevent smudging.
Since the ink used in most cases is the same, you can also follow some of the methods listed in our guide on how to dry ink on glossy paper.
How to Connect HP Envy 6455e to Wi-Fi – Easy Ways to Follow
How to Print Envelopes on Epson XP-830 – Easy Guide
How to Print on Black Cardstock – Easy Guide
About Author
Mark Kelly
This is Mark, a printer expert from North Carolina, US. It has been 8 years since I started using and reviewing printers of all types. With that said, I decided to share my knowledge with you lovely people so you can make the perfect choice when it comes to choosing a printer.