
How to Add Email Address to Kyocera Printer – 3 Easy Ways
Kyocera printers are widely used in businesses and offices for their high performance, durability, and advanced features. One of the key functions of a Kyocera printer is the ability to send scanned documents directly to an email address.
To utilize this feature, you need to configure the printer to recognize and send documents via email. Adding an email address to a Kyocera printer can be done through the printer’s control panel or via its web interface.
This guide will walk you through multiple methods to add an email address to your Kyocera printer, ensuring seamless email communication.
How to Add Email Address to Kyocera Printer
Whether you’re an IT administrator or an end-user, following these methods will help you complete the setup efficiently.
Method 1: Adding an Email Address via the Printer Control Panel
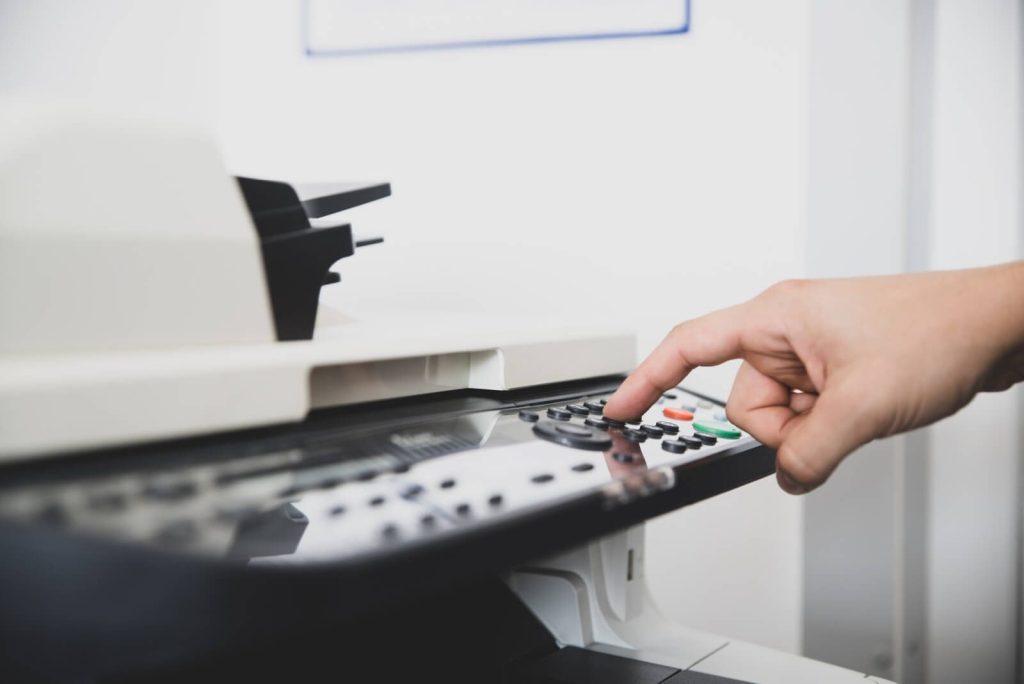
This method involves manually adding an email address using the Kyocera printer’s built-in control panel. It is a straightforward process that does not require external devices or network access. Follow the steps below to successfully add an email address using this method.
Step 1: Access the Address Book
To begin, locate and access the address book on the Kyocera printer. On the control panel, press the System Menu or Settings button. Navigate to the Address Book section, which is where you manage email addresses and contacts for the printer.
Step 2: Select New Contact
Once inside the Address Book, look for an option to Add New Contact or Register Address. This option allows you to input new recipient details, including email addresses.
Step 3: Enter the Email Address
You will be prompted to enter the recipient’s details. Under the Name field, input the contact’s name. Then, under the Email Address field, type in the recipient’s email address. Double-check for any typos to ensure accuracy.
Step 4: Save the Contact
After entering the details, select Save or OK to store the new contact. The email address will now be available for use whenever you send scanned documents from the printer.
Related Guide: How to Clear Memory on Kyocera Printer
Method 2: Adding an Email Address Using the Kyocera Web Interface
For users who prefer a more advanced approach, the Kyocera web interface offers an efficient way to manage email contacts remotely.
This method allows administrators to configure multiple settings from a computer instead of manually using the printer’s control panel. Follow the steps below to add an email address using the web interface.
Step 1: Access the Printer’s Web Interface
To configure email settings through a web browser, you need the printer’s IP address. Locate the IP address by printing a network status page or checking the printer’s network settings. Enter the IP address into a web browser’s address bar and press Enter to open the printer’s web interface.
Step 2: Log in to the Administrator Panel
The web interface will prompt you to log in. Enter the administrator username and password. If you haven’t changed these credentials, the default username is often Admin, and the default password is either Admin or 1234.
Step 3: Navigate to Address Book Settings
Once logged in, look for the Address Book or Contacts section. This is where you can add, edit, or delete saved email addresses.
Step 4: Add a New Email Address
Click the option to Add New Contact or Register Address. Fill in the required fields, including the contact name and email address. Ensure that the email format is correct to prevent any sending issues.
Step 5: Save and Apply Changes
Once all the information is entered, click Save or Apply to store the contact. The new email address will now be available for document scanning and sending.
Method 3: Configuring Email via the Printer’s SMTP Settings
If your printer is not already configured for email sending, setting up SMTP (Simple Mail Transfer Protocol) is necessary. This method ensures that your Kyocera printer can communicate with an email server to send documents efficiently. Follow these steps to configure SMTP settings properly.
Step 1: Access the SMTP Configuration
If your Kyocera printer has not been set up to send emails, you need to configure its SMTP (Simple Mail Transfer Protocol) settings. To do this, log in to the printer’s web interface as described earlier and navigate to Network Settings or Email Settings.
Step 2: Enter SMTP Server Details
Locate the SMTP configuration section and enter the details of your email provider’s SMTP server. For example, if using Gmail, the SMTP server address would be smtp.gmail.com, and the port number is 587.
Step 3: Authenticate the Email Account
Some email providers require authentication. Enable SMTP Authentication and enter the email account’s username (email address) and password.
Step 4: Enable SSL/TLS Encryption
To ensure secure communication, enable SSL/TLS Encryption if required by your email provider. This helps in preventing unauthorized access.
Step 5: Save and Test the Configuration
After entering the details, click Save or Apply and test the configuration by sending a test email from the printer. If successful, the printer will now be able to send scanned documents via email.
Note: If you face any difficulties through these methods then resetting the printer can be a viable option for you. Therefore, you can also check out our comprehensive guide on how to reset Kyocera printer in case you need it.
Conclusion
Adding an email address to a Kyocera printer is essential for streamlining document workflows and enabling direct email communication from the device. Whether using the printer’s control panel, web interface, or SMTP settings, following the correct steps ensures successful configuration.
By implementing these methods, users can enhance efficiency and minimize errors while sending scanned documents.
By properly setting up and troubleshooting email configurations, businesses and individuals can take full advantage of Kyocera printers’ robust emailing capabilities. If you encounter issues, verifying settings and network connectivity can help resolve them efficiently.
Frequently Asked Questions (FAQs)

1. How do I add an address to my Kyocera printer?
To add an address to your Kyocera printer, start by accessing the printer’s web interface. Open a web browser, enter the printer’s IP address in the address bar, and log in using the admin credentials (default username: admin, password: admin or 1234).
Once logged in, navigate to the Address Book or Contacts section in the settings menu. Click on Add New Contact, then enter the required details such as the name, email, or fax number, and save the information.
Finally, verify that the address is correctly saved by testing it with a scan or print job. This process helps improve workflow efficiency by allowing quick access to frequently used addresses.
2. How to configure scan to email on Kyocera printer?
To configure scan-to-email on a Kyocera printer, follow these steps:
First, access the printer’s web interface by entering its IP address in a web browser and logging in with admin credentials (default username: admin, password: admin or 1234).
Navigate to the SMTP Settings under the Network or Email section. Enter the SMTP server address, port number (usually 465 for SSL or 587 for TLS), and authentication details, including the sender’s email and password.
Enable SSL/TLS if required. Save the settings and test by scanning a document to email. This setup ensures smooth email communication from your printer.
3. Where is the SMTP setting on a Kyocera printer?
To find the SMTP settings on a Kyocera printer, start by accessing the printer’s web interface. Open a web browser, enter the printer’s IP address, and log in using admin credentials (default username: admin, password: admin or 1234).
Once logged in, navigate to the System Menu, then go to Network Settings and select Email Settings or SMTP Protocol. Here, enter the required SMTP server details, including the server address, port number, authentication credentials, and enable SSL/TLS if needed.
After saving the settings, test the configuration by sending a test email to ensure proper functionality. This setup allows the printer to send scanned documents directly via email.
How to Fix Brother Printer Printing Blank Pages – 2 Easy Ways
How to Print Multiple PDF Files at Once – 4 Easy and Simple Ways

How to Scan with Canon MG3500 – Easy Steps to Follow
About Author
Mark Kelly
This is Mark, a printer expert from North Carolina, US. It has been 8 years since I started using and reviewing printers of all types. With that said, I decided to share my knowledge with you lovely people so you can make the perfect choice when it comes to choosing a printer.