How to Print Business Cards at Home from PDF – 3 Easy Ways
In today’s fast-paced business environment, having professional business cards at your fingertips can make all the difference. While traditional print shops offer reliable services, learning to print business cards at home from PDF files opens up a world of possibilities.
This meticulous process not only saves money but also gives you unprecedented control over your personal branding materials.
Whether you’re a startup founder launching your venture, a freelancer growing your client base, or an established professional needing a quick batch of cards, mastering the art of home printing can be invaluable.
This comprehensive guide breaks down the intricate steps of printing business cards from PDF files using different methods.
We’ll explore everything from basic home setups to more sophisticated approaches that rival professional print quality. You’ll learn how to navigate common challenges, choose the right materials, and implement techniques that ensure consistent results.
How to Print Business Cards at Home from PDF
By the end of this guide, you’ll have the knowledge to produce polished, professional-looking business cards whenever you need them, without depending on external services.
Method 1: Standard Paper Setup
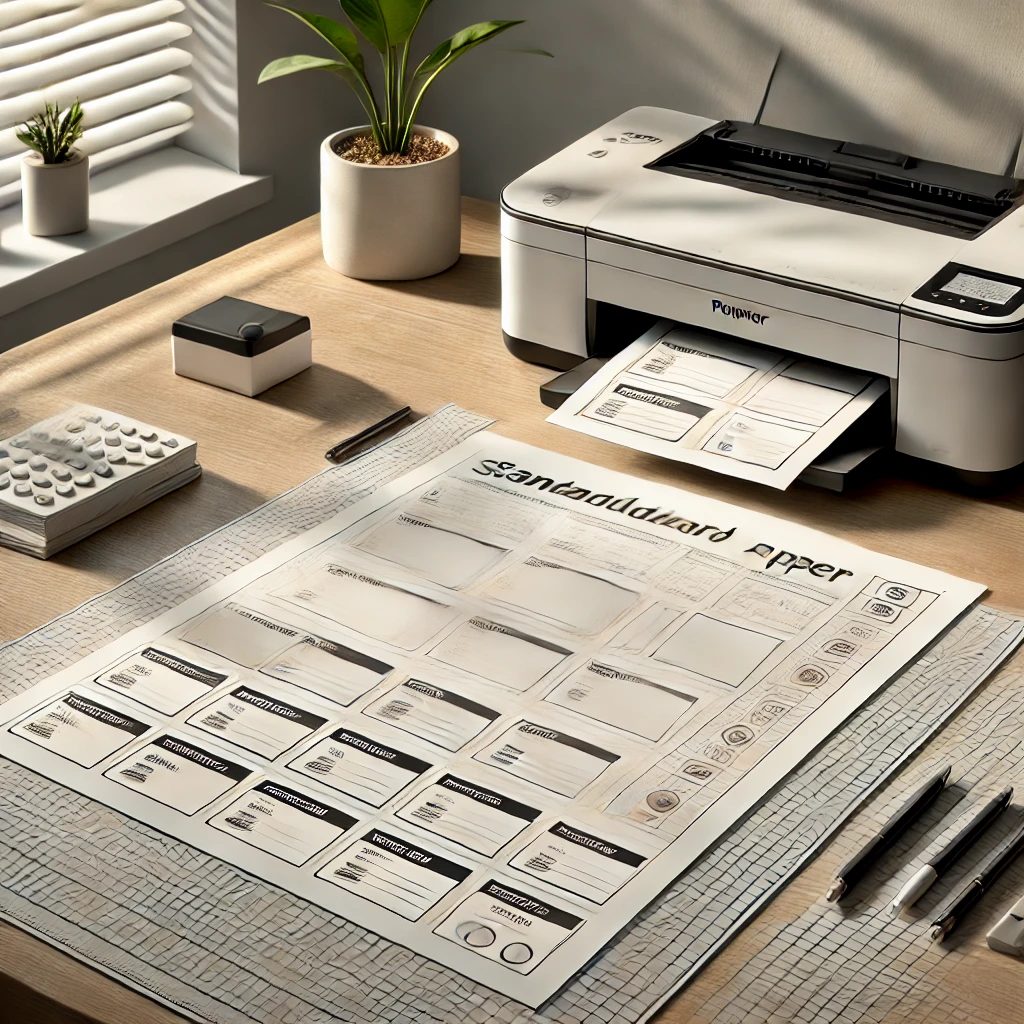
The standard paper method is the most versatile approach, allowing you to use any high-quality cardstock with your existing printer. This method offers maximum flexibility in terms of paper choice and finish options.
Step 1: Prepare Your PDF File
Begin by opening your business card PDF in Adobe Acrobat Reader or a similar PDF viewer. Ensure your file is formatted correctly with proper bleed areas and cut marks if included. The PDF should be sized exactly to business card dimensions or formatted with multiple cards per page for efficient printing.
Step 2: Configure Printer Settings
Access your printer settings through the print dialog. Select ‘Properties’ or ‘Preferences’ and choose the highest quality print settings available. Set the paper type to ‘Cardstock’ or ‘Heavy Paper’ and ensure borderless printing is enabled if your printer supports it.
Step 3: Paper Loading and Alignment
Insert your chosen cardstock into the printer’s paper tray. Many printers have a specific slot or tray for heavier paper. Align the paper properly and adjust the guide rails to prevent skewing during printing.
Step 4: Execute the Print Job
In the print dialog, select ‘Actual Size’ or ‘100%’ scaling to maintain proper dimensions. If printing multiple cards per page, ensure the layout matches your cardstock. Click print and wait for the first sheet to complete before proceeding with additional copies.
Step 5: Cutting and Finishing
Allow the ink to dry completely before handling. Use a paper cutter or precise scissors to separate individual cards. If using cut marks, align them carefully with your cutting tool. Work slowly and deliberately to ensure straight, professional edges.
Related Guide: How to Print Multiple Business Cards on One Sheet
Method 2: Special Business Card Paper
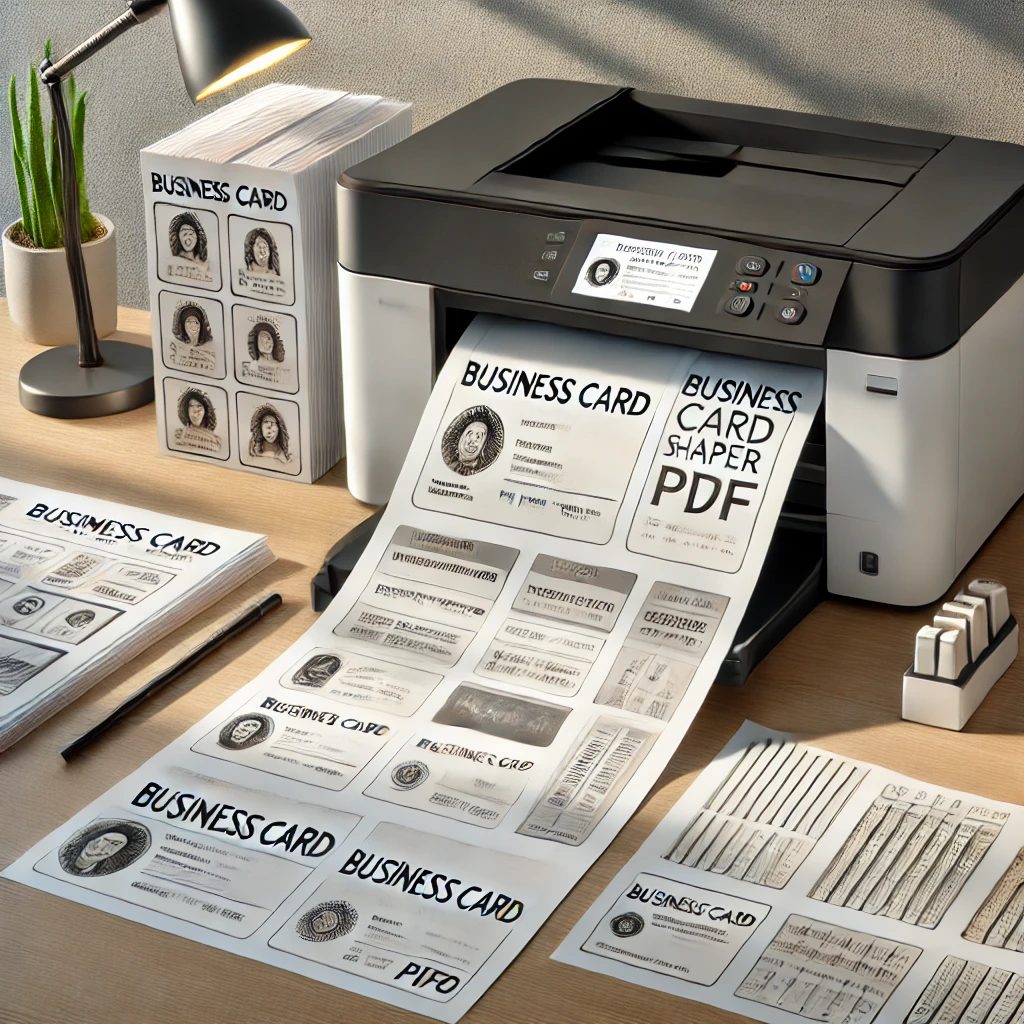
Using pre-perforated business card paper simplifies the cutting process and ensures consistent card sizes. This method is ideal for those who want to minimize post-printing work.
Step 1: Select Compatible Paper
Purchase pre-perforated business card paper designed for your printer type. These sheets typically contain 10 cards per page and include micro-perforations for easy separation.
Step 2: PDF Formatting
Adjust your PDF layout to match the specific template of your pre-perforated paper. Many manufacturers provide template guides. Ensure your design elements are properly centered within each card space.
Step 3: Printer Configuration
Set your printer for the specific paper brand and weight you’re using. Many pre-perforated papers require specific settings for optimal results. Reduce print speed if possible to ensure precise ink application.
Step 4: Test Print Process
Conduct a test print on regular paper to verify alignment with perforations. Hold the test print up to the light behind your business card paper to check positioning.
Step 5: Production Run
Print your cards one sheet at a time, allowing adequate drying time between sheets. Handle printed sheets carefully to avoid smudging. After complete drying, separate cards along perforations.
Method 3: Professional Printing Mode
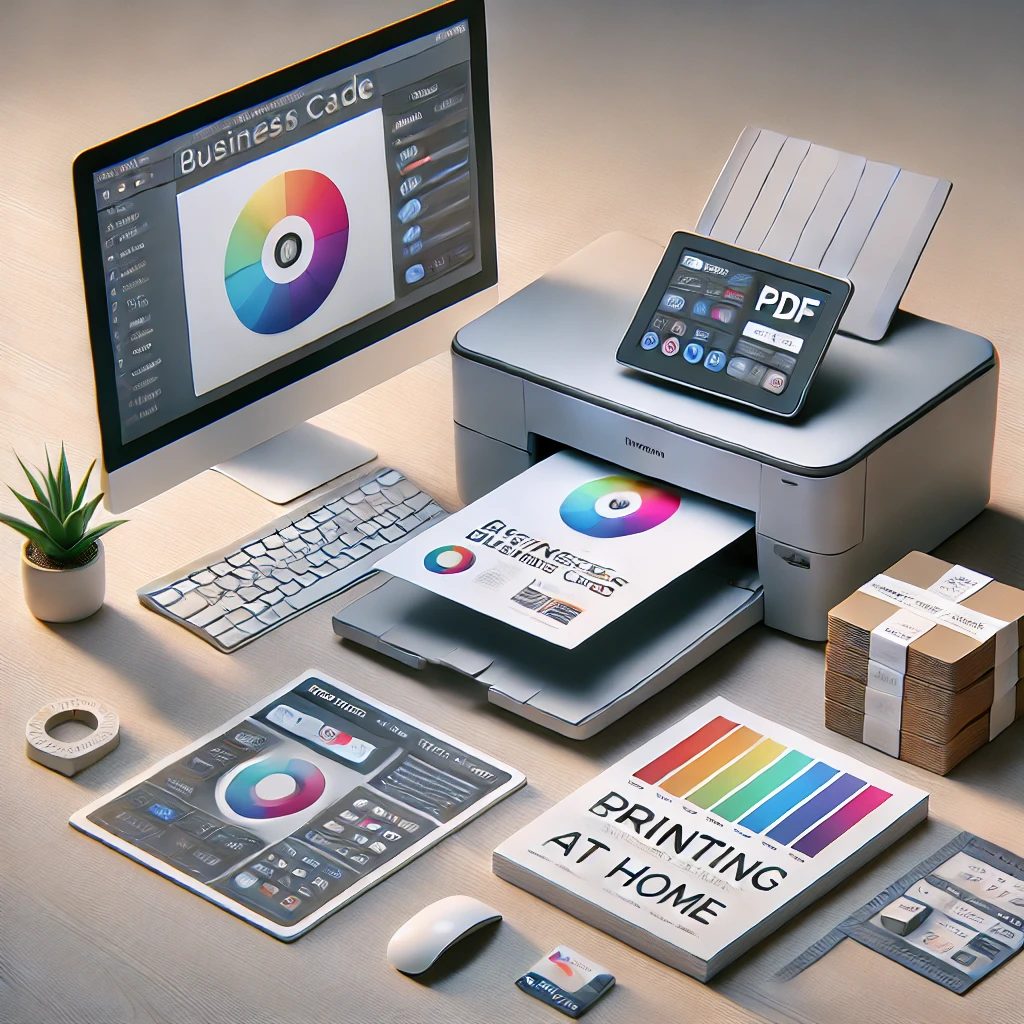
This advanced method focuses on achieving the highest possible print quality through careful color management and printer optimization. It’s ideal for those who need professional-grade results.
Step 1: Color Calibration
Begin by calibrating your printer’s color settings. Access your printer’s utility software and run any available calibration tools. This ensures consistent color reproduction across all your business cards.
Step 2: Advanced PDF Preparation
Convert your PDF to CMYK color mode if it isn’t already. Ensure all fonts are embedded and images are high resolution (minimum 300 DPI). Check that bleed settings are correct.
Step 3: Custom Print Settings
Access your printer’s advanced settings menu. Configure custom color profiles if available, set the paper handling for maximum quality, and adjust ink density settings.
Step 4: Quality Control Print
Produce a single sheet and examine it carefully under good lighting. Check color accuracy, text sharpness, and overall print quality.
Step 5: Final Production
Print your cards in small batches, maintaining consistent settings throughout the process. Monitor print quality regularly and allow proper drying time between handling printed sheets.
Related Guide: How to Batch Print PDF Files
Final Considerations
Home-printed business cards can match professional quality when proper attention is paid to equipment, materials, and process. Keep detailed notes of successful settings and procedures for future reference. Remember that quality business cards reflect your professional image, so take time to perfect your printing process.
The ability to print business cards at home offers significant advantages in terms of cost control, immediate availability, and the flexibility to make design adjustments as needed. With practice and attention to detail, you can produce professional-quality business cards that effectively represent your business or personal brand.
Frequently Asked Questions (FAQs)
1. Can business cards be printed from a PDF?
Yes, business cards can be printed from PDF files! It’s a common and professional approach used by both print shops and individuals. To ensure the best results, the PDF should be set up with the correct dimensions (typically 3.5 x 2 inches for US standard size), proper bleed settings, and high resolution (at least 300 DPI).
You can print them at home using cardstock paper and a quality printer, though professional print shops often provide better results with specialized equipment, paper options, and finishing touches like glossy coatings or embossing.
2. Can I print my own business cards at home?
Yes, you can definitely print business cards at home! You’ll need a quality inkjet or laser printer, business card paper or cardstock from office supply stores, business card design software or template, and a paper cutter or scissors for precise cuts.
Keep in mind that while home printing is cost-effective and convenient, there are some limitations. Print quality may not match professional services, and you’ll have limited paper and finishing options.
The process requires careful alignment and cutting, and it can be time-consuming for large quantities. For small batches or prototypes, home printing works well, but for professional results or larger quantities, a commercial printing service might be better.
3. How do I set my printer to print business cards?
To set up your printer for business cards, start by selecting the correct paper size in your printer settings. Load the business card stock paper according to your printer’s orientation guidelines.
In your computer’s print settings, choose “high quality” or “best” print mode for sharp results. Make sure to select the proper paper type (usually cardstock or specialty paper).
Before printing the full batch, do a test print on regular paper to check alignment and margins. If your business card paper has perforations, ensure they align correctly with your design. Adjust printer settings as needed until you achieve the desired results.

